WordPress Block Editor – Content Area

This tutorial is part of our series on How To Use The WordPress Block Editor (Gutenberg).
***
The WordPress block content editor interface is divided into three main sections:
- Editing Toolbar
- Content Area (you are here)
- Settings Section
In this tutorial, you will learn how to use the Content Area section of the WordPress block editor to add content to your posts and pages.
For a complete understanding of how to use the WordPress block editor, see the other tutorials in this series:
- How To Use WordPress Blocks
- How To Use The WordPress Block Editor Toolbar
- How To Use The WordPress Block Editor Settings Section
***
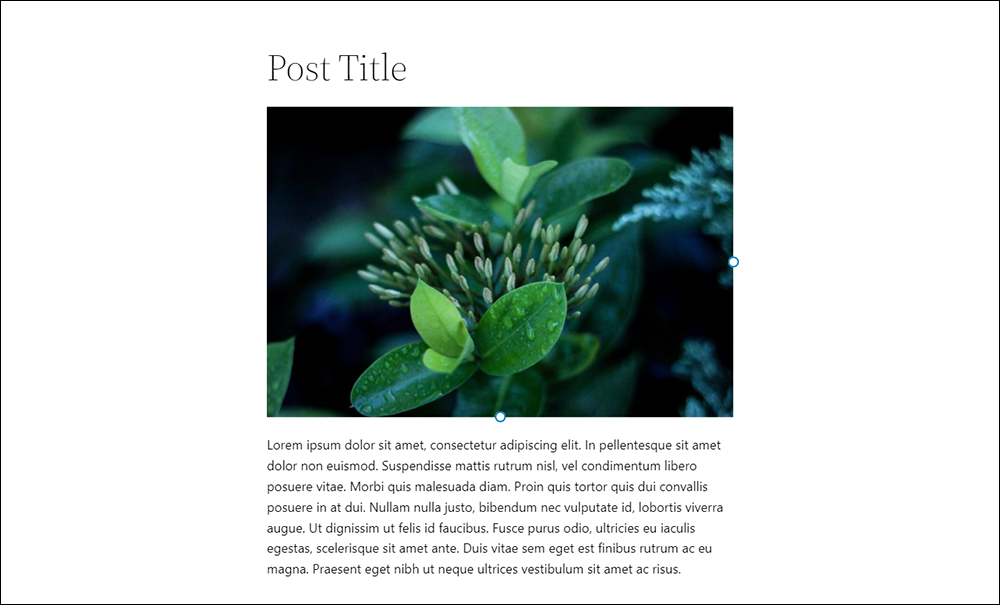
WordPress Block Editor: Post/Page Content Area
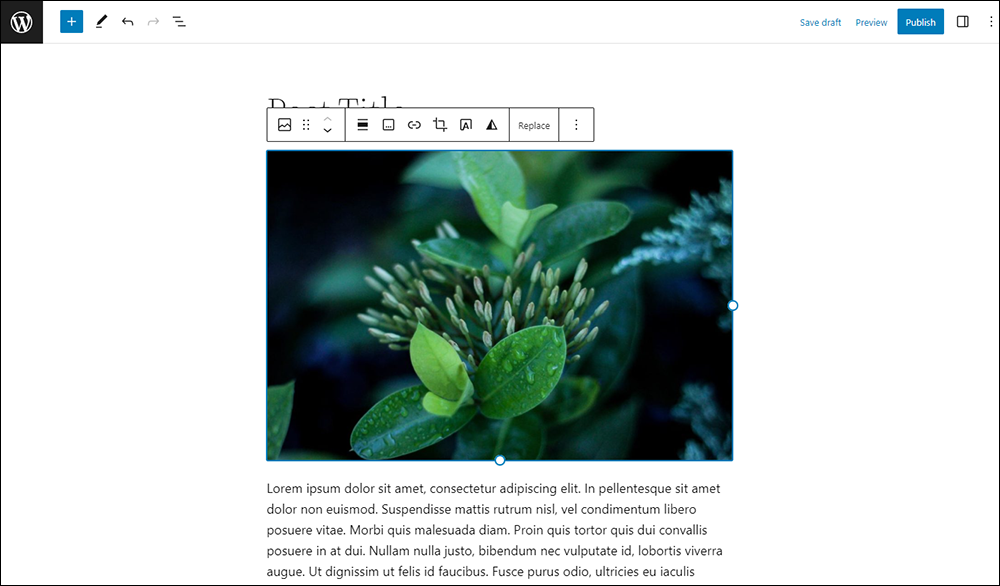
In the WordPress block editor, you add content to your posts and pages in the Content Area.
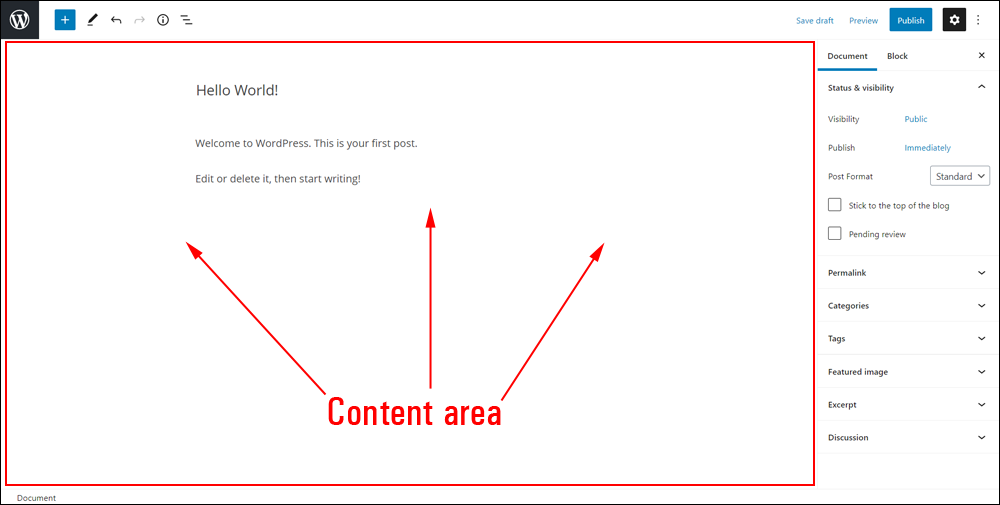
The Content Area is the same for WordPress Posts…
And WordPress Pages…
In fact, the only difference between the content editor of a Post and a Page are the features found in the Settings section.

![]()
If you need help understanding the main differences between WordPress Posts and Pages (and when to use which type), see this tutorial: WordPress Posts vs WordPress Pages Explained
Creating Content In WordPress With Blocks
With the WordPress block editor (Gutenberg), all content is added to your posts and pages using blocks.
This tutorial provides a brief overview of working with blocks.
For a comprehensive tutorial on using Blocks and links to in-depth tutorials on using specific blocks with the WordPress content editor, go here: WordPress Content Editor – How To Use Blocks
Working With Blocks
Everything you create for your post or page in the content area is done using blocks.
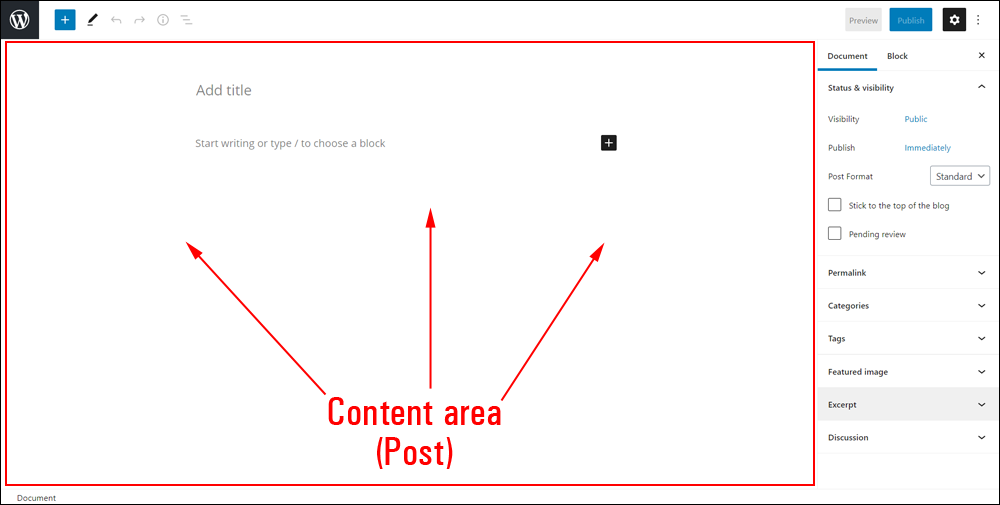
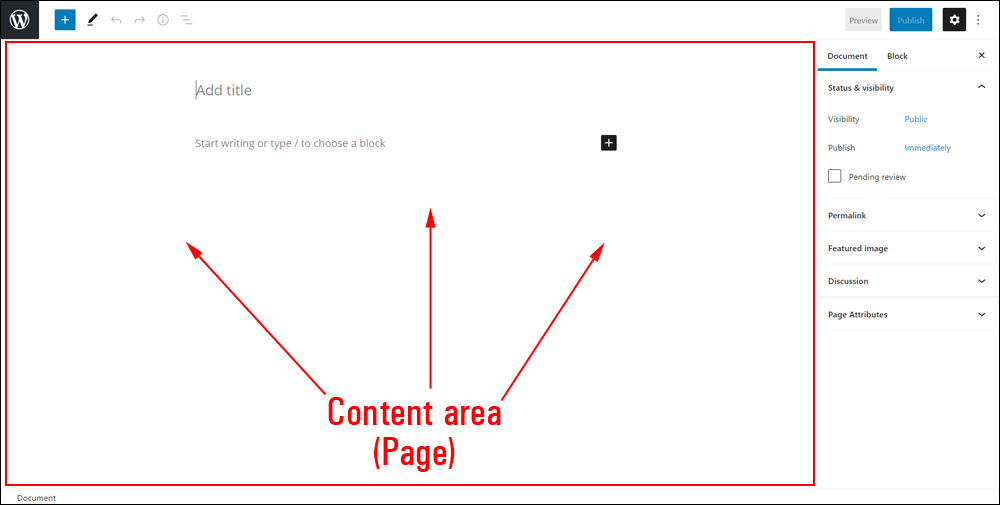
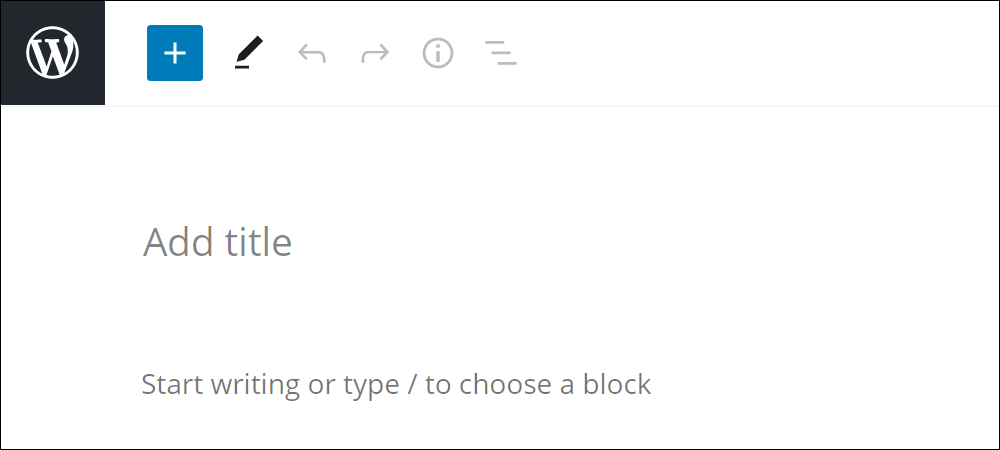
When you create a new post or page in WordPress, your Content Area will be empty, except for the page or post title area (‘Add title’) and a block placeholder (”Start writing or type / to choose a block).
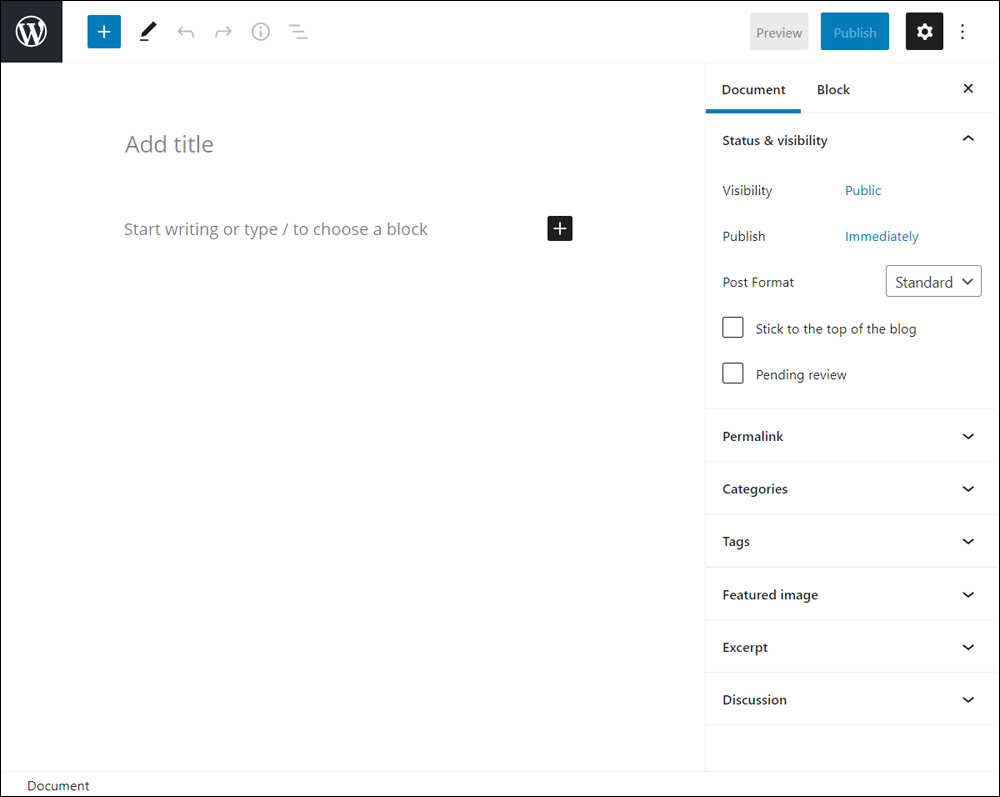
The Title area is a required block in any new post or page you create.
Click inside the title area field and type or paste in your Post or Page title.
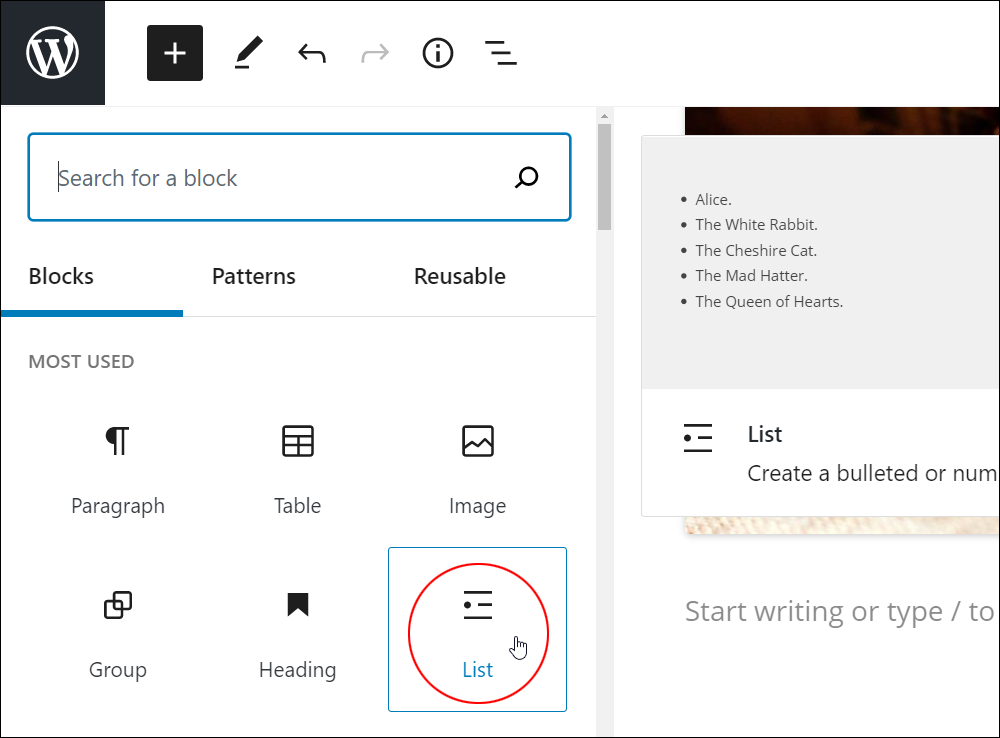
If you would like to start creating a new post or page by adding content other than text (e.g. an image or a quote), then begin by selecting a different block from the Add Block tool (also called the Block Inserter tool).
![]()
You can search for a block in the Add Block/Block Inserter tool by scrolling through the list or type a forward slash (/) followed by the name of the block to bring up a list of specific blocks with that name.
If you begin a new post or page by typing in text into the ‘placeholder’ field, WordPress will automatically convert the area into a Paragraph Block.

Hit the ‘Enter’ key inside a Paragraph Block to create a new Paragraph Block.
You can change anything and everything at any time in the Content Area of your posts or pages.
You can:
- Add new blocks (before or after existing blocks).
- Change existing blocks into other block types.
- Edit the content inside blocks.
- Reorder blocks.
- Group blocks together.
- Configure block settings.
- Configure post or page settings.
Let’s go step-by-step through some of these functions: (Note: these are also covered in this tutorial: How To Use Blocks.)
How To Add A Block To A WordPress Post Or Page
Add A Block From The Editing Toolbar Using The Add Block Tool
Click on the Add Block tool [+] in the Editing Toolbar to bring up a list of all the available blocks that you can add to your content.
Select (or search and select) a block from one of the Add Block tool’s menu sections.
The block you have selected will be inserted below your existing content.
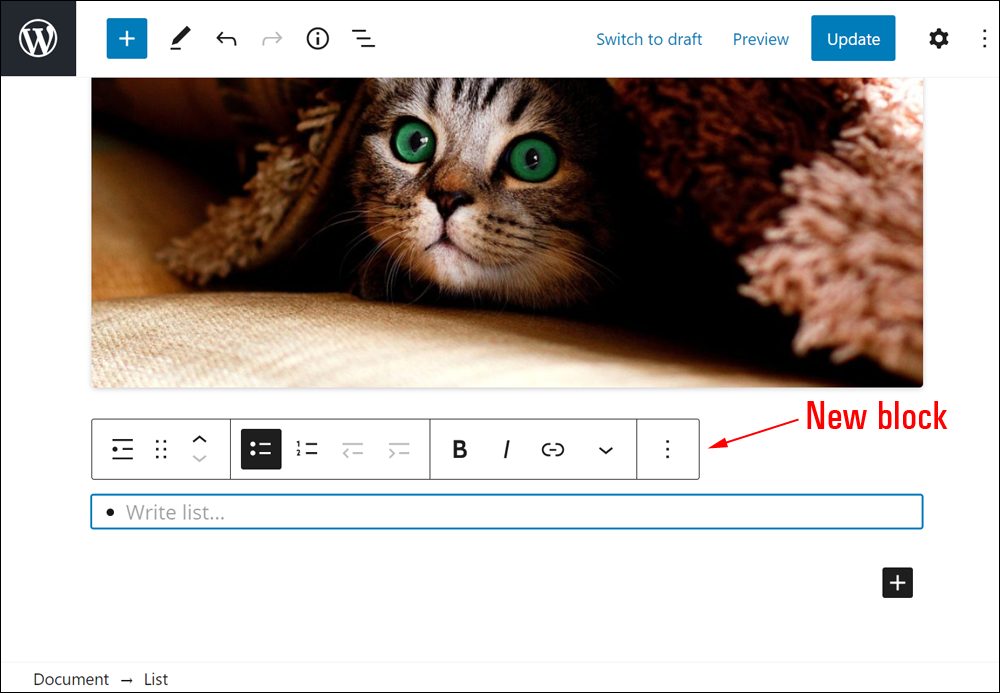
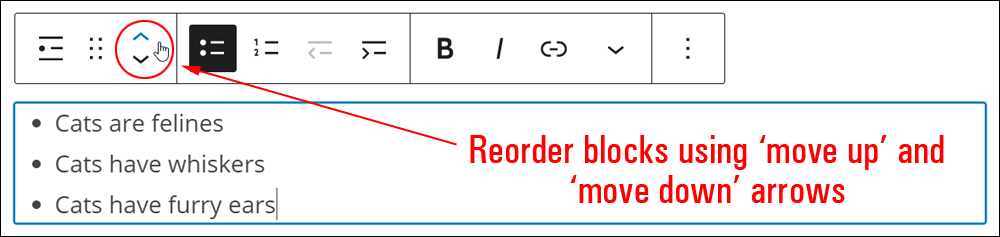
After inserting a block into your post or page content, you can easily reorder, rearrange, or reposition your blocks using ‘move up’ or ‘move down’ arrows.
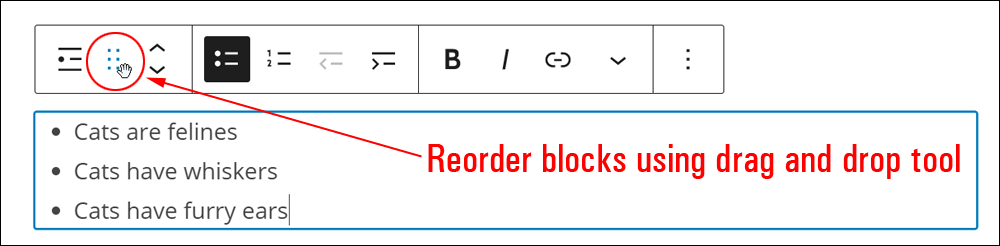
You can also place the block wherever you like in your post or page content by dragging and dropping blocks to rearrange your content layout.
Use either of these methods to position the block where you like in your content.
Add Block Tool – Content Area
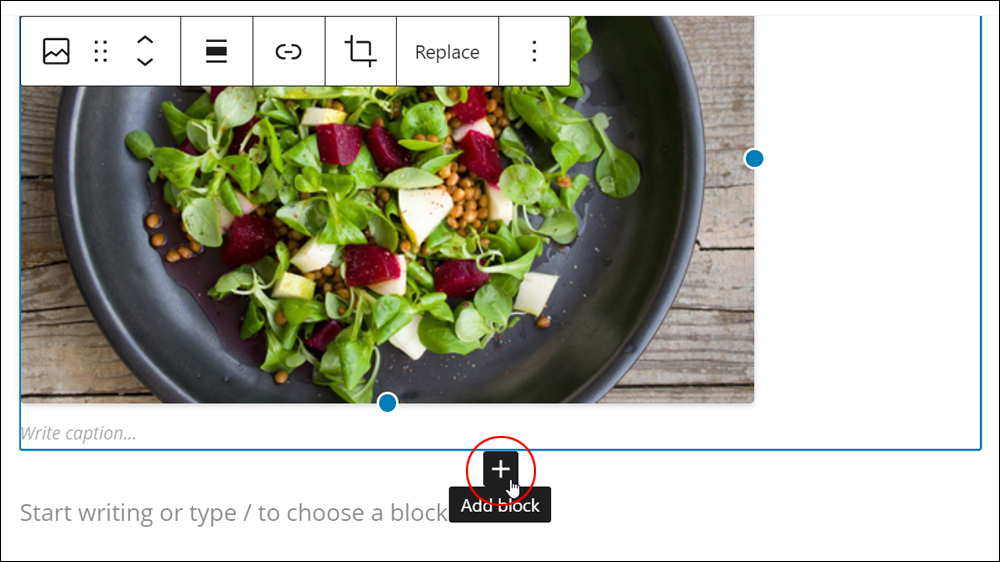
You can also add new blocks to your content inside the Content Area.
Hover over the area below your existing content and click on the Add Block/Inserter tool icon [+].
Add A Block From Within An Existing Block
You can add blocks from within existing blocks in one of the following ways:
- Add a block from the Add Block/Inserter tool below an existing block.
- Add a block from the More Options menu in the block editor.
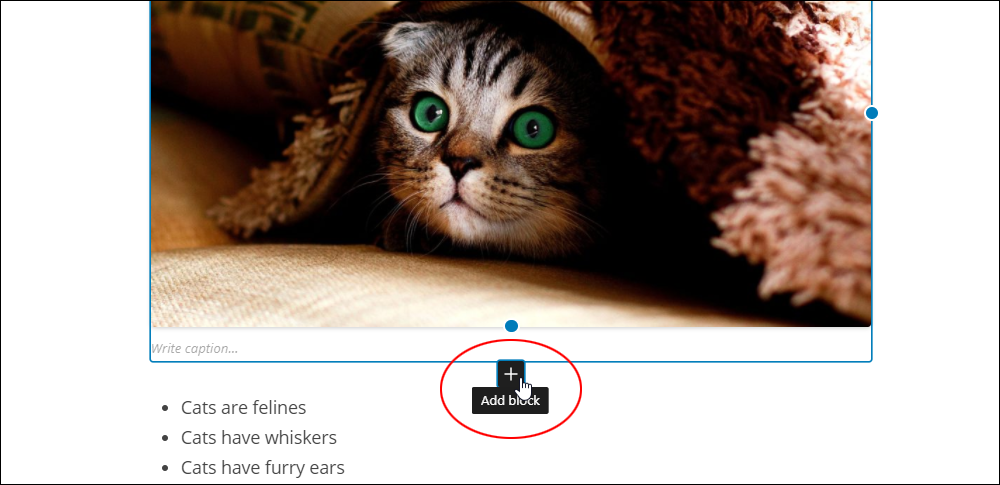
Add A Block From The Add Block Tool Below/Above An Existing Block
Hovering below or above an existing block brings up the Add Block/Inserter tool.
To add a new block to your content using this method:
- Hover your cursor above or below an existing block.
- Click on the ‘Add Block’ tool icon [+]
- Select an available block from the tool’s menu section.
Add A Block From The ‘More Options’ Menu In The Block Editor
As mentioned in the How To Use Blocks tutorial, every block comes with its own Block Editor including various settings and options you can configure to further customize or format the content or function of the block.
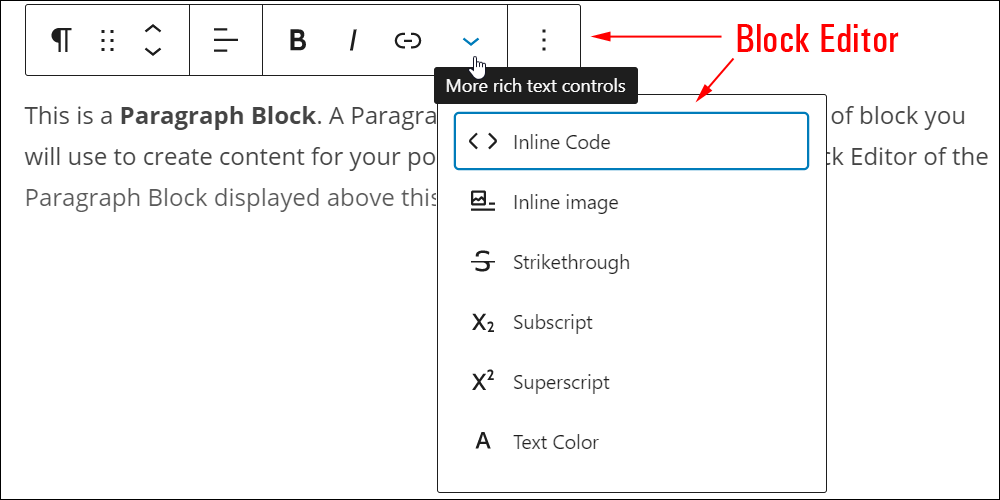
Regardless of the block type you are using, you can click on the ellipsis icon (3 vertical dots) inside the Block Editor to bring up the More Options menu.
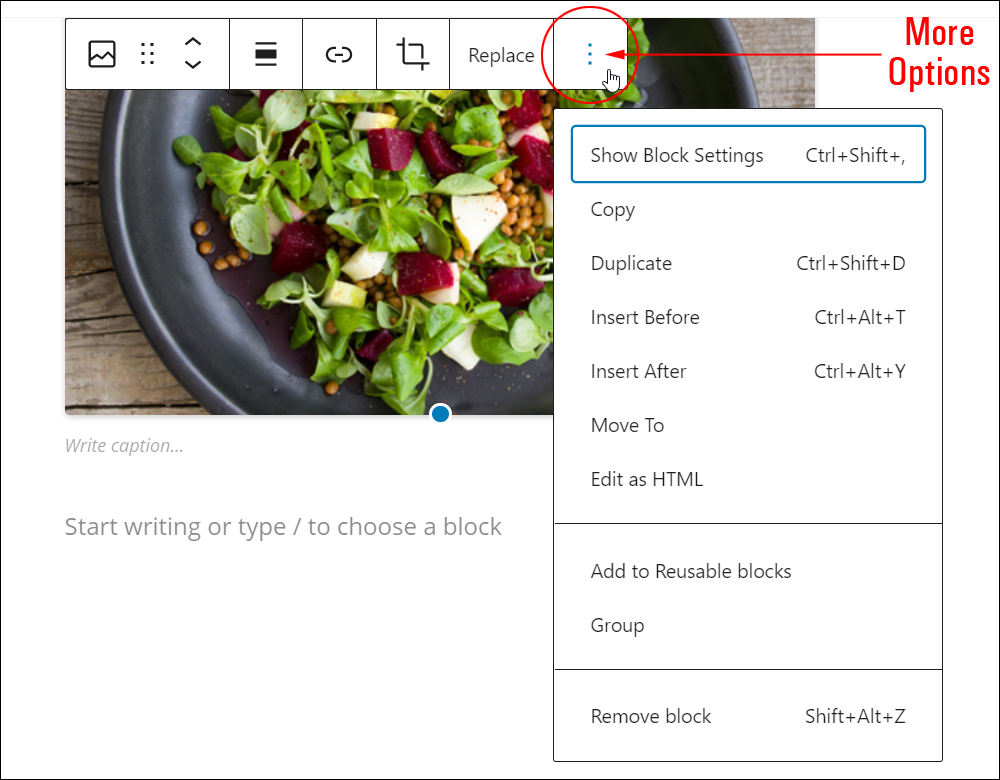
To add a new block to your content using this method:
- Click inside an existing block
- Click on the ‘More Options’ menu
- Select where to add the block (e.g. insert before or after the existing block)
- After a new block placeholder has been inserted into the content, you can then select a new block from the Inserter tool.
Distraction-Free Writing Mode
When creating content, you can use distraction-free writing mode to help you focus on your content, free of hovering menus and other distractions.
To activate distraction-free writing mode, click on the vertical ellipsis icon to display your page settings and select ‘Distraction free’ (or just type Ctrl+Shift+\ if using Windows, or Cmd+Shift+\ if using Mac).
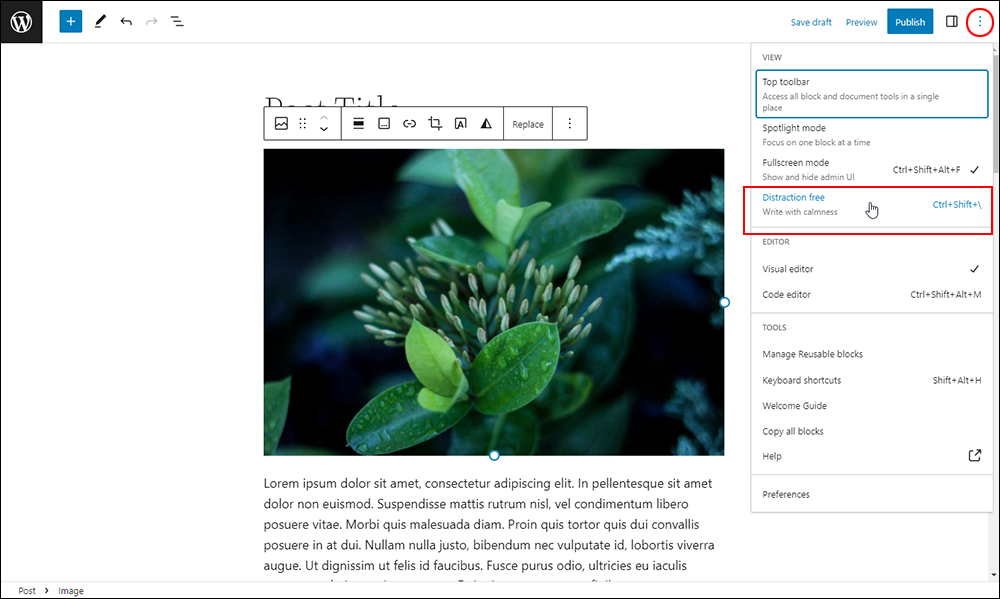
You can now focus only on writing your content, free of distractions on the page.
To return your page to the regular display, simply move your cursor toward the toolbar section to reveal the menus and settings and deactivate Distraction-free mode.
How To Change Block Types
Depending on the type of block you are using, you can convert blocks into other block types as follows:
- Click inside the block
- Select the ‘Change block type’ tool
- Select one of the available blocks in the Transform To: menu
- Your block will automatically convert to the new block type you have selected.
![]()
For more information about using specific block types and what other types of blocks these can be changed into, see the list of block tutorials at the end of this page: How To Use Blocks
How To Duplicate Blocks
To duplicate a block:
- Click inside the block you want to duplicate
- Click on the ‘More Options’ menu
- Select ‘Duplicate’ to duplicate the selected block.

How To Delete Blocks
To delete/remove a block:
- Click inside the block you want to delete
- Click on the ‘More Options’ menu
- Select ‘Remove Block’ to delete the selected block.
![]()
If you have empty blocks, you can ignore these (they won’t show up on your published posts or pages) or delete them.
To remove an empty block:
- Click inside the empty block you want to delete.
- Either:
- Hit the backspace key, or
- If you’re deleting a ‘Paragraph’ block and can’t see the ‘More Options’ menu to access the ‘Remove Block’ option, type a few characters into the box. This will make the ‘More Options’ menu visible, then:
- Click on the ‘More Options’ menu
- Select ‘Remove Block’ to delete the selected block.
How To Use Reusable Blocks

Reusable Blocks:
- Let you store and reuse content blocks across your site.
- Can be shared with other contributors to reuse across your site.
- Automatically update everywhere on your site when you make changes to the block.
- Can be converted into regular blocks to prevent global changes from being applied throughout your site.
We have created a separate tutorial covering how to create, edit, use, and manage Reusable Blocks here: WordPress Blocks – Reusable Blocks
WordPress Block Editor Content Area – FAQs
Here are frequently asked questions about the WordPress Block Editor Content Area:
What is the WordPress Block Editor Content Area?
The WordPress Block Editor Content Area is the central space within the block editor where users create and edit content for their WordPress posts and pages, as well as any additional content areas created by themes or plugins.. It’s where individual blocks are added, arranged, and customized to compose rich and dynamic content layouts.
How do I access the WordPress Block Editor Content Area?
To access the WordPress Block Editor Content Area, simply navigate to the WordPress admin dashboard, open the post or page you want to edit, and click on the “Edit” button. This will launch the block editor, with the Content Area prominently displayed for content creation.
What types of content can I create in the WordPress Block Editor Content Area?
The WordPress Block Editor Content Area supports a wide range of content types, including text, images, videos, galleries, audio files, embeds from external sources, and more. Users can add various blocks to create diverse and engaging content.
How do I add content to the WordPress Block Editor Content Area?
To add content to the WordPress Block Editor Content Area, simply click on the “+” button or use the slash (“/”) command to insert various types of blocks such as paragraphs, headings, images, videos, and more. Blocks can be added and arranged within the editor to create rich and dynamic content layouts.
Are there limitations to the types of content I can add to the WordPress Block Editor Content Area?
The WordPress Block Editor content areas support a wide range of content types, including text, images, multimedia, embeds, and more. However, the availability of certain content types may depend on the capabilities of individual blocks and any specific plugins or integrations used.
Can I customize the layout of the WordPress Block Editor Content Area?
Yes, users can customize the layout of the WordPress Block Editor Content Area by adding, rearranging, and styling blocks to achieve their desired content structure. Additionally, themes and plugins may offer block patterns and layout options to further customize the appearance of the content area.
Are there keyboard shortcuts available for navigating and editing content in the WordPress Block Editor Content Area?
Yes, WordPress provides keyboard shortcuts for efficiently navigating and editing content in the Block Editor Content Area. These shortcuts enable users to perform actions such as adding new blocks, navigating between blocks, and formatting text without relying solely on mouse clicks.
Is the WordPress Block Editor Content Area mobile-friendly?
Yes, the WordPress Block Editor Content Area is designed to be responsive and mobile-friendly, allowing users to create and edit content seamlessly across various devices, including desktops, laptops, tablets, and smartphones. The block editor interface adjusts dynamically to different screen sizes, ensuring a consistent editing experience.
How do I access advanced editing features within the WordPress Block Editor Content Area?
Users can access advanced editing features within the WordPress Block Editor content areas by selecting individual blocks and utilizing the block toolbar and settings sidebar. These tools provide options for customizing block styles, adjusting block settings, and accessing additional block-specific functionality.
***
Congratulations! Now you know how to use the Content Area of your WordPress block content editor.
The next step is to learn about the block editor’s Settings Section.

For more tutorials about using the block editor, go here:
- The WordPress Block Editor (Gutenberg)
- How To Use WordPress Blocks
- How To Use The WordPress Block Editor Toolbar
- How To Use The WordPress Block Editor Content Area (this tutorial)
- How To Use The WordPress Block Editor Settings Section
***

Updated: April 23rd, 2024