 Do you need to provide your website visitors, customers, or clients with directions to your store, office, or business location?
In this step-by-step tutorial, you will learn how to easily create and add maps and driving directions for your site visitors without touching code.
How To Add A Map To Your WordPress Site
Being able to add maps on your site and share driving directions to your store, office, or business location with your site visitors provides potential customers and clients with a very useful service.
Google Maps offers powerful, user-friendly mapping technology and local business information — including business locations, contact information, and driving directions.

The easiest way to integrate Google mapping technologies with WordPress without touching code is to use a WordPress plugin. There are many plugins available for WordPress that let you add maps to your site.
For this tutorial, we are going to use a free WordPress plugin called MapPress Easy Google Maps to add maps and driving directions for your site visitors.
MapPress Easy Google Maps
(MapPress Easy Google Maps plugin for WordPress)
Plugin URL
http://wordpress.org/plugins/mappress-google-maps-for-wordpress/
Plugin Description
This plugin allows you to create great-looking Google Maps and driving directions and easily add them to your WordPress site.
Some of the many features made available through this plugin include:
- Map Previews.
- Specify where to show maps automatically, or disable the automatic display option.
- Add maps to posts and/or pages and custom types.
- Add maps into your content using shortcodes.
- Display directions (inline, Google, or none).
- Allow visitors to change map types (street, satellite, hybrid).
- Display street view.
- Enable zooming with the mouse scroll wheel.
- Enable keyboard panning and zooming.
- Specify marker settings.
- Show traffic buttons.
- Show tooltips.
- Add overview maps
- And much more.
MapPress is available as a free download from WordPress. The Pro version of the plugin provides many additional features, including custom icons, mashup maps, marker lists, map generation from custom fields, and more.
Plugin Installation
From your WP admin area, select Plugins > Add New …

Go to Install Plugins > Search, type in “mappress” into the search field and click on the Search Plugins button …

Click Install Now to install the plugin …

Activate the plugin in the Plugins section …

Activating the MapPress plugin adds a new item to your WP admin menu …

Plugin Configuration
Click on the MapPress menu to configure the plugin settings …

This brings you to the MapPress Settings screen …
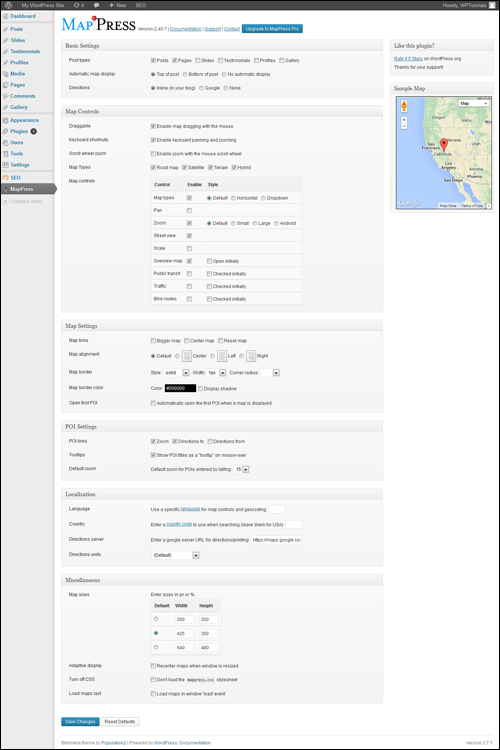
The MapPress settings area is divided into several sections:
- Basic Settings
- Map Controls
- Map Settings
- POI (Point Of Interest) Settings
- Localization
- Miscellaneous
Each of the sections in the plugin settings area provides a range of configurable options, giving you complete control over the way your maps display on your site.
![]()
Note: The MapPress plugin provides users with excellent documentation on how to use this plugin, so in this tutorial we’ll go over an overview only of the plugin’s features …

Let’s go over each of the plugin settings sections …
Basic Settings

The Basic Settings section provides the following options:
- Post types – Select the post types where you plan to use the MapPress Map Editor. MapPress also supports custom post types, so depending on which applications you have installed on your site, additional post type options may also be displayed in this section. ***
- Automatic map display – Automatically display maps in each post without adding a shortcode (if a shortcode is present in a post this setting is ignored). You can specify a default position for displaying map(s) on your site (top of post, bottom of post), or turn off automatic display.
- Directions – Specify where to display directions: ‘Inline’ displays directions inside your content. ‘Google’ opens directions in a new Google Maps window. ‘None’ suppresses the direction links.
When you enable a post type, MapPress displays a configurable map section in the post type’s content edit area, allowing you to create maps for individual items (e.g. posts or pages) and customize the map’s settings for that particular item.

Map Controls
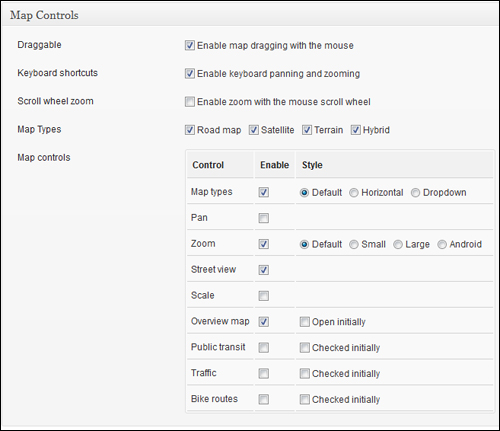
The Map Control section provides a range of map control options for users, including the ability to move around the map dragging your mouse, panning and zooming options, map types (road map, satellite, terrain, hybrid) and the ability to enable or disable control features.
Map Settings

The Map Settings section allows you set the default options for features such as map links, map alignment, map border formatting, and whether to automatically open the first POI (Point Of Interest) when displaying a map.
POI (Point Of Interest) Settings

The POI Settings section controls parameters for displaying points of interest on your maps.
Localization

The Localization settings lets you configure map language and country settings (links to reference sites are provided) and modify the directions server.
Miscellaneous

The Miscellaneous section allow you to specify settings like default map sizes, enable or disable adaptive display, turn off CSS (Cascading StyleSheets), and specify whether to load maps after all other content has loaded on the page.
MapPress Pro version includes additional features, such as the ability to set a different icon for each marker, add custom icons, use mashups (the ability to combine multiple maps into a larger single map), use geocoding, add widgets, set templates for your marker list, automatically create maps from custom field data, set custom map sizes and more.
Remember to click Save Changes when done to update your settings …

Plugin Usage
The MapPress plugin is very easy to use.
Adding A Map
To add maps to posts, pages and other custom types do the following:
Create or edit a new post or page, then scroll down below the content editor area to the MapPress section and click on New Map …

A new blank map will display below your content area …

![]()
If you are in the exact location where you want your map to point to, click on My location and allow your browser to share your location. this will pre-populate the map with your location co-ordinates…

Otherwise, simply enter the destination address into the Add POI field , and click the Search icon button to set the address …

Add your information and configure your map settings …

After entering your map details click on Save …

Your map will be saved with a unique ID number and your Map Title …

You can create multiple maps in the same post or page. Each map will have its own unique ID …
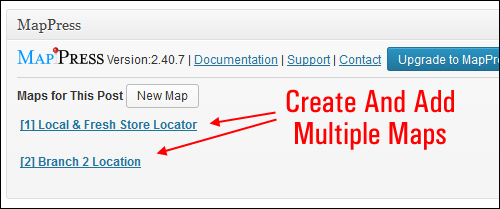
To add a map into your content, place your cursor where you want your map to display and click on the Insert into post link below your map title …

A shortcode will be placed in your content where your text cursor is located. The basic shortcode format for the MapPress plugin is shown below …

Note: The plugin documentation has a number of examples of different ways to customize your maps using shortcodes (see end of tutorial for links to plugin documentation).
You can also manually add the shortcode to your content (must be on a separate line) …
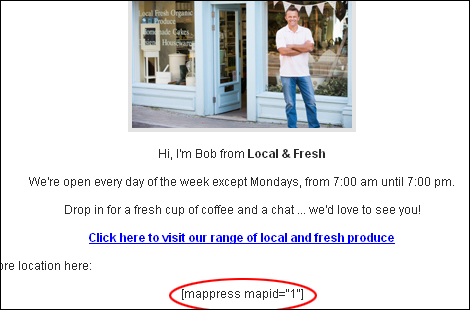
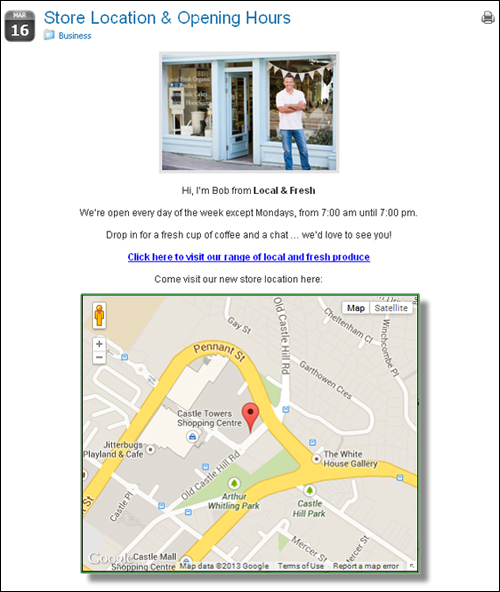
Publish your post or page. Your map will display immediately …
Editing Your Map
To edit an existing map, go to the post or page containing the map you want to modify, then scroll down to the MapPress section and hover your mouse over the Map Title.
Click on Edit …

Make the changes you want to your map. For example, you can change your Map Title, specify a new Map Size, add new/multiple POIs to your map, edit your POI descriptions, and more.
You can also edit, zoom or delete each individual POI in your map …

Click Save when finished to update your map settings …

Your map will be updated with the new changes after your post or page have been republished.
Deleting A Map
To delete a map, go to the post or page containing the map you want to delete, then scroll down to the MapPress section and hover your mouse over the Map Title.
Click Delete …

Your map will be deleted.
![]()
As previously mentioned, the plugin developer provides excellent documentation on how to use the MapPress plugin, as well as plugin support …
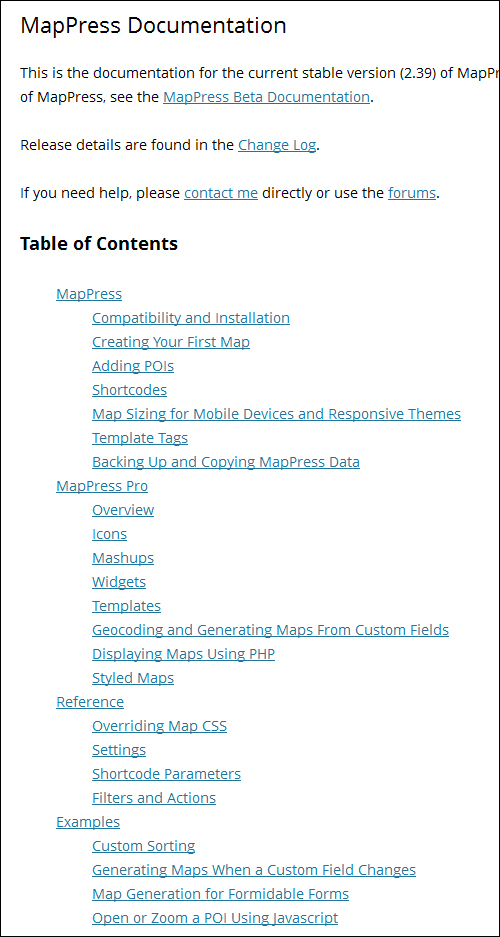
View the MapPress user guide here:
View the plugin FAQs here:
Additional WordPress Map Plugins
WP Google Maps
(WD Google Maps)
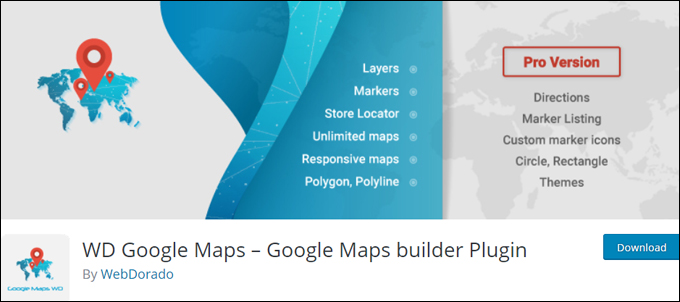
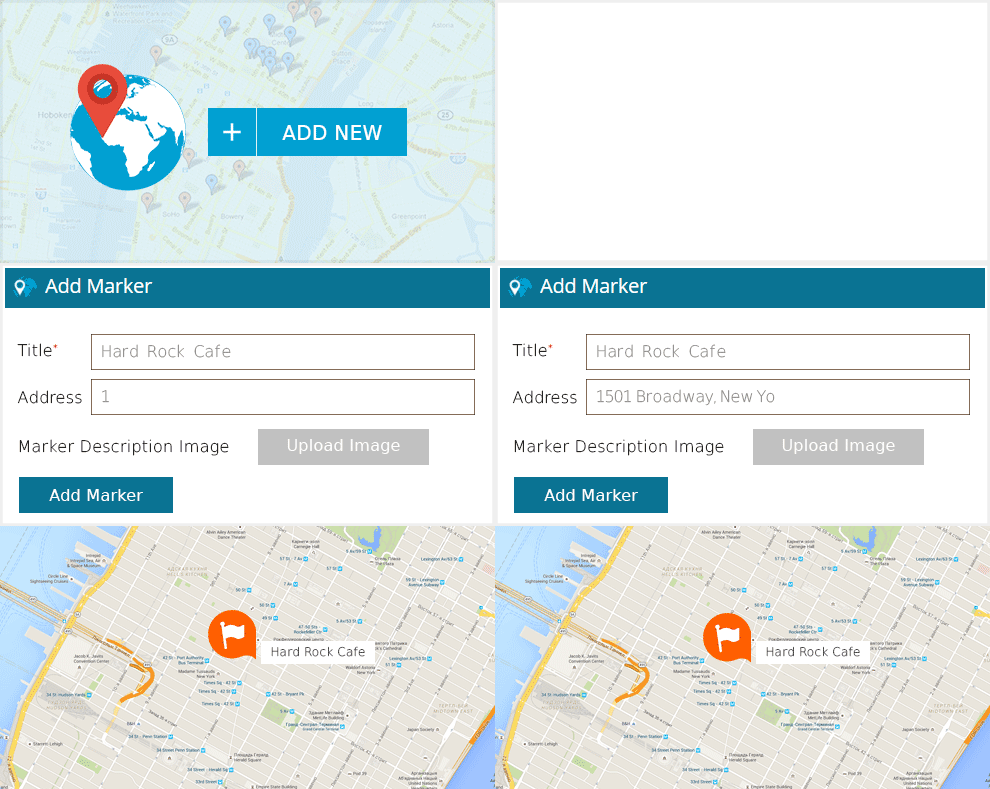
WD Google Maps is a WordPress maps builder plugin that lets you add unlimited maps to your site, create multiple markers, add store locators, and instantly preview changes you make to your maps before publishing.
The plugin creates fully responsive maps and supports all Google map controls and all map types …
(WD Google Maps provides advanced map building features)
You can download a free version of the plugin with limited options, or the premium version with advanced features like customizable map settings, custom marker icon builder, ability to draw shapes in rectangles, circles, polygons and polyline, customizable map skins & themes, get directions, and more.
To learn more about the plugin, watch the video below or visit the website here: WD Google Maps
You can also search for more Map plugins inside your WordPress dashboard (Plugins > Add New), or the WordPress Plugin Directory …

(WordPress Plugins – Maps)
Search the WordPress Plugin Directory for map plugins below:
Congratulations! Now you know how to add maps to your WordPress site.
(Source: Pixabay)
***
"I have used the tutorials to teach all of my clients and it has probably never been so easy for everyone to learn WordPress ... Now I don't need to buy all these very expensive video courses that often don't deliver what they promise." - Stefan Wendt, Internet Marketing Success Group
***

