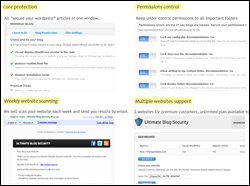
 This tutorial is part of our tutorial series on WordPress Security. In this tutorial, you will learn how to install, configure, and use the Ultimate Security Checker plugin for WordPress.
***
WordPress Security Plugin – Ultimate Security Checker

(Ultimate Security Checker Plugin For WordPress)
The Ultimate Security Checker plugin identifies security problems with your WordPress Installation. It scans your blog for hundreds of known threats, then gives you a security “grade” based on how well you have protected yourself.
The plugin is part of a comprehensive WordPress security service provided by UltimateBlogSecurity.com. Both the plugin and the service are designed for WordPress users of all levels.

The main features of this plugin includes:
- One-click installation and activation
- Automatic security scan of your blog
- Calculation of a letter grade based on how protected your blog is
![]()
Remember to back up all files and data on your site before installing and configuring this plugin, as the plugin performs a number of modifications to important files on your site.
If you need help setting up this plugin, please ask a professional WordPress service provider for assistance.
To learn how to perform WordPress file and data backups, see the relevant tutorials in the section below:
Plugin Installation
From your WordPress administration area, select Plugins > Add New …
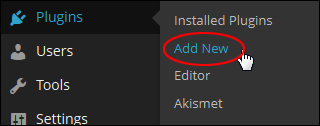
Select the Install Plugins > Search tab, then type in “ultimate security” into the search field and click on the Search Plugins button …

Activate plugin after uploading, or locate the plugin in the search results area and click Install Now …

Activate the plugin after installing it …

Once the plugin has been activated, you can access the plugin’s settings and options area by selecting Tools > Ultimate Security Checker from your WP dashboard menu …

This brings you to the ‘Ultimate Security Checker’ settings screen …

Plugin Configuration
The Ultimate Security Checker settings area is divided into the following sections:
- Run the Tests
- Files Analysis
- How to Fix
- Settings
Let’s go through each of these sections.
Run the Tests Tab
When the plugin is installed, a feature is added to your WP Admin toolbar that lets you check your site’s security …

This performs the same checks as clicking on the ‘Run the tests again!’ button in the ‘Run the Tests’ settings tab …

The plugin performs the following security checks on your site:
- Checks for updates
- Checks your configuration file
- Code check
- Files & folders permission check
- Database check
- Server configuration check
Your security test results display on the screen …

Once the security tests have completed, you will see a ‘security score’ displayed on the Admin toolbar, and a letter ‘grade’ letting you know how well protected your site is …

To view the results of your Database check, click on ‘View Report’ …

The plugin provides information about any potential security issues that may exist …

Click on ‘Back to Test results’ to return to the main settings section …

Files Analysis Tab
The next tab shows your site’s files vulnerability scan results …

To test your site for suspicious code patterns, click on the ‘Scan my blog files now!’ button …
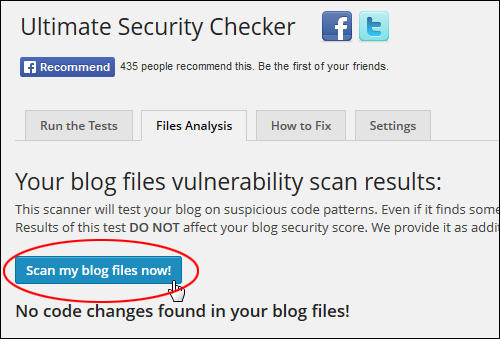
The plugin will begin the scan (this could take a few minutes). It checks the integrity of your WordPress core files and performs tests on the plugins and theme files you have installed on your site to detect possible malicious code inclusions …

The results of the scan do not affect your security secure. They are only provided to help you review and analyze any potential issues.
How to Fix Tab
This section displays information on how to fix a number of potential security issues …

If you find any issues, you can refer to this section, or go through our WordPress Security Tutorials.
Settings Tab
This section lets you specify some settings for the plugin, including when to remind you to re-scan your site …

![]()
Note: As stated earlier, Ultimate Security Checker provides both a plugin and a service.
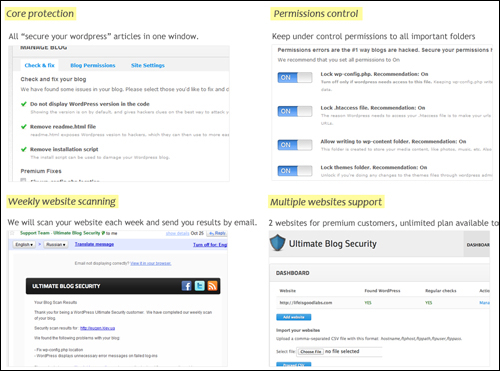
Essentially, the plugin scans your site for security issues and provides you with results of its scan. You then have to manually correct any issues found, or upgrade to the paid service provided by UltimateBlogSecurity.com to automatically get these issues and vulnerabilities fixed.
To subscribe to the service, click on the ‘Fix issues now ‘ button …
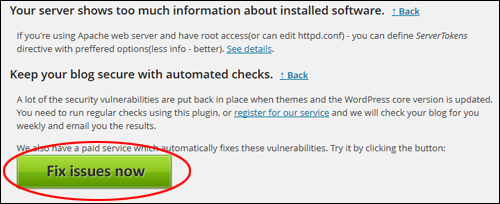
You will then be taken to a website where you can subscribe to the service and get your issues automatically repaired …

![]()
If you plan to use this plugin with no other security plugins installed, we recommend occasionally reinstalling a new copy of the plugin before running a new scan. This is because if your site is hacked, the plugin could be hacked too, and present you with fake results.
Congratulations! Now you know how to install and use the Ultimate Security Checker plugin.
To download this plugin, visit the site below:
***
"I love the way your email series "Infinite Web Content Creation Training Series" is documented and presented. It is very absorbing and captivating. The links and tutorials are interesting and educational. This has motivated me to rewrite my content following the concepts I am learning from the email series." - Mani Raju, www.fortuneinewaste.com
***