 This tutorial is part of our WordPress Management tutorial series.
In this tutorial, you will learn how to export and import WordPress files and data and how to transfer content from one WordPress site to another from your dashboard using the WordPress Tools menu.
![]()
We also recommend checking out these tutorials:
How To Export And Import WordPress Content
WordPress lets you easily export and import posts, pages, comments, custom fields, categories, tags, authors, media files and more using the built-in ‘Export’ and ‘Import’ tools located in your dashboard’s Tools menu …
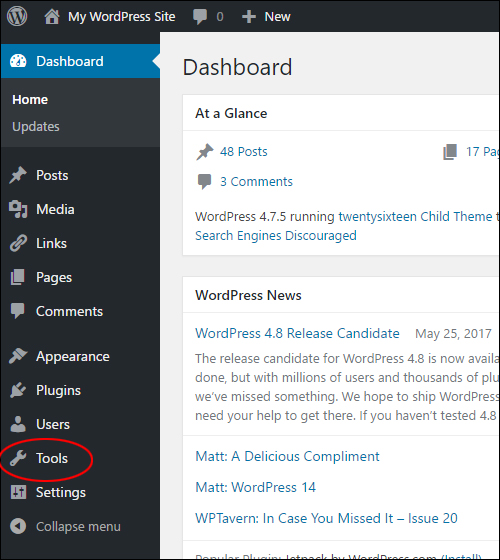
(WordPress Tools menu)
The ability to export and import data has many uses. For example:
- Making a quick backup of your WordPress content.
- Sharing posts, pages, or other content published on your WordPress site with other WordPress site owners (e.g. affiliates).
- Cloning, duplicating, or distributing content across different WordPress sites from a master site.
- Reimporting content to your existing site.
In this step-by-step tutorial, we’ll show you how to export all of your content or parts of your content from an old WordPress site and import these into a new WordPress site.
How To Export WordPress Content
Suppose you have an existing WordPress site and would like to export and transfer some or all of its content to a new WordPress site …
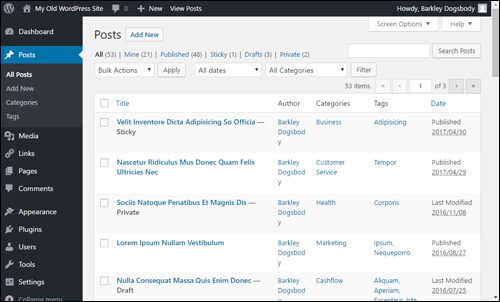
(Let’s export content from an existing WordPress site …)
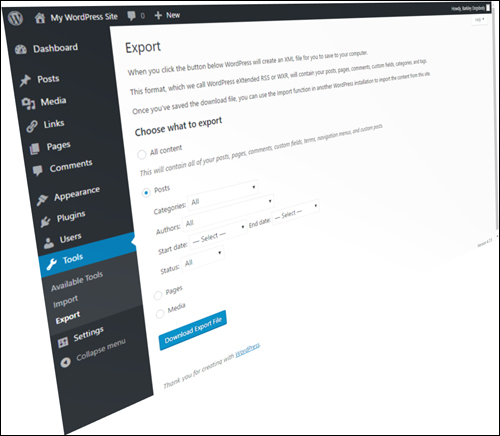
To export content from WordPress, log into your WordPress admin and select Tools > Export from your main menu …
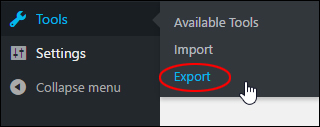
(Tools > Export menu)
This brings you to the ‘Export’ screen …
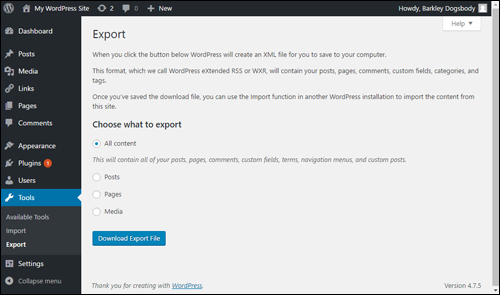
(WordPress Tools > Export screen)
The Tools > Export screen provides a number of export options. By default, these include:
- All content – Export all content, including posts, pages, comments, custom fields, categories, tags, authors, media files and more.
- Posts – Export all or some posts only.
- Pages – Export all or some pages only.
- Media – Export all or some media only.
To export content, select one of the available options and click on the ‘Download Export File’ button …
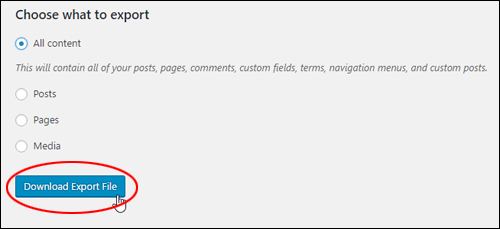
(Choose what to export)
This will create an XML file that you can save to your computer or an external hard drive …
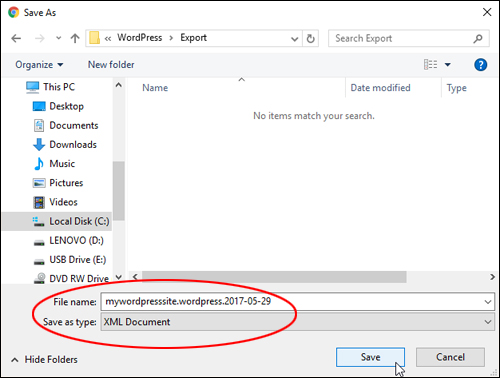
(Save your WordPress export file to your hard drive)
Note: The file is saved in a format called WordPress eXtended RSS or WXR. Depending on the option you have selected, this export file contains data about your posts, pages, comments, custom fields, categories, and tags.
You can rename this file or save as is. Just make sure you know where you are saving this file and click on ‘Save’ to export it …
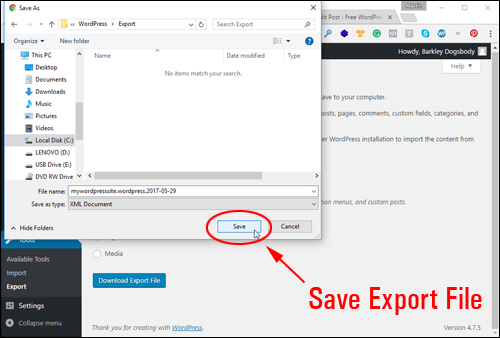
(Save your WordPress export file)
Your export file is now saved to your hard drive …
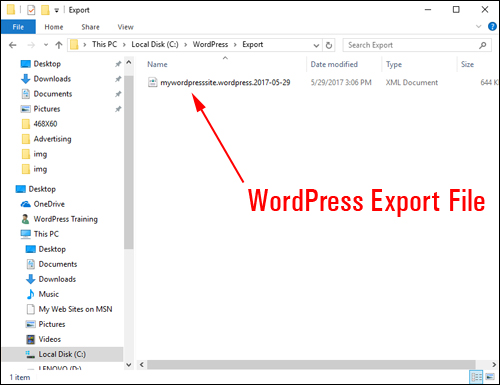
(WordPress export file)
If you choose to export only post content, you will be presented with options to filter your data:
- Categories – Export only posts in a selected category
- Authors – Export only posts from a specific author
- Start/End Date – Export only posts assigned to a specific date period
- Status – Export only posts within a specified status
To export all posts without filtering just select the ‘Posts’ radio button and click on the ‘Download Export File’ button …
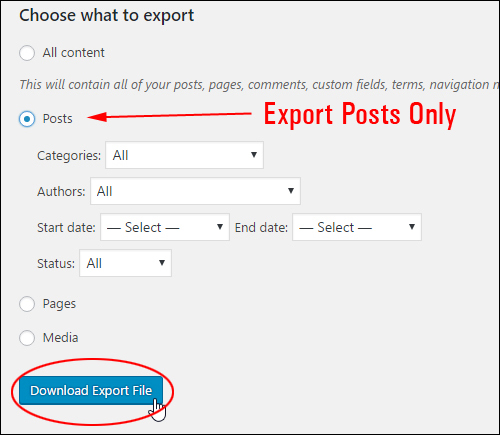
(Export Posts only)
You can use multiple filters to narrow down the posts you want to export.
For example, you can export only posts that fall within a specified category by selecting the category from the Categories drop-down menu …
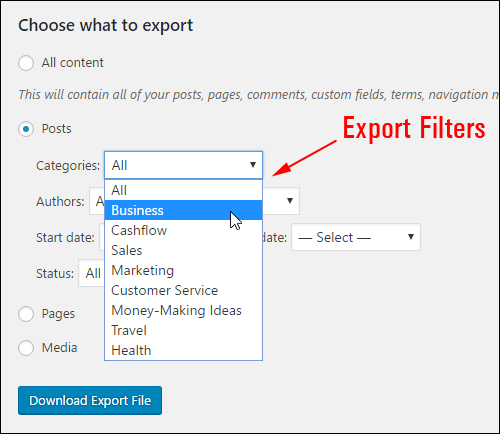 (Post export filter: Categories)
Similarly, use the Status drop-down menu to select only published, scheduled, draft, pending, or private posts (with or without additional filtering options) …
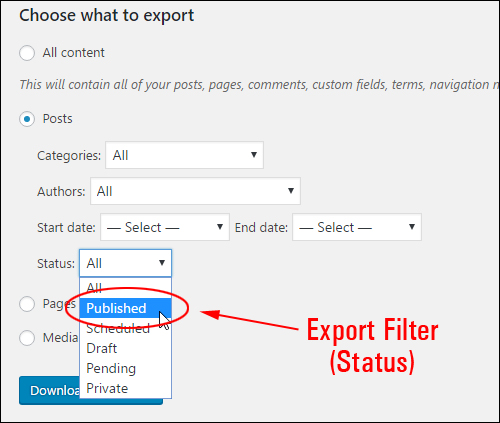
(Post export filter: Status)
Exporting Pages is similar to exporting Posts …
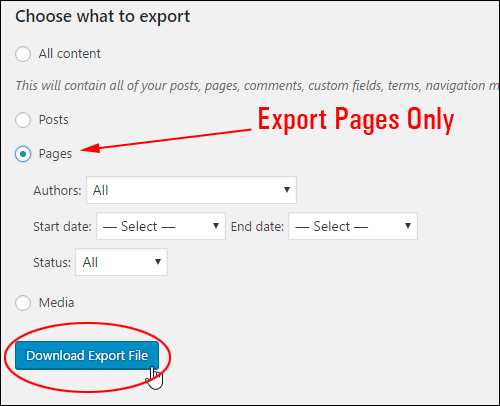
(Export Pages only)
To export only your stored media content, choose the ‘Media’ radio button and select a start and end date, or leave as is to export all …
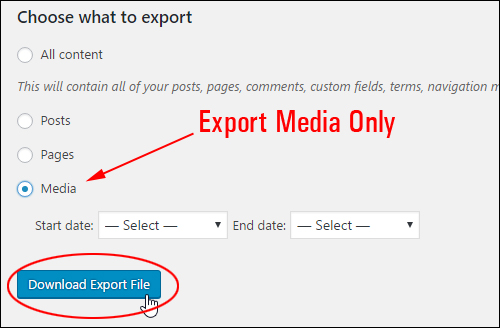
(Export Media)
![]()
Depending on what type of plugins you have installed or custom post types your site uses, you may see additional options displayed in the ‘Choose what to export’ section of your Export screen …
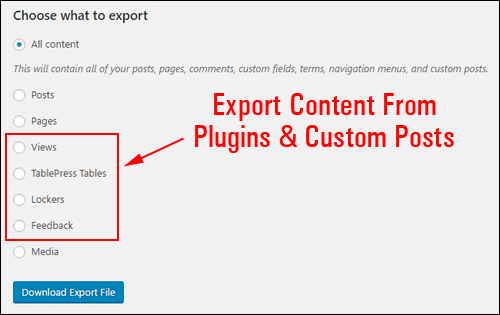

(Export screen – Additional export options)
Now that you know how to export WordPress content, let’s take a look at how import (or reimport) your export file.
How To Import WordPress Content
![]()
![]()
![]()
We recommend backing up your WordPress site before importing new data.
Also, if your exported file is too large, the import script could run into your host’s configured memory limit for PHP and you will get a “Fatal error” message letting you know that your allowed memory size is exhausted. If this happens, you will need to manually increase your PHP memory limit and then run the import script again.
***
Let’s say that you have just installed a brand new WordPress site and want to import all of the content from an existing site to your new site …
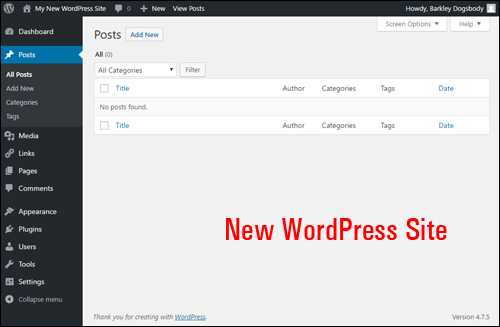

Let’s import the content stored in your export file that we’ve just created into your new WordPress site.
To import content into WordPress, log into your WordPress admin and select Tools > Import from your main menu …
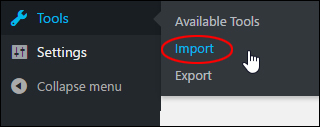

(Tools > Import menu)
This brings up the Import screen.
If you have posts or comments created using another system, WordPress lets you import these into your site. The ‘Import’ screen also provides the option to convert post categories into post tags and vice versa.
To import content from another WordPress site, choose the WordPress Importer feature.
If this is the first time you are importing content using the WordPress Importer, you will need to install it. Click on ‘Install Now’ …
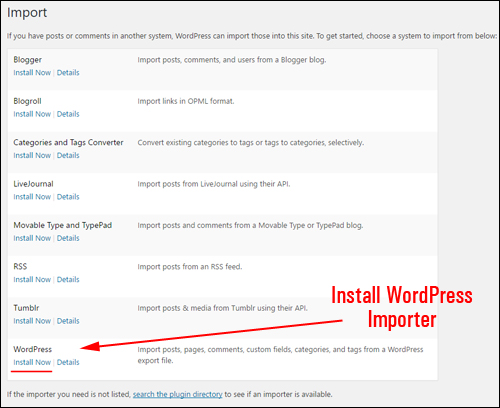

(WordPress Importer)
Once the WordPress Importer is installed, click on ‘Run Importer’ …
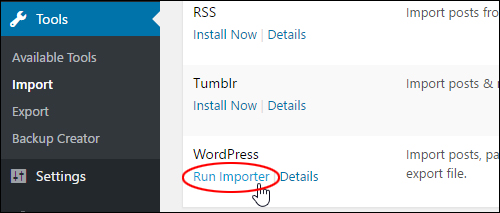

(Run Importer)
This brings up the ‘Import WordPress’ screen. Click on ‘Choose File’ …
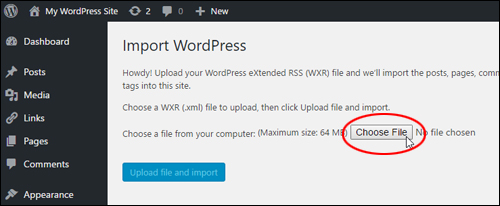

(Import WordPress – Choose File)
Locate and select a saved export file and click ‘Open’ …
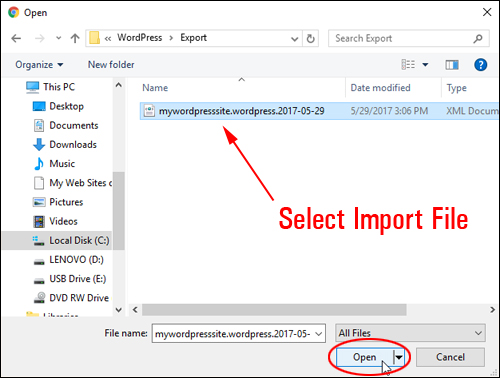

(Select Import file)
Once a file has been selected, click on the ‘Upload file and import’ button to begin importing the content from that file …
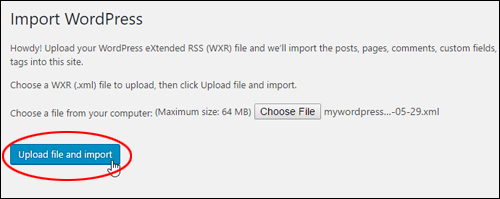

(Upload file and import)
You will be asked to assign an author or authors to your imported content.
You have the option of importing the original author, assigning content to a new user (if you choose this option WordPress will create a new user), or assigning posts to an existing user …
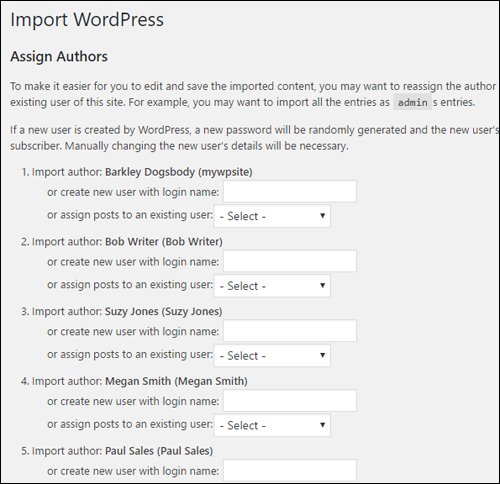

(Import WordPress – Assign Authors)
![]()
![]()
To learn how to create new users in WordPress, see the tutorial below:
You will also have the option to download and import file attachments …
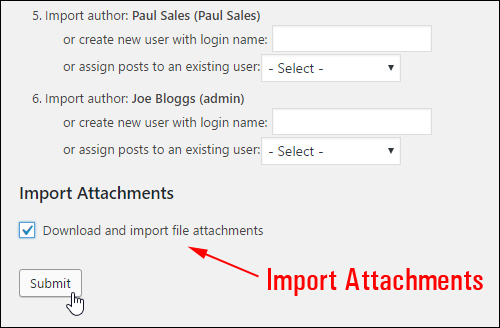

(Import Attachments)
If there are no problems, all data will be successfully imported and you will see an “All done. Have fun!” message like the one shown below …
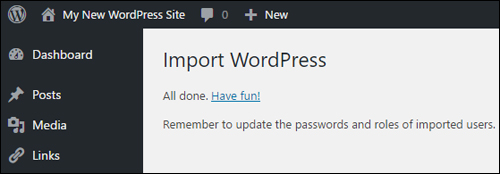

(WordPress content successfully imported!)
If you’re reimporting data into an existing WordPress site, you may see a message letting you know that certain files already exist. In this case, WordPress will go through the process and skip importing duplicate (i.e. existing) files …
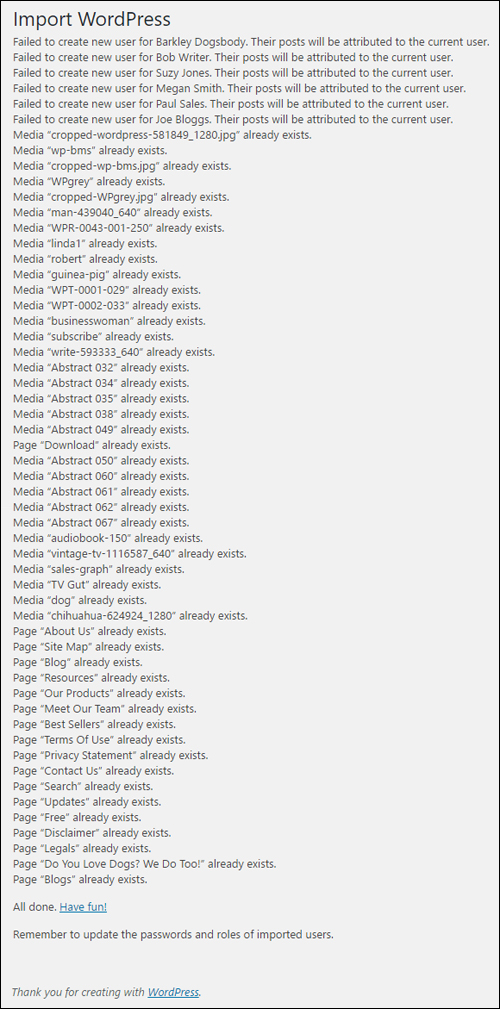

(WordPress does not import duplicate files)
After the import process is complete, you can check the results.
Click on the link on the screen to return to the dashboard …


(Import WordPress – All done!)
The dashboard ‘At a Glance’ feature shows how many new content items have been added to your WordPress site …
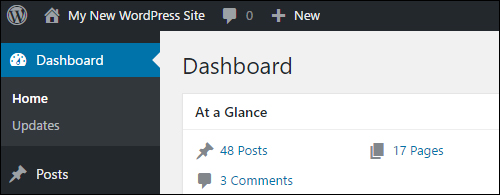

(WordPress Dashboard – New content items added)
To view the imported content (e.g. posts, pages, comments, tags, categories, etc.), navigate to the relevant sections of the dashboard …
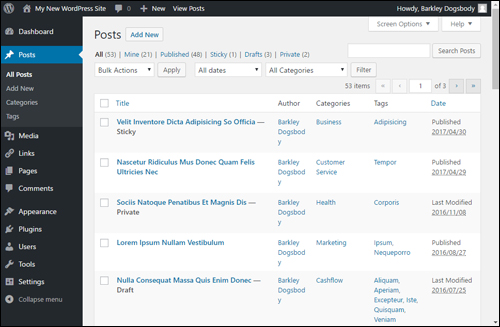

(Content has been imported into WordPress!)
Additional References
To learn more about importing content from other systems, refer to the official WordPress documentation here: WordPress Codex: Importing Content
Congratulations! Now you know how to export and import content in WordPress.

***
"If you're new to WordPress, this can stand on its own as a training course and will stay with you as you progress from beginner to advanced and even guru status." - Bruce (Columbus, Ohio)
***

