How To Split Long WordPress Posts Into Multiple Pages
In this tutorial, you will learn how to split a long post into multiple pages in WordPress, plus tips for using the WordPress pagination feature effectively, and ways to enhance pagination on your site using plugins.
Why Split Posts Into Multiple Pages?
If you publish long articles or blog posts, splitting your content into smaller pages can make it easier for users to read and navigate different sections of your post.
WordPress has a great, yet little-known feature that lets you easily split long posts into smaller sections, making your content more manageable and easier to digest.
The built-in WordPress ‘page break’ feature also auto-paginates each split section of your post or page.
How To Split Long WordPress Posts Into Multiple Pages
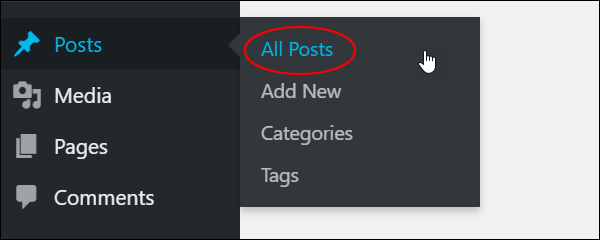
Log into your WordPress administration area and go to the Posts section of your site by clicking on Posts > All Posts.
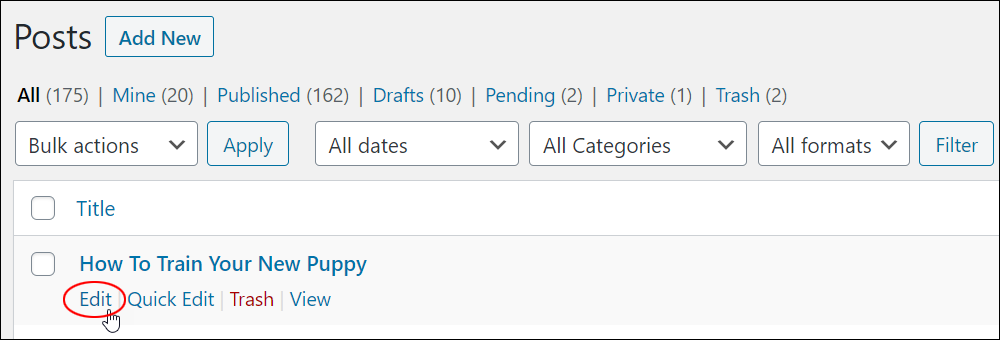
Find the post you want to split into two or more pages and click the ‘Edit’ link below the post title to load the post into the ‘Post Edit’ screen.
WordPress Page Break Tag
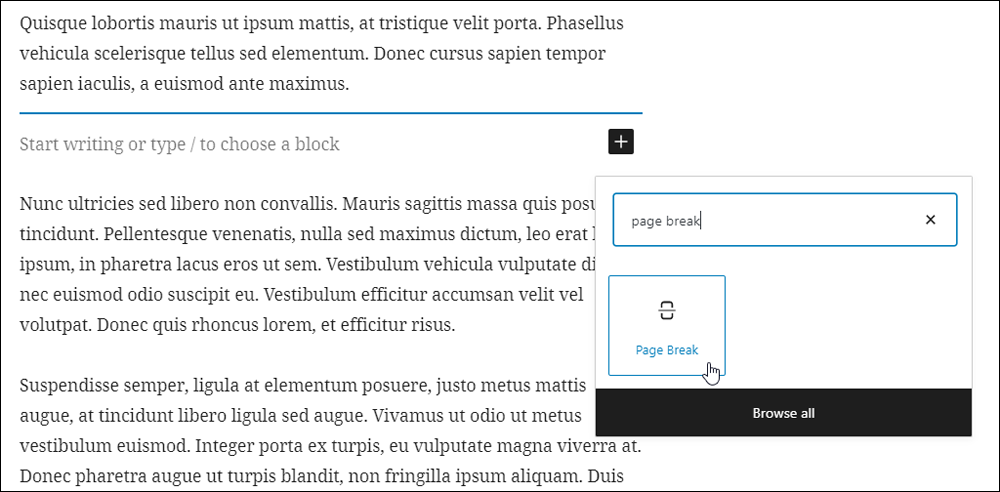
The example below uses the WordPress Classic Editor. If you’re working with the WordPress Block Editor (Gutenberg), then see our tutorial on using the Page Break block.
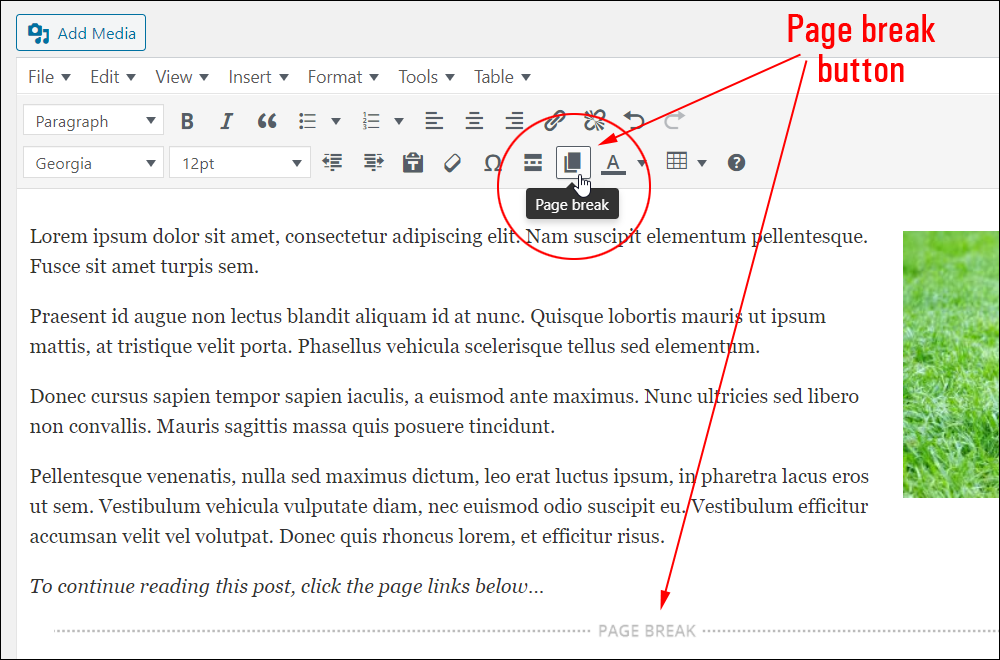
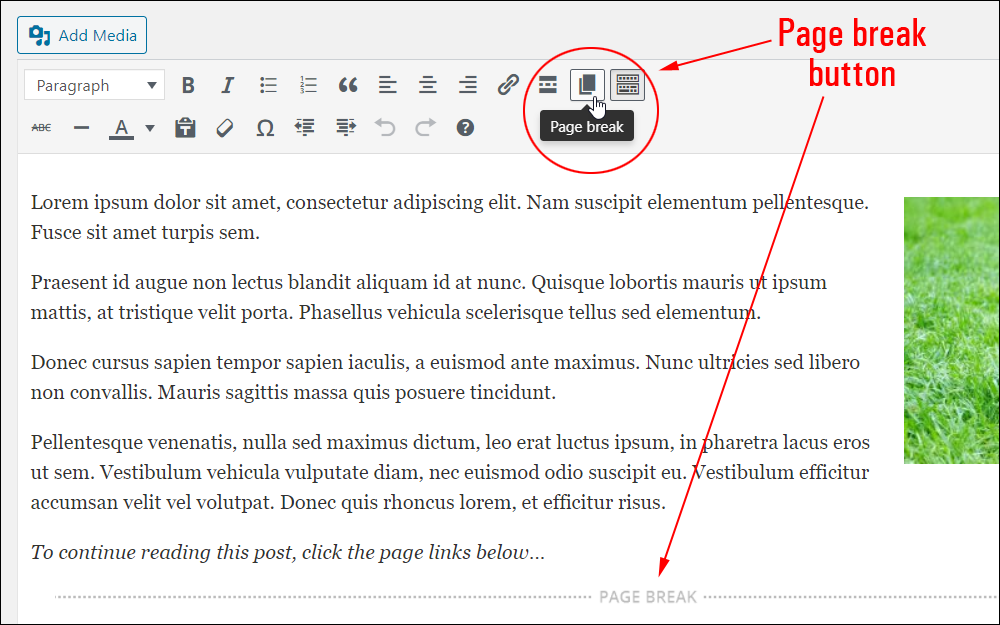
Let’s start with the easiest way to add a page break to your content.
With the Visual editor tab active, find the location where you would like to split your page and hold down the Shift+Alt+P keys.
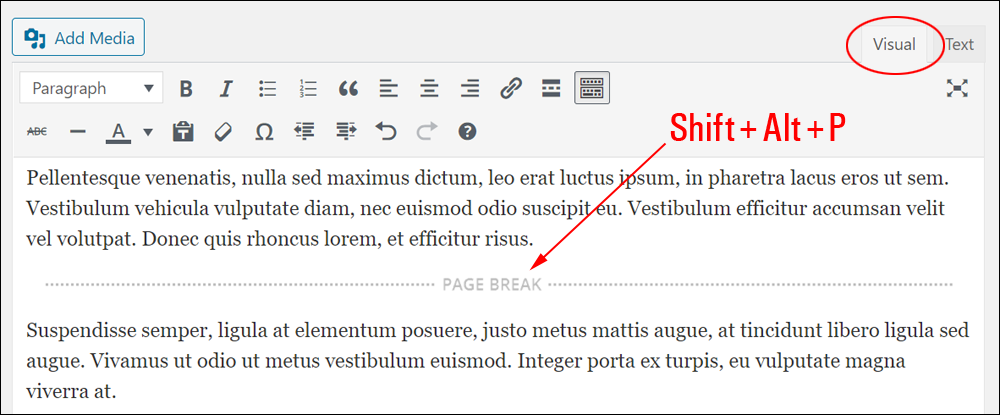
This inserts a page break tag into your content.
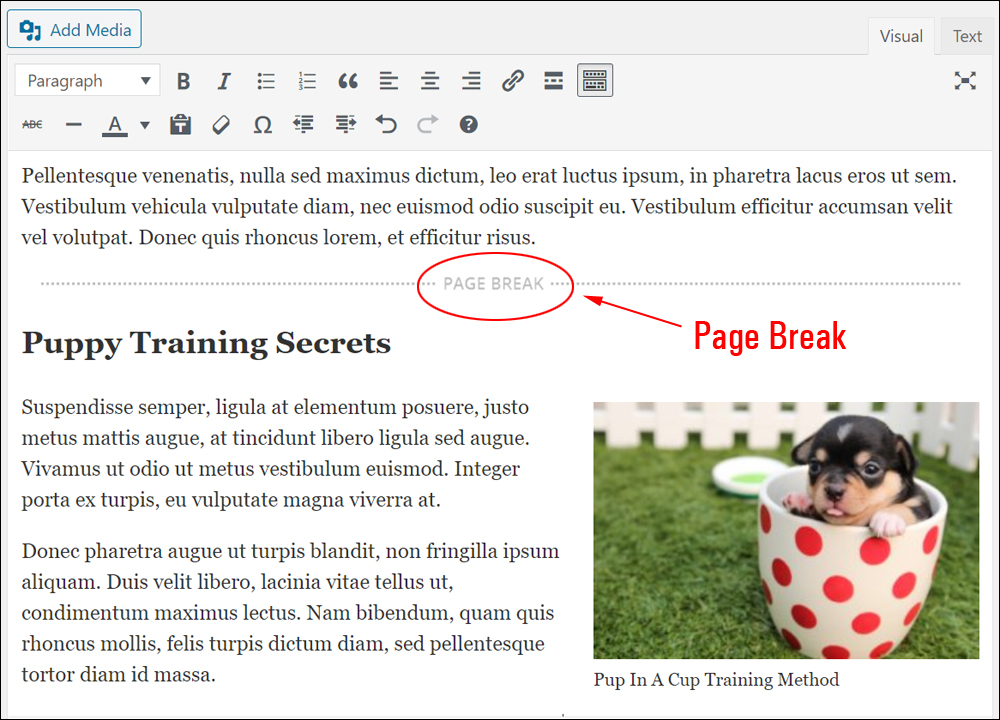
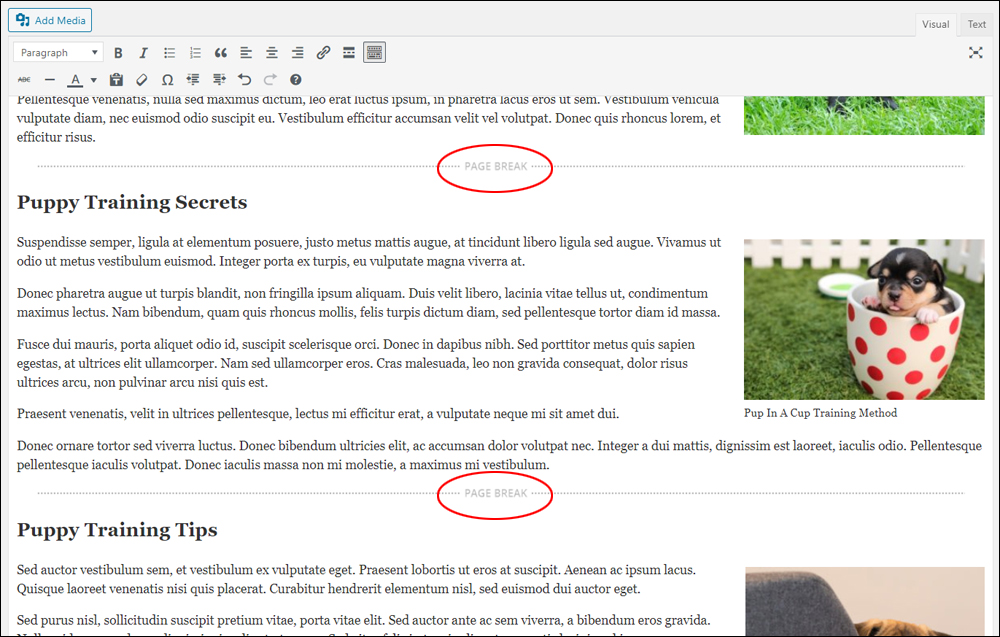
Add page breaks anywhere in your content where you would like to split your post into separate pages.
In the example below, we are splitting the post up so that every section starts on a new page.
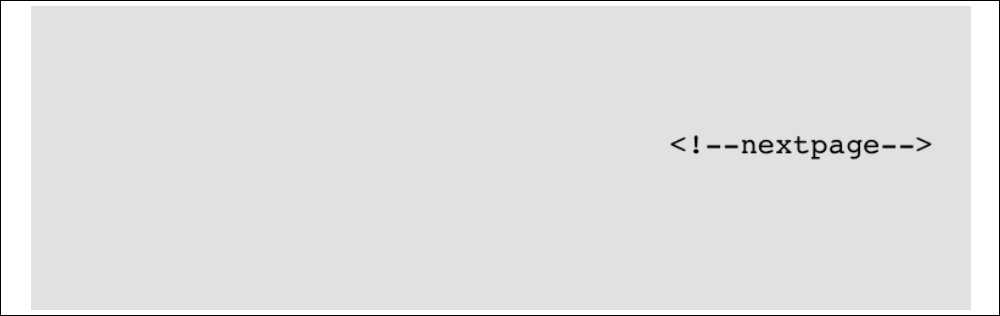
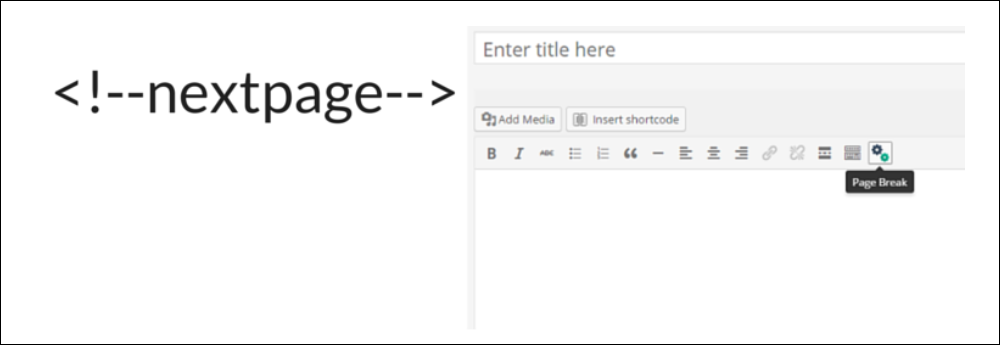
The Nextpage Tag
The Shift+Alt+P keys insert the ‘nextpage’ tag shown below into your content.

![]()
If you just want to publish a small excerpt or ‘teaser’ of your content and have readers click on a ‘read more’ button to read the full post, use a Read More tag instead. You can still break up the full post into smaller sections if you like using the Insert Page Break tag discussed here, but this is different than a post excerpt, which we cover in this tutorial: How To Use WordPress Post Excerpts
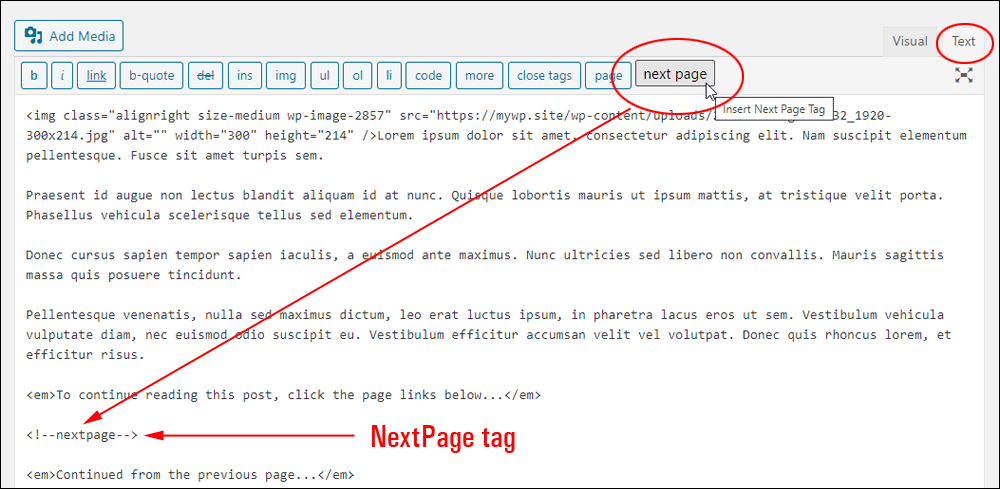
How To Insert Nextpage Tag Manually
In addition to using the Shift+Alt+P keys to break up your post into smaller sections, you can also insert the ‘nextpage’ tag into your content manually.
This is useful if you plan to write your post (or have someone else write it for you) somewhere other than inside your content editor (for example, in a word processing application).
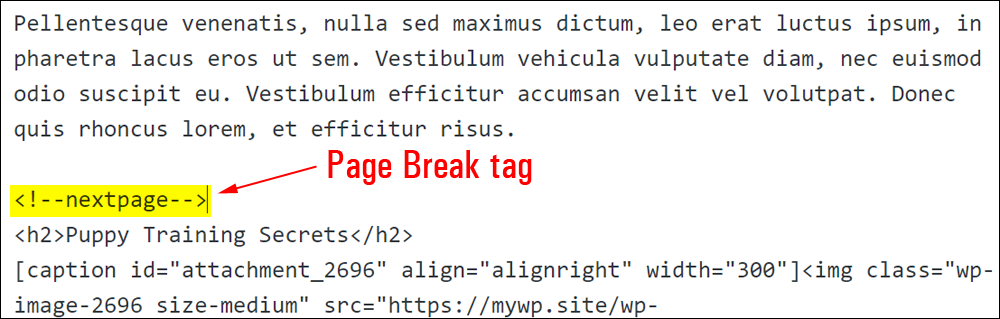
To insert the <!--nextpage--> tag into your content manually, mark the spot where you would like to split your page by adding an easily recognizable placeholder string of symbols into your content (e.g. @@@@@).
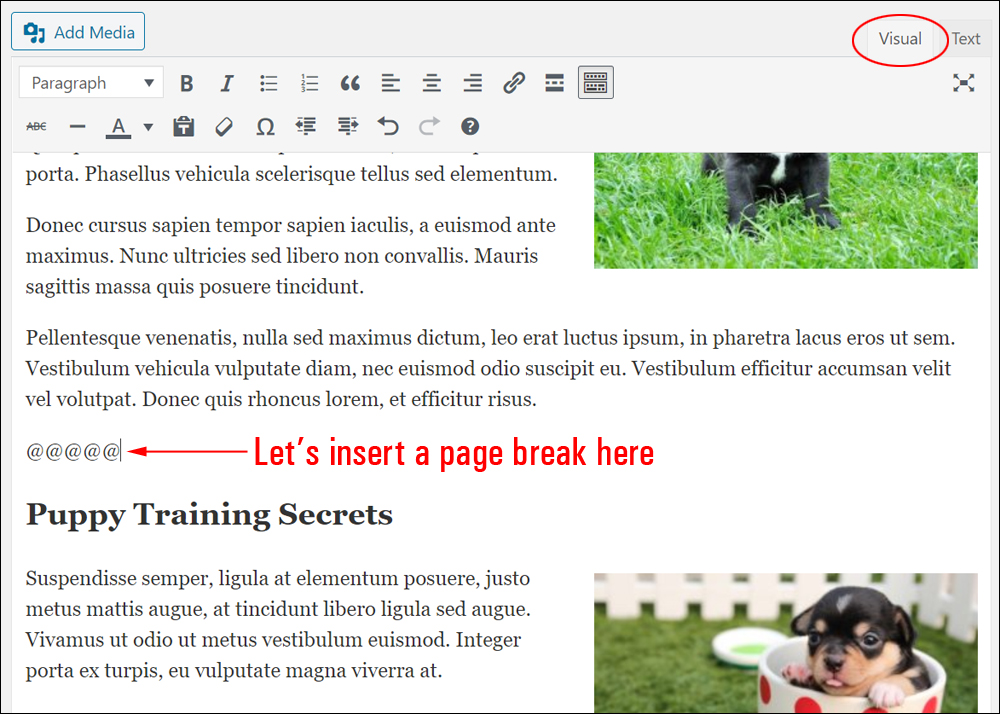
Next, click on the ‘Text’ editor tab and find the placeholder marker or string of symbols you’ve added to your content.
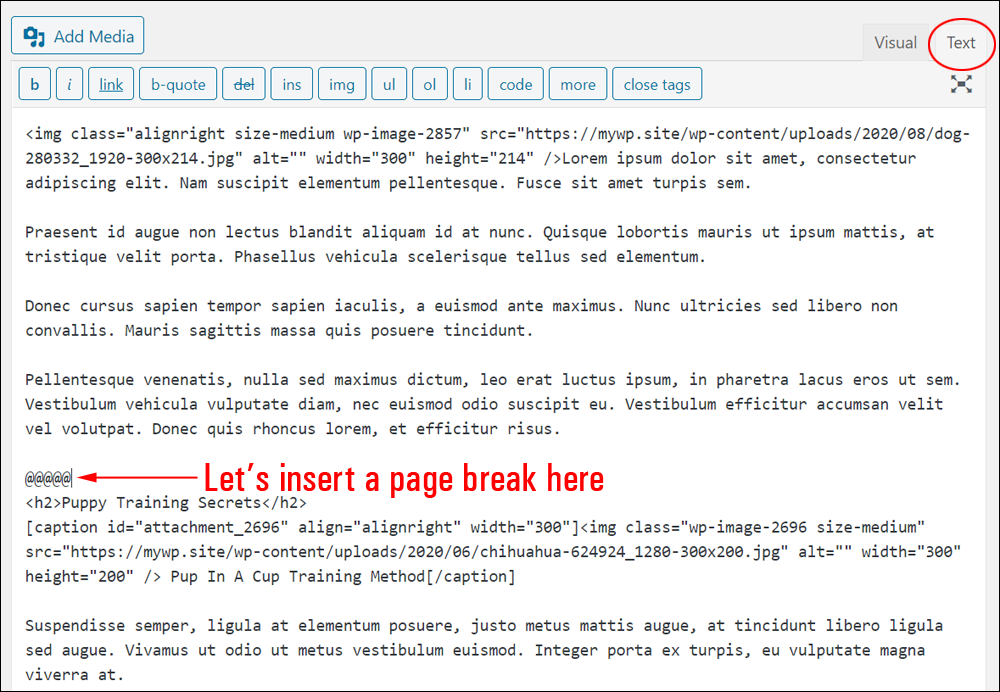
Type or paste the <!--nextpage--> tag over your marker symbols.
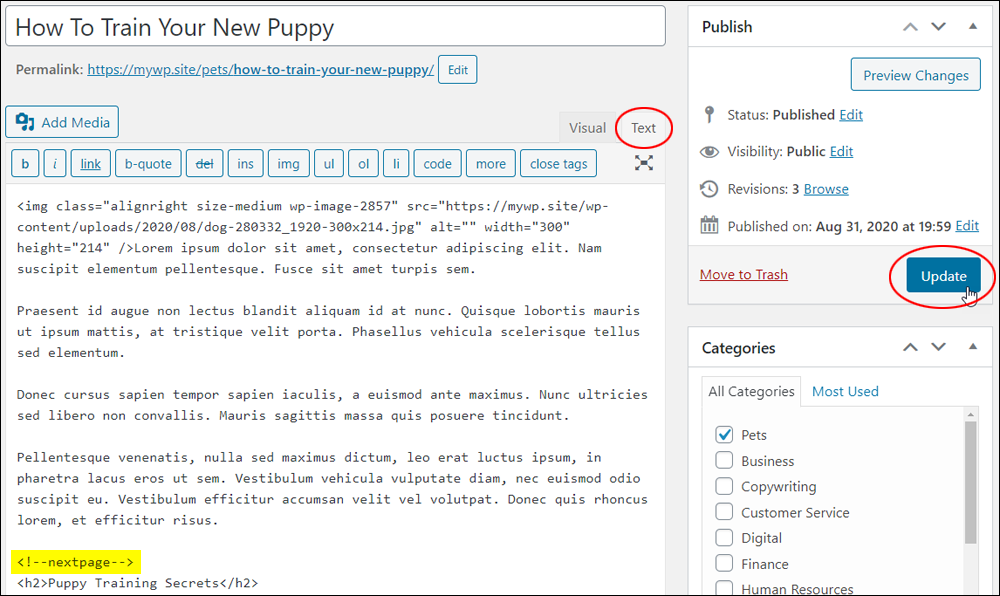
Repeat this process to insert as many page breaks as your post requires. When you are done adding page break tags to your content, click the ‘Update’ button to update your post.
Next, view your post.
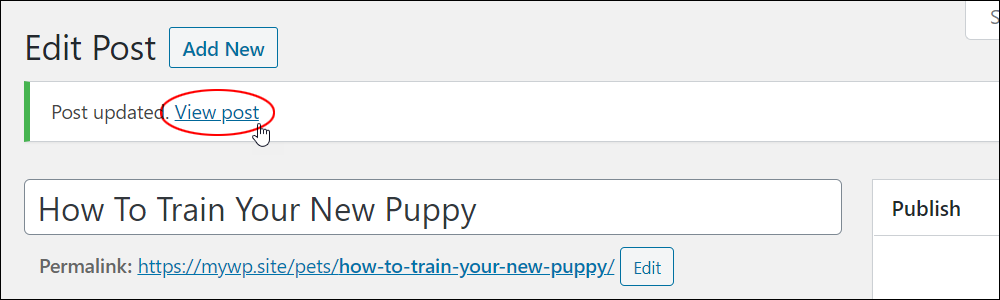
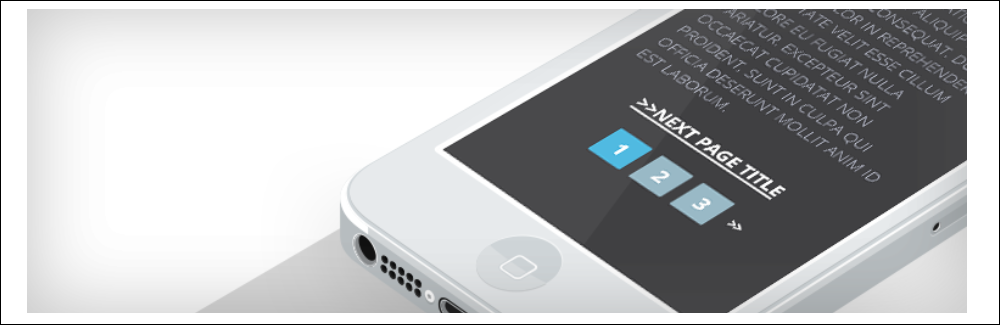
You should see your post split into separate pages with auto-pagination buttons added where you have inserted your page break tag.
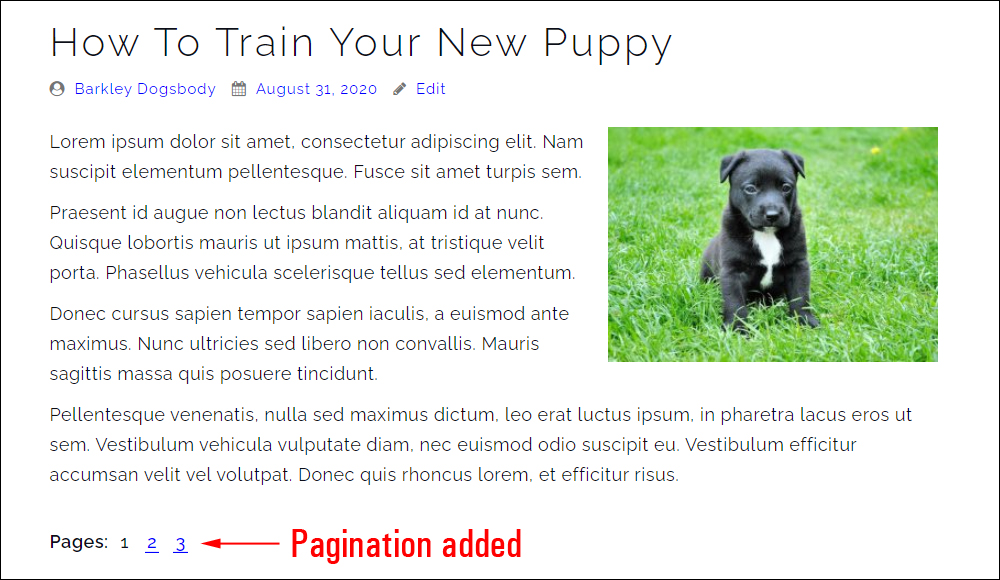
Click on the page buttons to visit other sections of your post.
![]()
When a post is split into multiple sections, WordPress also creates a post URL with pagination for each section.
For example:
- http://yourdomain.tld/post-title
- http://yourdomain.tld/post-title/2
- http://yourdomain.tld/post-title/3
- etc.
This not only helps indicate which section of the post users are viewing, but these URLs can also be used to navigate your content.

Pagination Styles
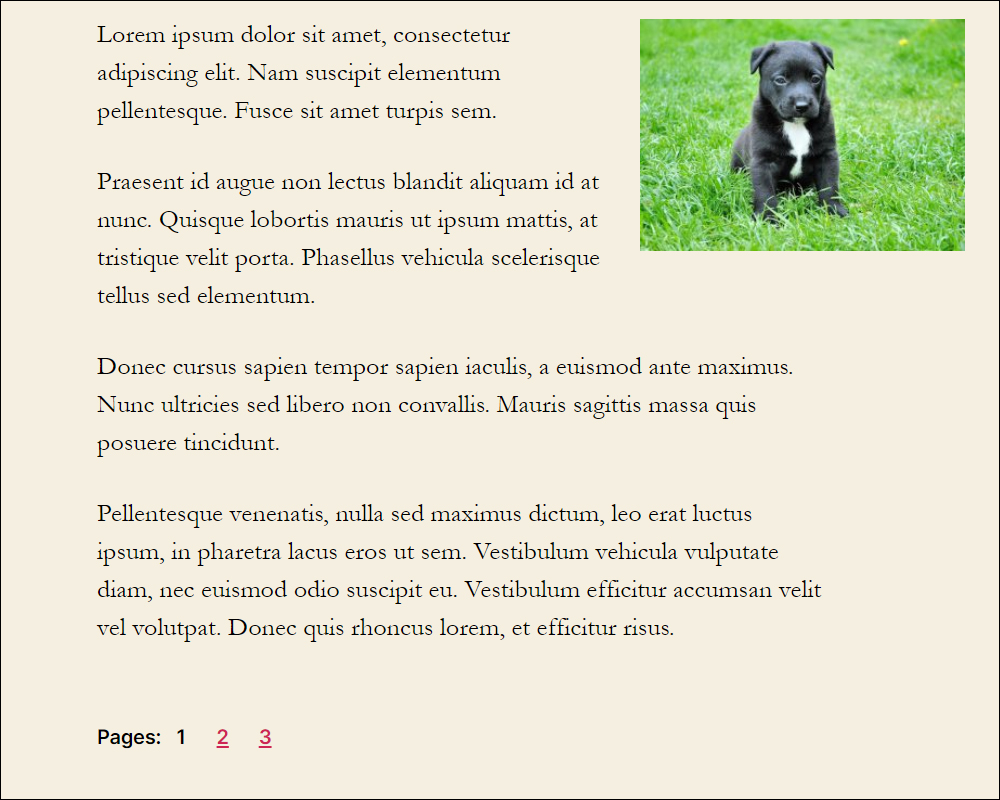
The style of your pagination buttons or links is generally defined by the style settings of your WordPress theme.
For example, here’s the pagination style of the default WordPress Twenty Twenty theme:
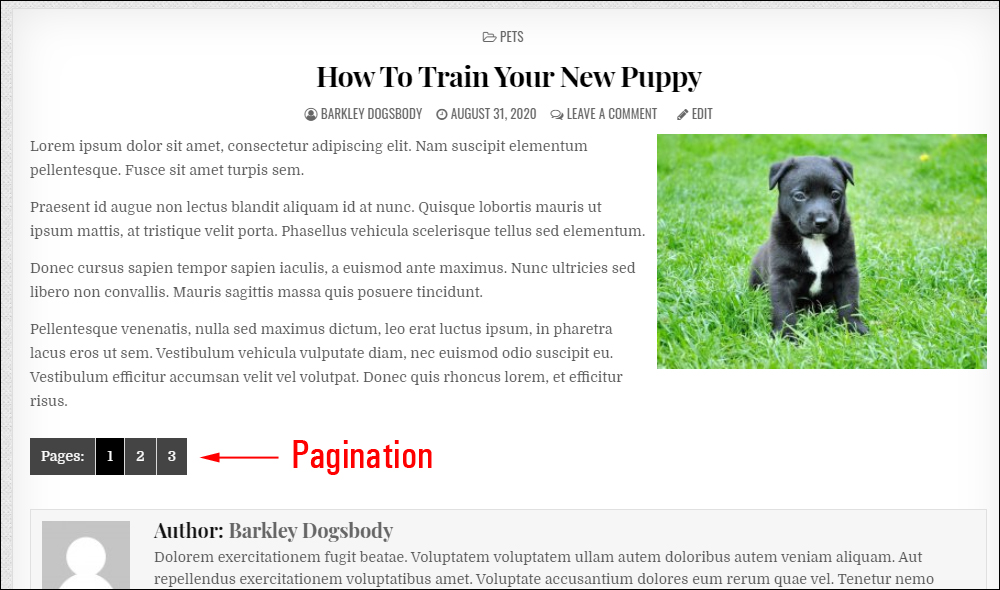
And here is the pagination style of another free WordPress theme called CuteWP:
![]()
Some WordPress themes may provide settings and options that allow you to customize your pagination style. With many themes, however, customizing the look and feel of your pagination style requires knowledge of coding (e.g. CSS).
WordPress Pagination Tips
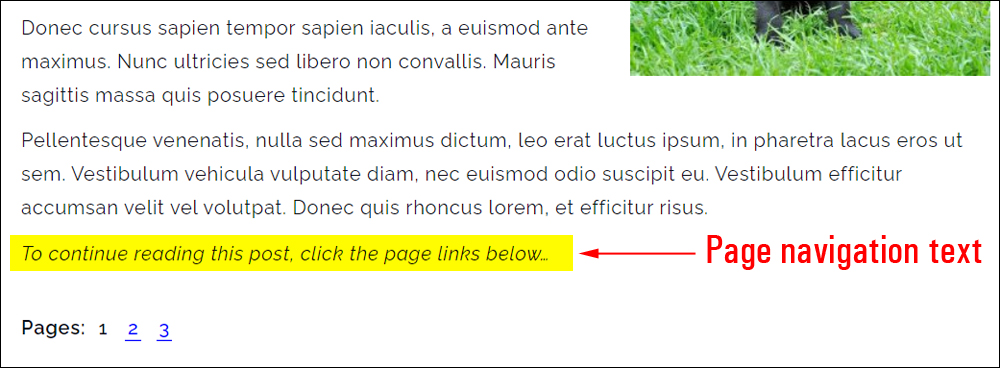
Add Page Navigation Text
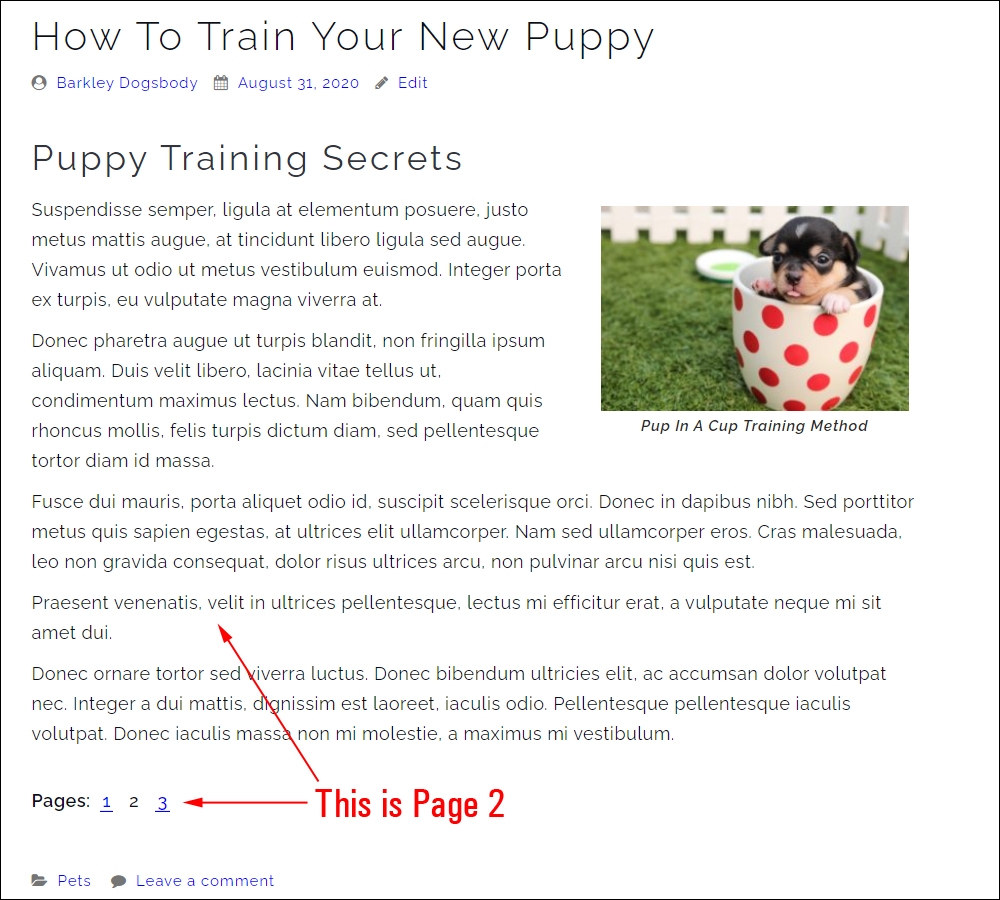
In some cases, adding page navigation text before and after your page break tags can help guide your readers through your content.
This is especially useful if your content includes lots of distracting elements (e.g. ad banners, sidebars, etc.)

The example below lets your readers know that your post has been split up into multiple pages and encourages them to keep reading your post.
Troubleshooting Page Breaks Not Working
If your page doesn’t break where it’s supposed to, first make sure that you have actually added the page break or nextpage tag to your content. This step can be missed if you forget to save your page or overwrite your content before moving on to something else.
If you can see the <!--nextpage--> tag displayed on your post instead of the actual page break or pagination buttons/links, then the tag has either been misspelled or it has been added incorrectly to your content.
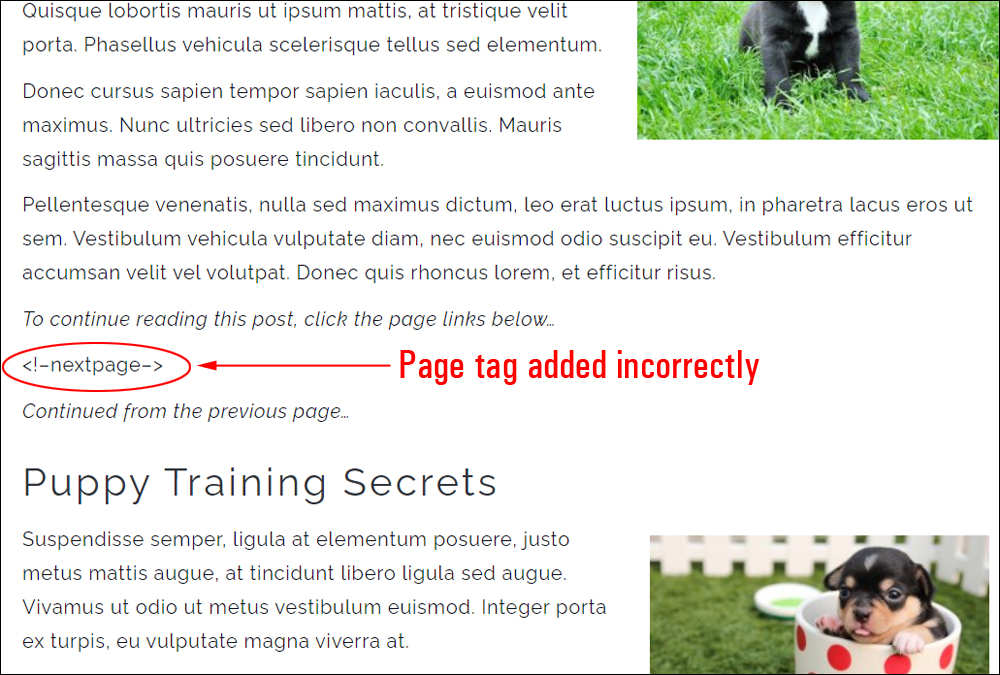
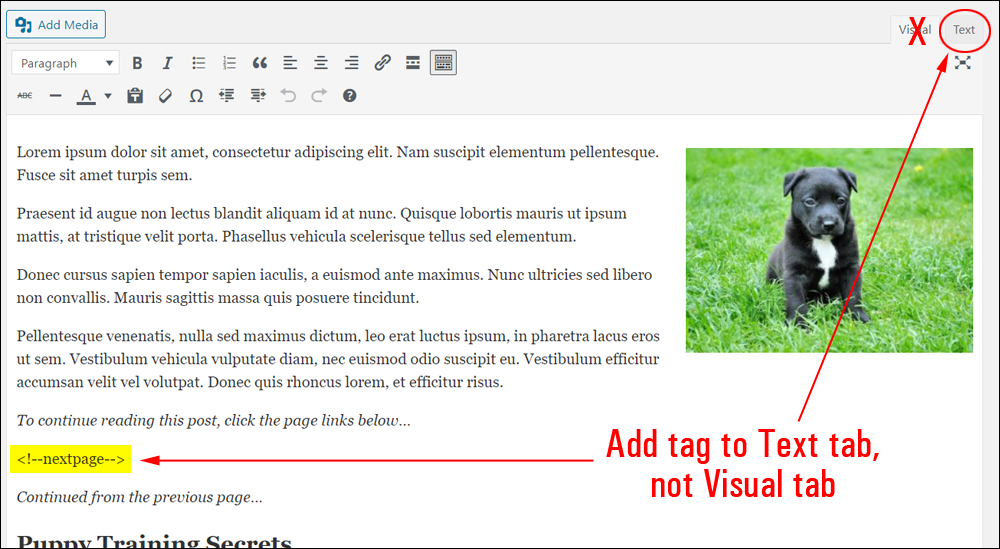
If the tag has been spelled correctly, the error was most likely caused by adding the tag inside the Visual editor instead of the Text editor.
To make sure that the <!--nextpage--> tag is working correctly, paste it into the ‘Text’ editor, not the ‘Visual’ tab.
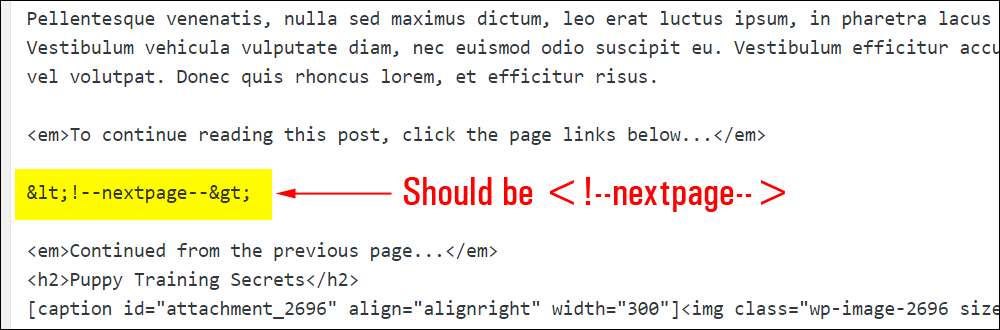
You can check and see if you have pasted the tag incorrectly in your Text tab.
The screenshot below shows you what the tag will look like if you accidentally inserted it into the ‘Visual’ tab (the ‘open’ and ‘close’ brackets around the tag are converted into HTML characters and this causes the page break tag to display incorrectly).
WordPress Pagination Plugins
![]()
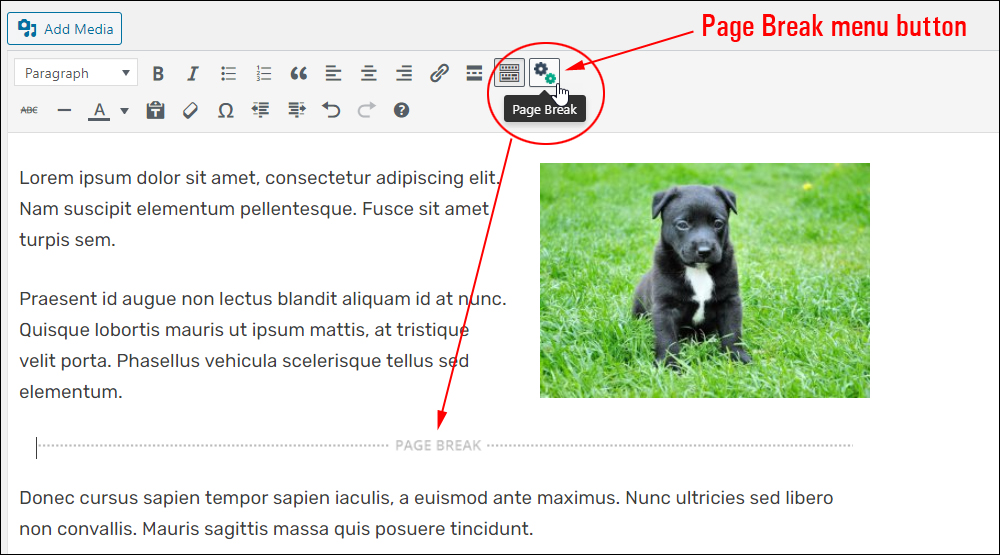
Earlier versions of WordPress included an ‘Insert Page Break’ button in the Visual Content Editor menu.
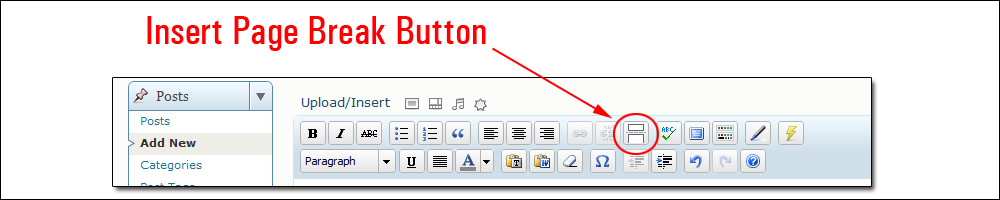
The functionality is still there but the button has been removed from the menu. A number of WordPress pagination plugins will reinsert the page break button to the menu and provide additional customization features.
Let’s take a look at some of these plugins.
![]()
Note: Some of the plugins described below have not been updated for several WordPress versions. They were working fine when we last tested them. Some plugins don’t require frequent updating, as they are only adding basic functionality, but this may change in the future.
Tiny MCE Advanced
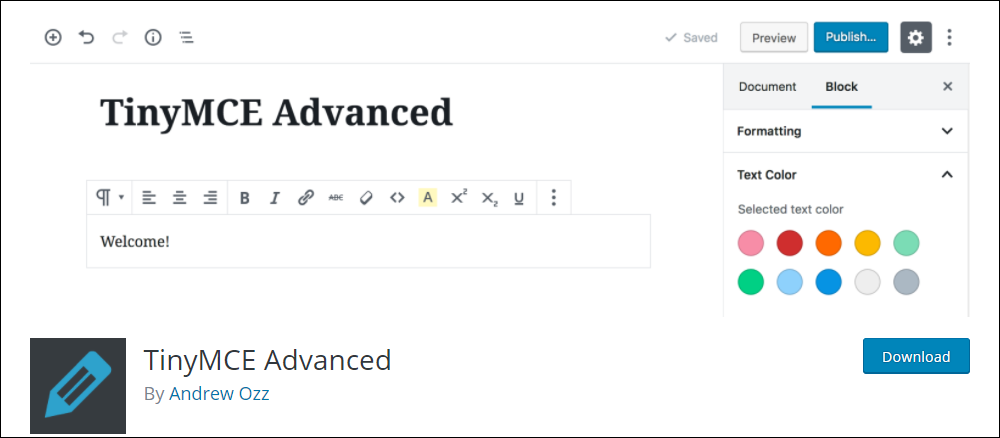
This plugin not only adds and restores a lot of the functionality from previous WordPress editors (like the Insert Page Break button), but it also lets you remove and arrange the buttons shown on the Visual Editor toolbar. It also extends the functionality of the WordPress Block Editor.
To add functionality to the WordPress editor, go to the plugin’s settings area, then select the editor (Classic or Block), drag and drop buttons to the menu, and save.
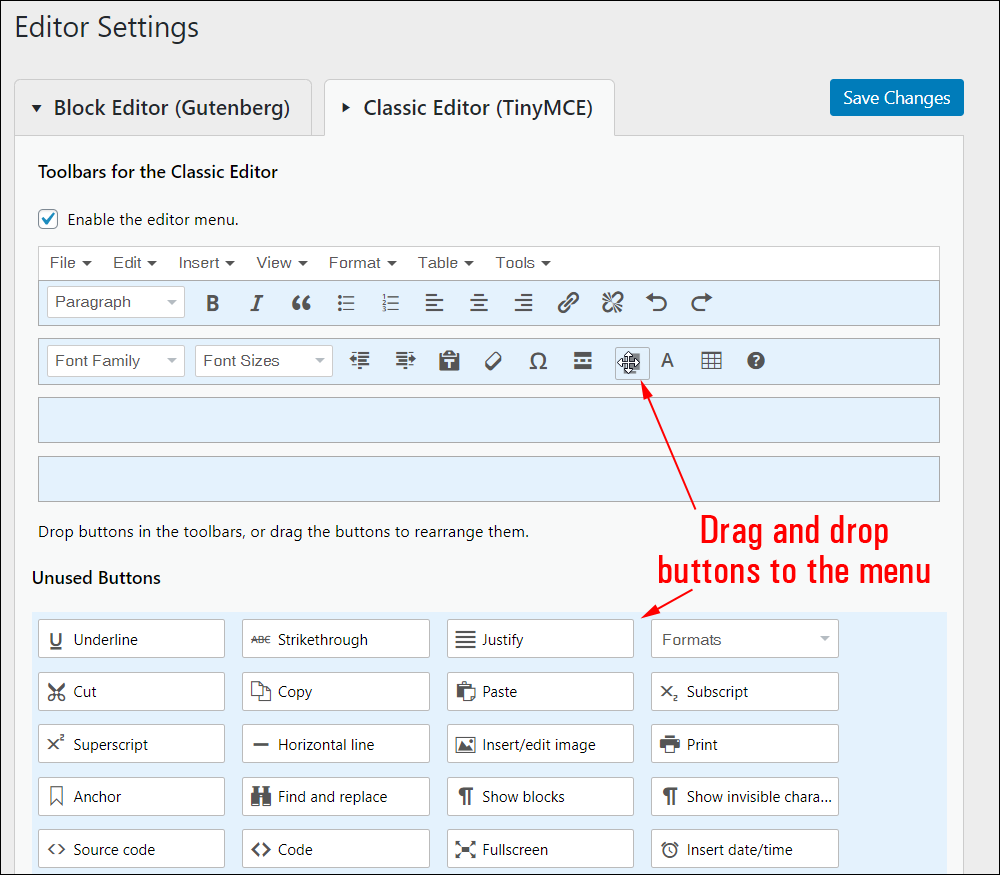
The functions you have added to the editor toolbar menu should now display as buttons in your menu.
For more details, visit the plugin page here: TinyMCE Advanced
TinyMCE Page Break Button
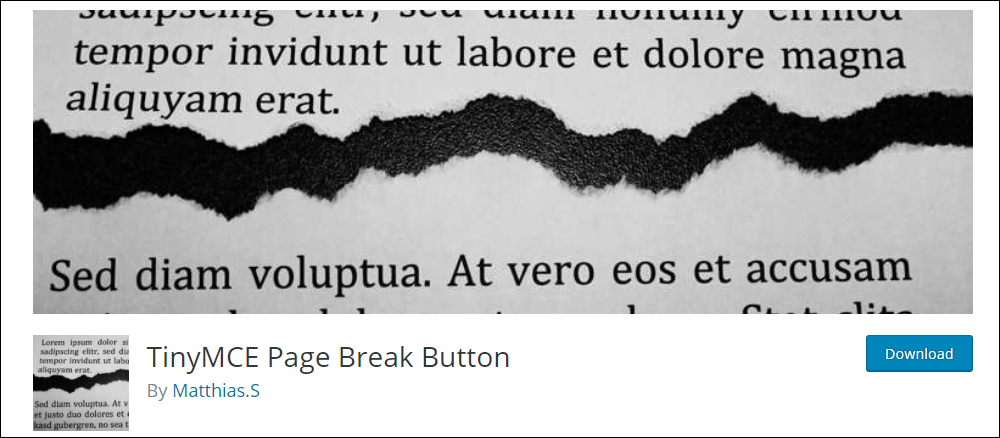
If all you want to do is add the TinyMCE Page break button functionality to your WordPress editor, then simply install this plugin and it will add the button to your menu.
For more details, visit the plugin page here: TinyMCE Page Break Button
NextPage
This is a simple plugin that adds a ‘next page’ button to your text editor menu toolbar.
To learn more about this plugin, go here: NextPage
Page Break
Page Break is another simple plugin that adds a Page Break button to your visual editor. Just add a cursor into the content where you would like to break up your post and click the menu button to insert a Page Break tag.
To learn more about this plugin, go here: Page Break
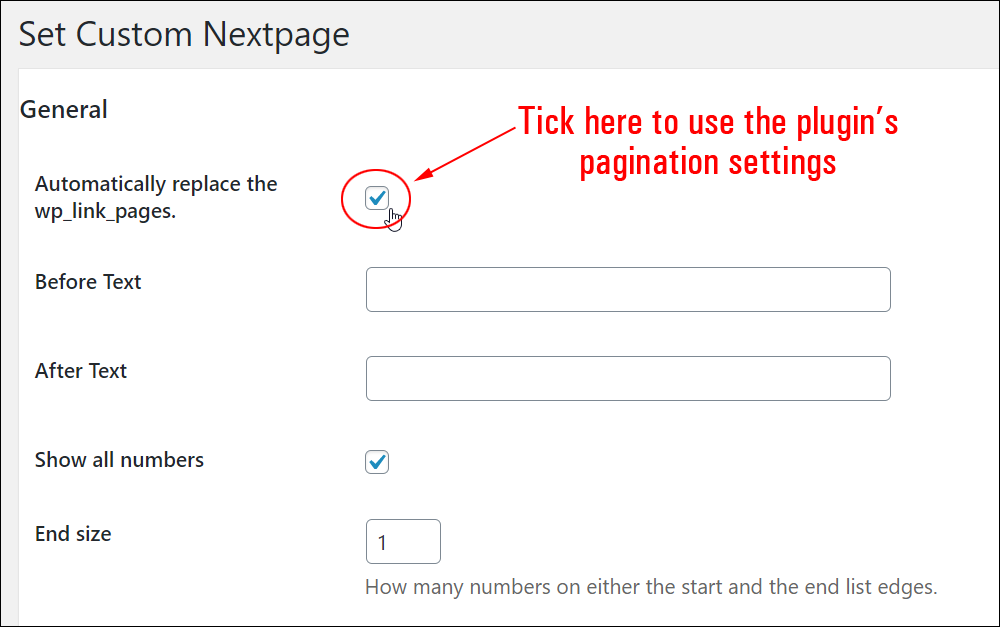
Custom NextPage
Once Custom Nextpage is installed, it adds a ‘Settings’ menu that allows you to configure the plugin and customize various elements of your WordPress pagination.
You can experiment with all the various pagination settings to customize the appearance of your page numbering, but make sure to tick the box to ‘automatically replace the wp_link_pages’ functionality, otherwise the default settings will be used, and save your settings.
The plugin also adds a shortcode button to the Visual Editor menu, allowing you to insert page breaks by clicking the button.
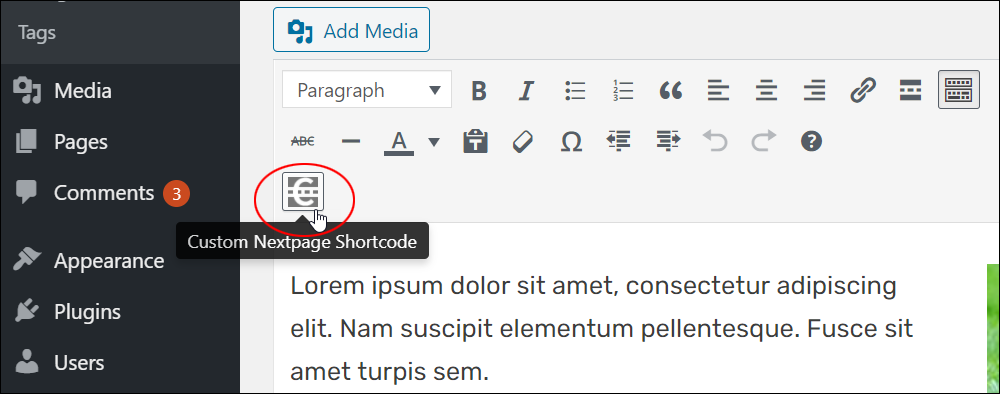
When you click the Custom Nextpage Shortcode button, a small pop-up window will appear allowing you to enter a custom title to display above your pagination section.

Remember to republish your post after adding as many custom page break tags as you need to split up your content into smaller sections.
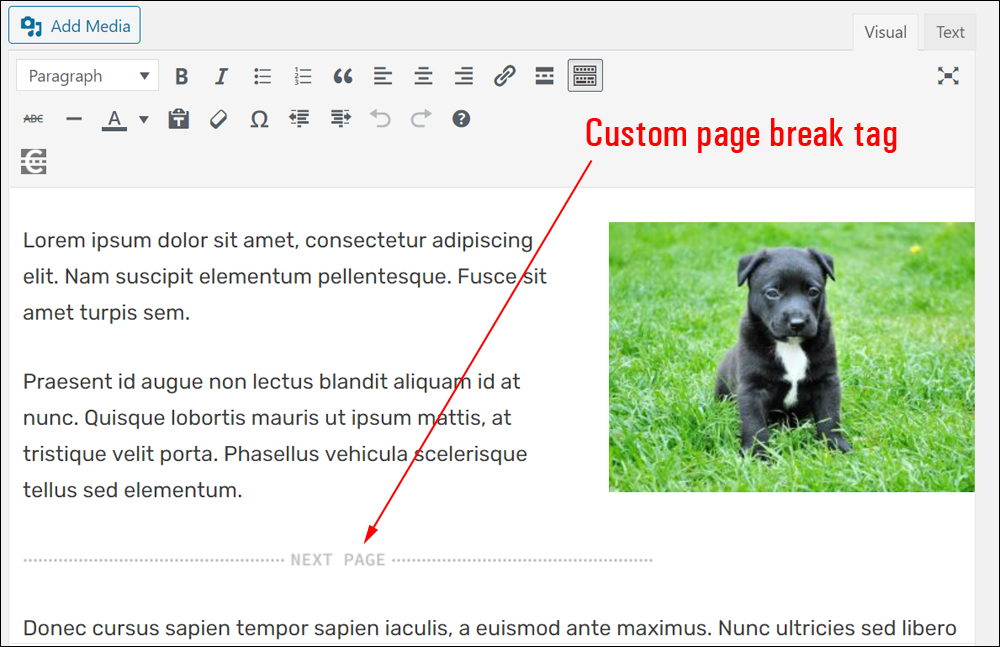
Your custom navigation title will display above your pagination section along with any customizations you make to your page numbering buttons.

To learn more about this plugin, go here: Custom NextPage
Page-Links Plus
If you’re looking for a way to fully customize the pagination of your posts and pages, the basic Page-Links Plus plugin lets you split posts into multiple pages, customize your pagination settings, and adds a single-page display option to WordPress page lists.
The plugin also provides additional modules that let you add and customize pagination styles, auto pagination, and scrolling pagination.
The video below provides an overview of the plugin’s features and capabilities.
To learn more about this plugin, go here: Page-Links Plus
You can search for more WordPress pagination plugins inside your WordPress dashboard (go to Plugins > Add New and search for “nextpage” or “pagination”) or the free WordPress plugin directory.
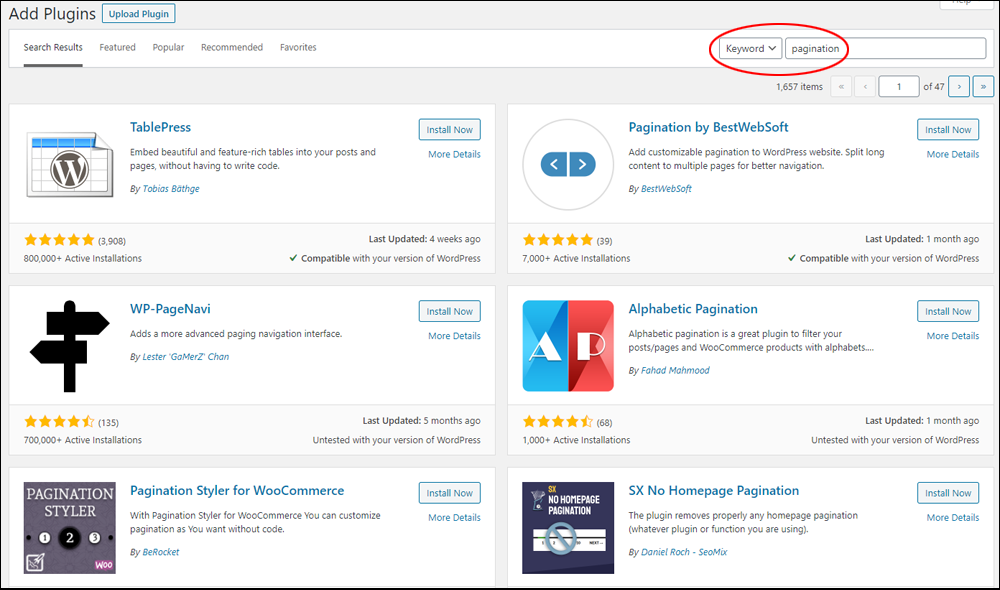
You can search the free WordPress plugin directory for pagination plugins here: WordPress Pagination Plugins

Congratulations! Now you know how to split long WordPress posts into multiple pages with added pagination buttons.
***
"Your training is the best in the world! It is simple, yet detailed, direct, understandable, memorable, and complete." Andrea Adams, FinancialJourney.org
***
We are not affiliated, associated, sponsored, or endorsed by WordPress or its parent company Automattic. This site contains affiliate links to products. We may receive a commission for purchases made through these links.