This tutorial is part of our WordPress configuration tutorial series, where we show you how to set up and configure your WordPress site or blog with no coding skills required.
***
After configuring your site’s Discussion Settings, the next step in the process of setting up a WordPress site is to configure its Media Settings.
Depending on the purpose and nature of your business, using media can be an important part of your online presence.
Media refers to the images, videos, audio recordings and other types of files you will be uploading and using in your site. Media is typically uploaded and inserted into your site’s content when writing a Post or Page.
To learn more about inserting and editing media files in your Posts and Pages, see the tutorial below:
Complete the tutorial below to learn more about configuring your WordPress Media Settings.
![]()
If you’re configuring a new WordPress installation, you can just leave the default settings in this section as they are for now and move on to the next step of the process (i.e. configuring Permalinks).
Configuring WordPress Media Settings – Step-By-Step Tutorial
The Media Settings section allows you to control how media is displayed on your site. To configure your media settings, do the following:
Go to the navigation menu and select Settings > Media …
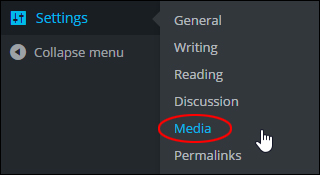
(WordPress Settings Menu – Media)
You will be taken to the ‘Media Settings’ page …
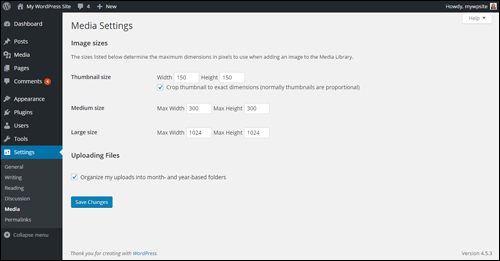
(WordPress Media Settings Screen)
There are two main sections in this area:
- Image Sizes – This section lets you specify the maximum dimensions in pixels to use when inserting an image into the body of a post or page.
- Uploading Files – This section lets you specify default settings used during the media upload process when writing or editing a post or page.
Let’s go through each of these sections now in more detail.
Image Sizes
Image sizes allow you to specify the maximum dimensions of images used in your posts and pages …
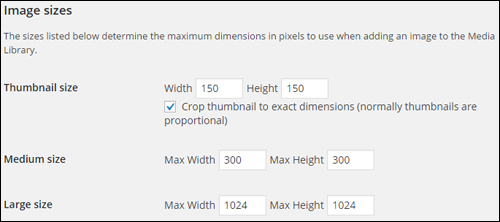
(Image sizes)
Thumbnail Size
Set the Width and Height of your thumbnail images in pixels. When setting a thumbnail size, the image will be cropped and resized to the setting you specify in this section.
By default, the check box for Crop thumbnail to exact dimensions (normally thumbnails are proportional) is enabled. Unless you have a reason for disabling this feature, leave this option as is.
Medium Size
Set the Max Width and Max Height in pixels for displaying medium-sized images in this section.
Large Size
Set the Max Width and Max Height in pixels for displaying large-sized images in this section.
Note: Medium and large images will keep their dimension proportions, taking the maximum width and height into account
Uploading Files
This section allows you to specify whether or not files uploaded to the media folder directory in your server will be organized into month and year based folders …

(WordPress Media Settings – Uploading Files)
By default, images and other media files are uploaded to the wp-content/uploads directory on your server into “month” folders, which are nested within folders for “years” …
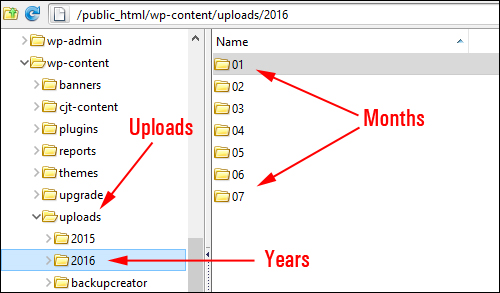
(How media files are organized in the WordPress ‘Uploads’ folder)
Unless you have a reason for disabling this feature, leave this option as is in your media settings.
If you’re configuring a new WordPress site installation, just leave the default settings in this section as they are and continue setting up your site. If you make any changes to this section, remember to click the Save Changes button to ensure that your settings are updated …
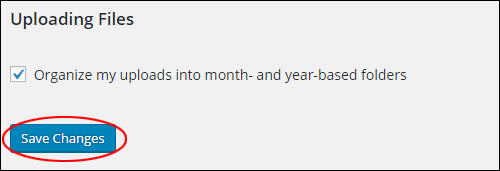
(Save changes to update your settings)
Congratulations! Now you know how to configure your WordPress Media Settings. The next step is to configure your WordPress Permalinks.
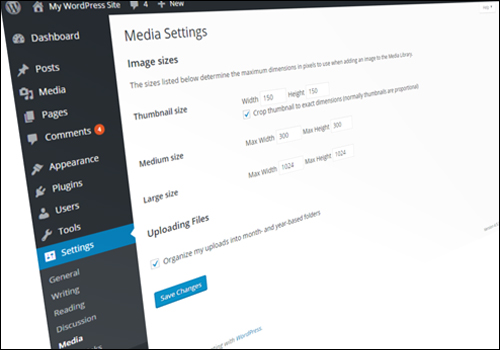
Next Step: How To Configure WordPress: Permalinks
***
"This is AMAZING! I had learnt about how to use WordPress previously, but this covers absolutely everything and more!! Incredible value! Thank you!" - Monique, Warrior Forum
***