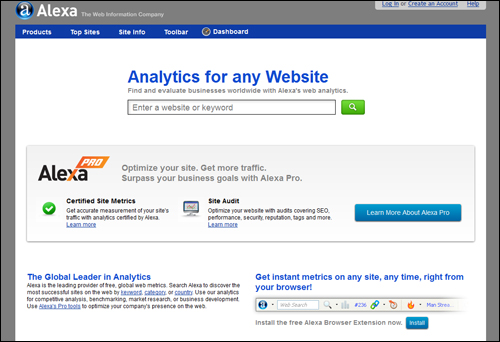
 This tutorial is part of our WordPress Configuration tutorial series. In this tutorial, we show you how to set up an account with Alexa.com.
***
How To Set Up An Account With Alexa
Alexa monitors millions of websites worldwide and provides information about websites including top sites, internet traffic stats and metrics, related links, online reviews, contact information and search analytics for SEM and SEO optimization.
Alexa ranks websites starting with #1 being at the top. What this generally means is that the lower your Alexa ranking is, the more popular your site is on the internet.
Sites like Google, Amazon, Wikipedia, etc, are among those ranked by Alexa.com as being in the top 10 most visited sites in the world …

Yoast SEO Plugin And Alexa
![]()
Update: Since this tutorial was created, the Yoast SEO plugin no longer supports the feature described in the tutorial below. The Alexa verification field has been replaced with a verification field for Yandex.com.
***
The Yoast SEO plugin lets you easily add meta data to your site that can provide information to Alexa by entering an Alexa Verification ID in the plugin’s ‘General Settings’ section …

To obtain your verification ID from Alexa, right click on the Alexa Verification ID: link …

You will be taken to the Alexa site. Click on the ‘Products’ page …

Alexa offers different subscription options for users. For this example, we’ll just sign up for a “Free Trial” account, so we’ll select the Free Trial button.
You will be asked to enter your website address to sign up. Enter your Website URL and click Continue …

In the next screen, enter your email address and select “No, I am a new user.” If this is the first time you are registering with the service, click Continue …

Enter and confirm a password to complete your registration, then click on the submit button …

You registration is complete …

Note: You will also be sent a registration confirmation email …

When you receive the registration email, click on the verification link to verify your registration with Alexa …

After registering with Alexa, the next step is to “claim your site”.
You are given a couple of options to claim your site:
Option 1) You can download a file to your computer, upload it to your server and then verify that you have uploaded the file, or
Option 2) Add an Alexa verification ID to your meta tags.
If you are using the WordPress SEO plugin, choose Option #2.
A Verification ID code is generated for your site with Option #2 …

The code you will need to copy is located inside the code box.
Place your mouse inside the code box and select everything in the line from ‘<meta name=”alexaVerifyID” etc …’, to ‘/>’, then copy it to your clipboard …

The content of your clipboard should look like the example below:
![]()
Go back to your Yoast SEO ‘General Settings’ section and paste your ID into the Alexa Verification ID field …
![]()
After pasting and saving your Alexa Verification ID into WordPress SEO, go back to the Alexa site and click on the Verify my ID button …

If everything has been done correctly, you should see a message that ‘Your site is successfully claimed’ as shown below. Click Continue …

The next step is to enter the information Alexa needs to add to its public listing …

Enter all the details you can into the information fields and click Save & Continue …

Your site should now be claimed. Click on Go to the Dashboard to view Alexa’s information about your site …

If your site is brand new, expect to rank low in the Alexa ranking initially. As your site grows in traffic, popularity and authority, check back with Alexa to see how your site progresses in ranking …

Congratulations! Now you know how to set up an account with Alexa.com to get useful metrics about your site.

***
"I was absolutely amazed at the scope and breadth of these tutorials! The most in-depth training I have ever received on any subject!" - Myke O'Neill, DailyGreenPost.com
***