 This tutorial is part of our WordPress installation tutorial series, where we show you how to install a WordPress site or blog with no coding skills required.
***
After registering a domain name and setting up your webhosting account, the next step is to set up and configure nameservers to connect your domain name with your web hosting.
What Is A Domain Name Server And What Does It Do?
A Domain Name Server (DNS) is an internet service that translates domain names into Internet Protocol (IP) addresses. This is required, because while we use domain names that are easier to remember, computers on the internet access websites using numbers (IP addresses). Every time you type a domain name into your browser, a DNS service has to translate the domain name into its corresponding IP address to help you find the correct website.

Source: http://www.hcidata.info
All domain names have an IP address. A nameserver is typically the address for the DNS (short for Domain Name Server) that hosts your domain name records.
Nameservers work behind the scenes 24/7 to tell web browsers where to look on the internet for your domain name. When you register a new domain name or update the DNS servers for your domain name, domain name servers around the world need to be updated to access the information. This usually takes about 12-36 hours and is referred to as propagation.

(Nameservers usually require 12-36 hours to propagate world-wide. Source: whatsmydns.net)
While all this may sound complicated, it’s not! You don’t need technical skills to configure nameservers for your domain. We’ll show you exactly what to do in this tutorial.
![]()
You should already be familiar with the following tutorials:
- How to register a domain name
- How to set up webhosting for your WordPress site
- Subdomains, addon domains, and domain aliases
In addition to the comprehensive step-by-step tutorials in the WordPress installation training module, we also recommend watching the videos listed in our WordPress Installation Video Tutorials section.
How To Set Up A Nameserver For Your Domain Name
You make your domain name visible to online users by “pointing” your domain name to your web host servers.
To set up the nameservers for your domain, you will need the details provided by your web hosting company (see screenshot below) …

(Your web host will provide your nameserver details)
![]()
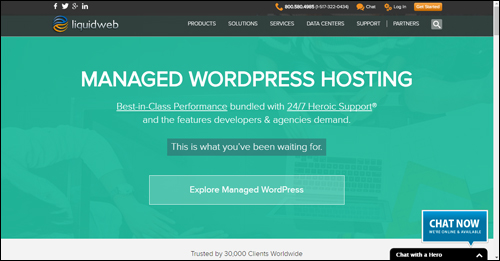
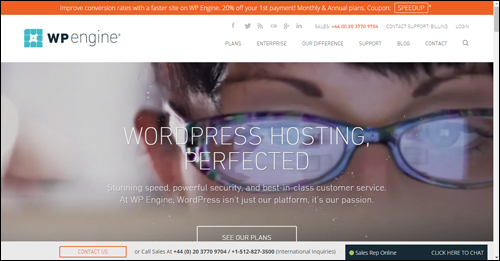
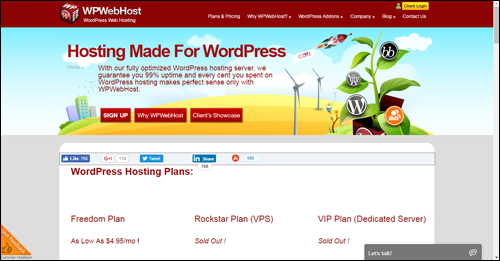
If you need reliable web hosting for your WordPress site, check out the web hosting services providers below:
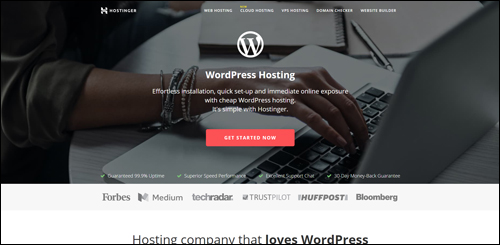


- HostGator – HostGator is one of the world’s most popular web hosting companies providing unmetered, reliable bandwidth and disk space for unlimited domains.
- LiquidWeb – Liquid Web is a premier web hosting provider specializing in managed dedicated servers, dedicated server hosting, VPS, shared web hosting and heroic support.
- WPEngine – WPEngine offers robust and world-class infrastructure options for a variety of customer sizes and traffic needs.
- BlueHost – Bluehost provides fast and reliable website hosting with everything you need to get your website online quickly.
- WPWebhost – WPWebHost is a WordPress hosting company specializing in hosting and supporting WordPress powered blogs.
To help you understand the importance of getting this step right, here’s a screenshot of what happens if your nameservers have not been set up (or set up incorrectly) and someone types your URL into their browser …

(Don’t let visitors see this instead of your website!)
If your nameservers have been set up incorrectly, online users will see an error message like the above when they type the domain name into their web browser, instead of visiting your site.
![]()
If you see your domain name on your domain name registrar’s site (e.g. a parked page), it means that you probably forgot to set your nameservers to point to your hosting account’s server address …
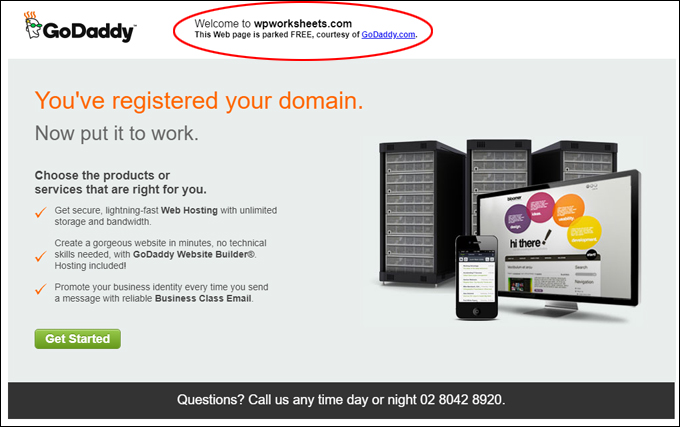
(Nameservers for this domain have not been set up yet!)
How To Set Up Nameservers For Your Domain Name – Step-By-Step Tutorial
After you have registered your domain name and set up your webhosting account, the next step is to connect these together. This is required so that when people type your domain name into their browsers, they will actually end up going to your website.
![]()
For this tutorial, we’ll connect a domain purchased through GoDaddy with hosting from HostGator. Other domain registrars will have similar management features to configure your domain nameservers.
Note:
- If you have purchased your domain name and webhosting through HostGator, your domain will be automatically configured to work on their nameservers (you can skip this tutorial).
- If you have registered a domain name with GoDaddy (or another domain registrar), then you will need to instruct the registrar to point your domain to your webhosting server (we’ll show you this in the tutorial below).
To set up your domain nameservers, go to GoDaddy and enter your username and password to log into your account …

(GoDaddy)
Inside your account area, locate ‘Domains’ and click on ‘Manage’ to open up your domain management console …

(Domain Management Console)
Typically, most users will only have one or a few domains. If you have registered many domains, use one of the administration find / search features to locate the domain name you will be configuring …

(Domain Search feature)
Click the checkbox next to the domain to activate the domain name management options in the menu above the domain list and locate the Nameservers feature …

(Selecting the domain to configure)
Select ‘Set Nameservers’ from the Nameservers menu …

(Set Nameservers)
The Nameserver Settings window will pop up on your screen. Typically, the nameservers will point to the host’s own servers, so you will need to enter custom settings.
Select ‘Custom’ and click on ‘Enter custom nameservers’ or the ‘Add Nameserver’ button …

(Enter custom nameservers)
Most web hosts require at least two nameserver addresses. Enter the first address listed in the email from your web host and click ‘Add Another’ …

(Enter your first nameserver)
Click Finish after adding additional nameserver addresses …

(Add additional nameservers)
Verify that you have entered everything correctly and click Save when done to update your new settings …

(Save your new nameserver settings)
A confirmation message will let you know that your details have been submitted …

(Allow a few hours for changes to take effect)
It can take anywhere from a few moments to a day or two for changes to nameservers to start taking effect. DNS servers world-wide will be notified of the address changes and begin pointing online users to your website. If you experience any problems, contact your web host for assistance.
Checking Your Nameservers
Here are some free online tools you can use to check that your nameservers have been properly configured and are working correctly:
What’s My DNS

(What’s My DNS)
What’s My DNS provides an online DNS Propagation Checker that lets you instantly perform a DNS lookup to check a domain name’s current IP address and DNS record information against multiple name servers located in different parts of the world. This allows you to check the current state of DNS propagation after having made changes to your domain’s records.
PINGDOM

(Pingdom)
Pingdom provides a DNS Check that will check your DNS health and help you find errors, and verify that you domain name has been set up correctly. The DNS check will automatically find out which DNS servers are used by your domain name, then perform a number of tests on them to make sure that the domain name is properly set up and that the DNS servers are working correctly.
Congratulations! Now you know how to set up a nameserver for your domain name.

(Source: Pixabay)
Choose one of the options below to continue …
Learn Where To Install WordPress
Skip This Step (I Know Where To Install WP)
Back To WordPress Installation Tutorials Index
***
"This is an awesome training series. I have a pretty good understanding of WordPress already, but this is helping me to move somewhere from intermediate to advanced user!" - Kim Lednum
***