 This tutorial is part of our WordPress installation step-by-step tutorials, where we show you how to install a WordPress site or blog on your own domain name with no coding skills required.
***
The easiest and fastest way to install WordPress on your domain is using software installation scripts provided in your web hosting management console. We recommend hosting on servers that offer the cPanel hosting management console.
If you have been following our WordPress Installation tutorials, you should have a web hosting account already set up with cPanel.
For more information about choosing a web hosting provider, see this tutorial:
In this tutorial you will learn how to install WordPress in minutes with cPanel using two popular software installation scripts:
- Fantastico
- Softaculous
![]()
In addition to our step-by-step tutorials, we also recommend watching the video tutorials listed in our WordPress Installation Video Tutorials section.
How To Install WordPress Using cPanel
Installing WordPress on your domain with cPanel only takes a few minutes. Make sure that your web hosting account has cPanel with either Fantastico or Softaculous software installation scripts configured as this will make installing a WordPress site on your domain a really simple and very quick process.
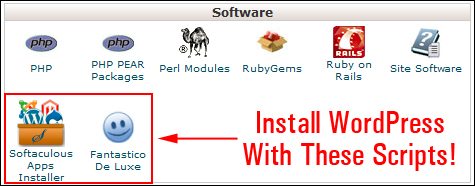
(WordPress Installation Software)
If you are hosting on a server with cPanel and you do not see Fantastico or Softaculous installed, contact your host and ask them to install these scripts on your server.
If you are not using cPanel hosting, then see this tutorial to learn how to install WordPress manually:
Your cPanel Account
Log into your cPanel account …
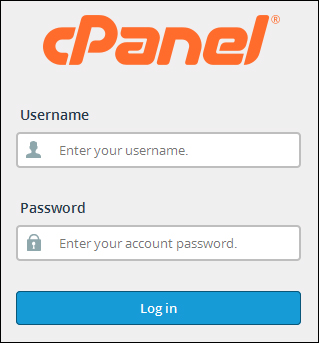
(cPanel login)
If you have just set up a new domain and logged into your cPanel account for the first time, you may want to go into the Mail > Email Accounts area and set up your email addresses, aliases, forwarders, usernames, passwords, etc.
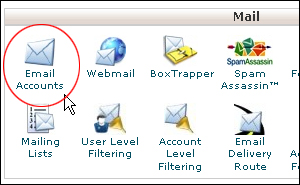
(cPanel Mail panel – Email Accounts)
For help setting up email accounts, see the tutorial below:
If you have already set up your emails, skip the above and complete the tutorials below.
Fast WordPress Installation Method #1 – Install WordPress In cPanel Using Fantastico
In cPanel, scroll down to the ‘Software/Services’ panel and click on the Fantastico icon …
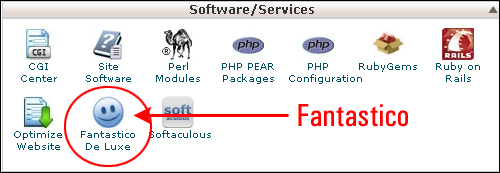
(cPanel Software panel – Fantastico)
Inside the Fantastico administration area, choose ‘WordPress’ in the ‘Blogs’ menu and clicke New Installation to set up a new blog on your domain …
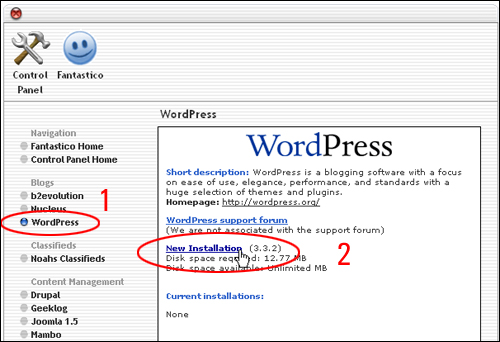
(Fantastico > Blogs > Install WordPress)
The first installation screen will appear on your screen. Fill in the fields as shown below, then click on Install WordPress …
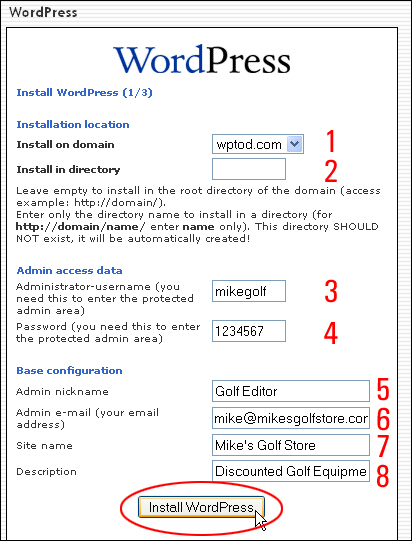
(Fantastico- WordPress Installation Screen)
- Installation location > Install on domain: Make sure that your domain is selected in the drop-down menu.
- Installation location > Install in directory: Leave this field blank if you plan to install WordPress as your MAIN SITE (i.e. on your domain address). If you plan to install WordPress as a separate blog on an existing site, then enter a name for the subfolder where your blog will be installed (e.g. if you enter blog in this field, your site will be installed here: http://yourdomain.com/blog)
- Administrator-username: Choose a login username for your site’s administration area.
- Password: Choose a password for your site’s administration area.
- Admin Nickname field: Your nickname will appear as the author of all posts added to your site. Tip: Choose a nickname that contains a keyword-related to your business. For example, if you own a golf related business, you may want to choose a nickname like “Golf Editor”, “Mike’s Golf Store”, “The Golfing Expert”, etc …
- Admin e-mail field: Enter your email address here.
- Site Name: Enter the title of your site here (e.g. “Mike’s Golf Store” or www.MikesGolfStore.com)
- Description: Enter a brief description of your site that will display below the title. Tip: Create a keyword-rich description that also makes sense to your site’s visitors (e.g. “Discounted Golf Equipment, Golfing Accessories And Gifts For Golfers”
- Click Install WordPress when done to continue the installation process.
Review the details in your screen and click the Finish installation button to complete the installation process …
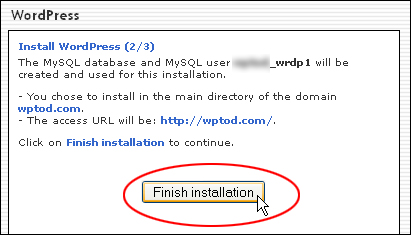
(Fantastico- Finish WordPress Installation)
Enter your email address and click Send E-Mail to email yourself a copy of the installation details with your new site’s login and password details …
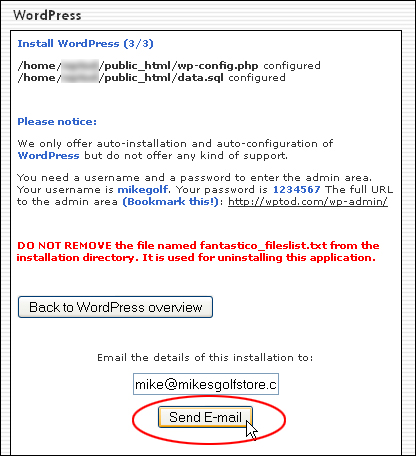
(Your WordPress installation is complete!)
A confirmation message will appear on your screen to let you know that an email with your WordPress login details has been sent to you. To view your new WordPress site or blog, click on Back to WordPress overview …
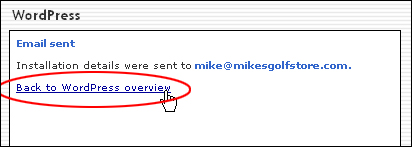
(Email with WordPress login details sent)
Click on Visit site …
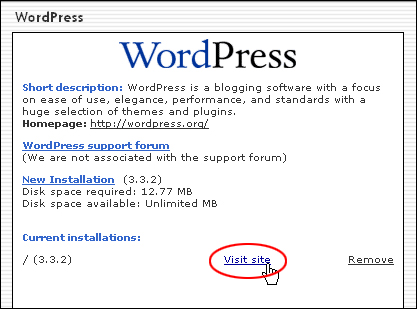
(Visit your new WordPress site)
Your site will open in a new browser window. You can now login to your WordPress admin area and begin using WordPress …
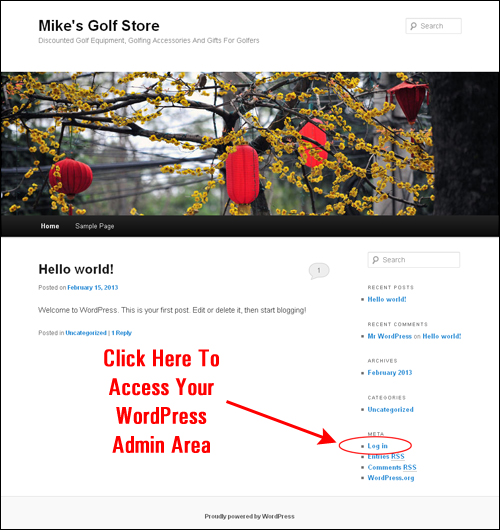
(Your brand new WordPress site!)
Congratulations … now you know how to install a new WordPress site with cPanel using Fantastico!
If you need help logging into your new WordPress site or navigating inside your WordPress dashboard, see the tutorials below:
Fast WordPress Installation Method #2 – How To Install WordPress In cPanel Using Scriptaculous
Fantastico is a popular script installation program used by many web hosting providers, but it’s not the only program you can use to automatically install WordPress on your domain.
Depending on your web hosting service, you may see different software installation programs as an alternative or in addition to Fantastico. If you don’t see Fantastico listed in your cPanel admin area, look for an alternative, such as Softaculous, Simple Scripts, etc.
Softaculous offers a similar WordPress installation service as Fantastico, but with added features. Many web hosts provide Softaculous instead of Fantastico.
In cPanel, scroll down to the ‘Software and Services’ panel and click on Softaculous …
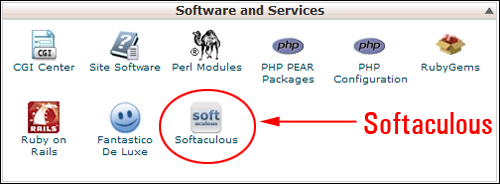
(Softaculous)
In some hosting consoles, Softaculous will have its own panel (i.e. look for ‘Softaculous Apps Installer’) …
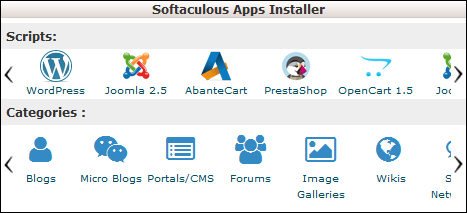
(Softaculous Apps Installer)
After clicking on the Softaculous icon, a number of installation scripts will display on the menu. Select Blog > WordPress …
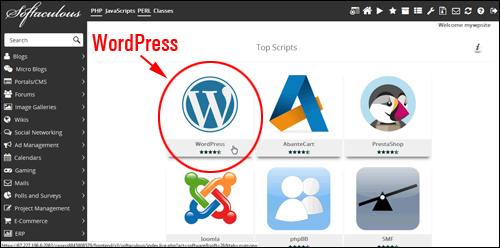
(Softaculous installation panel – WordPress)
Hover over the WordPress icon and click Install …
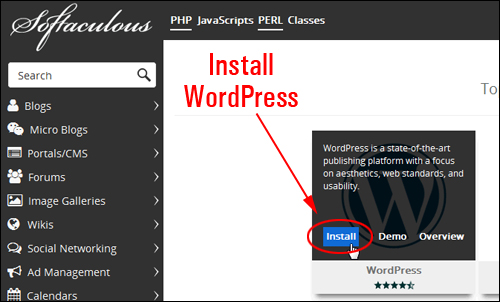
(Click to install WordPress)
A WordPress installation wizard will load in your browser. Fill in all the fields, then click on Install to install WordPress on your domain …
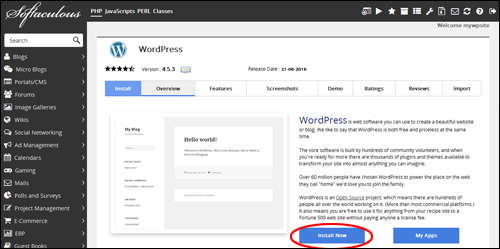
(WordPress installation wizard)
For a complete step-by-step installation walkthrough of WordPress using Softaculous, see the video tutorials referred to earlier or go here.
Congratulations … now you know how to install a new WordPress site with cPanel using Softaculous!
WordPress Installation – Useful Info
WordPress Installation Details
Save and/or print the WordPress installation email you will receive from your hosting server. It contains important details about your new installation …
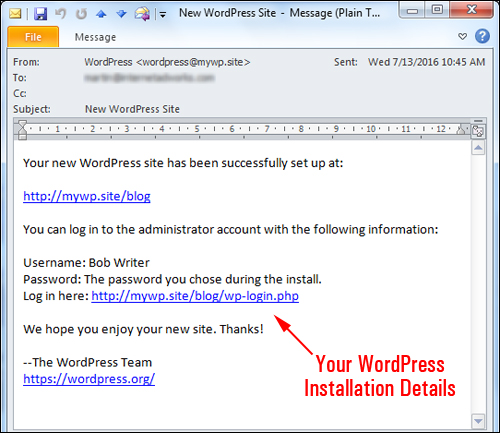
(Save your WordPress installation details)
Test Your New WordPress Installation
The last step of the installation process is to log into your new WordPress site and make sure that everything is working correctly.
Click on the link to your site’s login page (provided in the email you have received with your installation details). When the WordPress login screen appears, enter your username and password, then click the ‘Log In’ button …
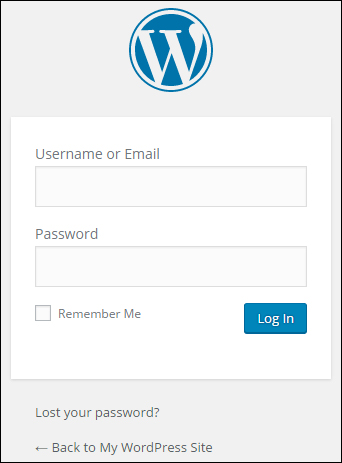
(WordPress Log In Screen)
This will take you to your your WordPress admin screen …
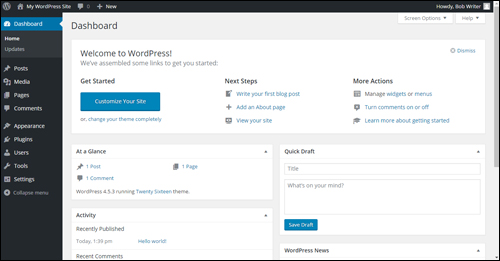
(Your WordPress dashboard)
If you have followed all of the tutorials in our WordPress Installation module, your new WordPress site should now be installed.
The next step is to configure your WordPress settings. Click on the button below to view our WordPress Configuration tutorials and learn how to set up a professional website or blog for business or personal use.
I Want To Configure My WordPress Settings
If you do not have access to WordPress installation scripts in your web hosting account, see the tutorial below to learn how to install WordPress manually:
***
"I love the way your email series "Infinite Web Content Creation Training Series" is documented and presented. It is very absorbing and captivating. The links and tutorials are interesting and educational. This has motivated me to rewrite my content following the concepts I am learning from the email series." - Mani Raju, www.fortuneinewaste.com
***