Website Planning Process – Part 3
 Are you thinking about taking your business online or starting a website or blog? If so, this website planning guide will help you.
This is Part 3 of our tutorial series where we take you step-by-step through the process of planning a new website.
- For Part 1, go here: The Website Planning Process – Part 1
- For Part 2, go here: The Website Planning Process – Part 2
Planning Your Website – Part 3
So far, we have covered the following areas of the website planning process:
- Step 1 – Define Your Goals
- Step 2 – Name Your Web Site
- Step 3 – Your Web Platform
- Step 4 – Define Your Target Audience
- Step 5 – Identify Your Main Keywords
- Step 6 – Define Your Site’s Categories
- Step 7 – Create Your Content Strategy
You’re almost done with your initial website planning work. In this phase of the site planning process, we are going to set up an initial content publishing schedule, decide what type of content you will create for your site, and who will do what on your website.
Step 8 – Create Your Content Publishing Schedule
You should plan to publish content regularly for your business to grow. A content publishing system is the most productive and effective way to plan, schedule, and track your content creation and publishing process.

After creating an initial list of content ideas, the next step is to set up an initial content or blog publishing schedule.
![]()
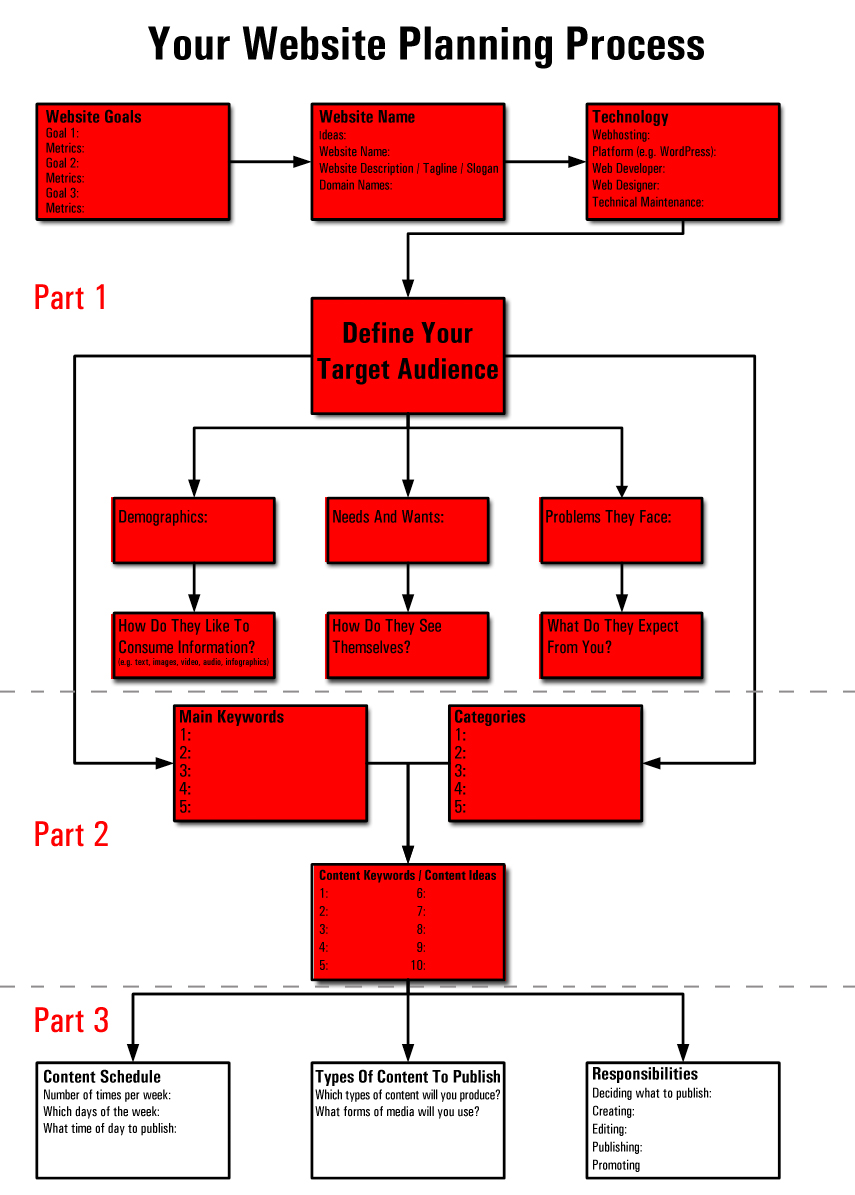
Although this step may not seem to be directly connected with building your website, going through the process of creating your content publishing schedule and thinking about the type of content you will need to create and who will be responsible for managing your content production and publishing (see Steps 9 and 10 below) will help you understand what additional services and resources your business will need to have in place once your site has been built.
![]()
Useful Tips:
Tip #1 – Publish Consistently
Publishing quality content on your site on a regular basis is important for building an online readership and improving your site’s search engine rankings and results.
This is the step where you actively market and promote your business online with content, so it’s important to develop a habit of consistently writing and publishing content about your business.
- Make a commitment to add a new post each week or fortnight to your site.
- Decide on a specific day of the week and time that you will sit down to write your blog posts or web articles.
- Allow 1-2 hours to create and publish (or schedule for publishing) each post.
- Commit to making this into a regular habit. Monitor your commitment and adjust your publishing schedule accordingly.
- Remind yourself when you sit down to plan or write content that you are working on your business, instead of simply working in it.
Tip #2: Use Content Scheduling Tools
If you plan to publish content regularly (and you should!), having content scheduling tools can help keep your workflow organized and moving along.
You can use a simple spreadsheet to schedule and track your content planning and production process or—if your site is built with WordPress—you can use a plugin.
Spreadsheet-Based Editorial Templates
You can easily create a simple editorial content template to help you schedule your content creation using a spreadsheet program.

Use this spreadsheet to plan and schedule your content creation, production, and publishing.
For example, you can add the following columns:
- Publish Date: Type in the date you plan to publish your content. You can use color-coding to highlight published content, work-in-progress, unassigned topics, etc. You can also add columns to record 1) the date your content needs to be written by, and 2) the date your content is scheduled to be published.
- Author: Record who will write or create your content. (See Step 10 below)
- Content Type/Format: Record the type of content you plan to create for a specific topic. (See Step 9 below)
- Category: If you are publishing on your blog, enter the category you will publish your content item under.
- Offer/CTA (Call To Action): What is this content item specifically designed to help you sell or promote? Record your offer or call-to-action here.
- Headline: Enter your article title or headline.
- Description: Enter a brief description or purpose of the content.
- Keyword(s): Enter the main keywords your content will be targeting.
- URL: After publishing, record the URL of your article here. This will make it easier to find the URL of your post when promoting your content (e.g. on social media, emails, etc.)
- Short URL: Add a shortened version of the content’s URL if you plan to promote on Twitter, track your campaigns in ads, etc.
You don’t need to add all of the above columns to your spreadsheet. You can keep things really simple by creating a basic spreadsheet that only includes the following columns:
- Publish Date
- Author
- Content Type
- Topic.
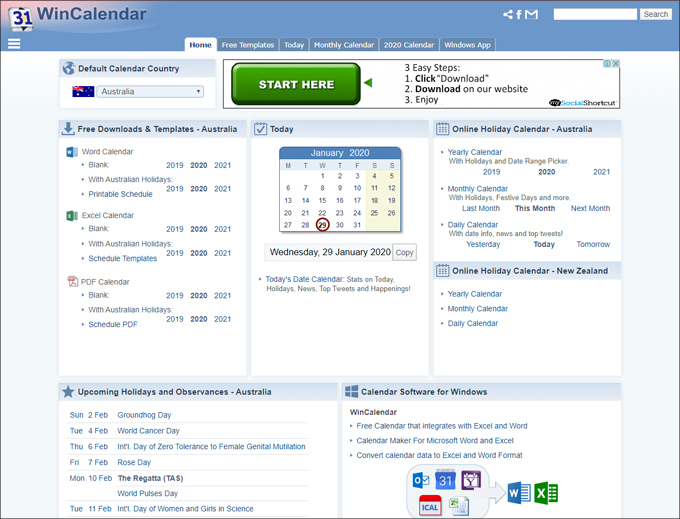
If you would like to create an Editorial Calendar to help you plan your content on a monthly basis, you can search online for “free editorial calendar template” or download a free calendar template from WinCalendar.com.
WordPress Content Management Plugins
If you want to manage your content scheduling directly from WordPress, here are some useful plugins you can use:
Editorial Calendar
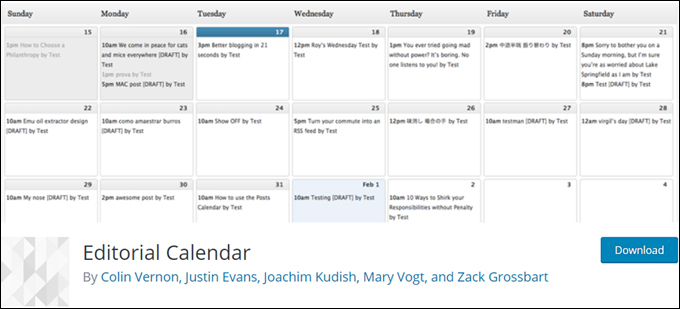
Editorial Calendar is a free plugin for WordPress that lets you see all your posts and drag and drop them to manage your site.
The Editorial Calendar plugin provides content editors with an overview of your scheduling and when each post will be published. You can drag and drop to move posts, edit posts inside the calendar, and manage your entire content publishing schedule inside WordPress.

For more details, visit the website: Editorial Calendar
Edit Flow

Edit Flow is a modular editorial workflow plugin that lets you collaborate with your editorial team inside WordPress.
Key features of this plugin include:
- Calendar – A convenient month-by-month look at your content.
- Custom Statuses – Lets you define the key stages to your workflow.
- Editorial Comments – Threaded commenting inside the admin area for private discussion between editors and writers.
- Editorial Metadata – Helps you keep track of important details.
- Notifications – Lets you receive timely updates on any content that you are following.
- Story Budget – Lets you view your upcoming content budget.
- User Groups – Helps you keep your users organized by function or department.
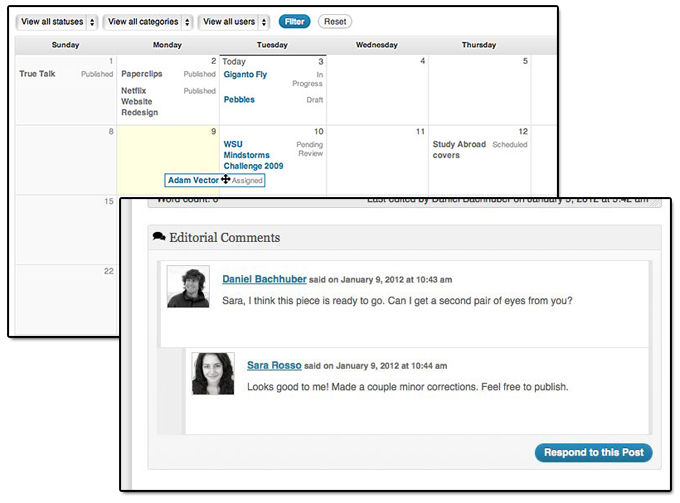
For more details, visit the plugin website: Edit Flow
Oasis Workflow
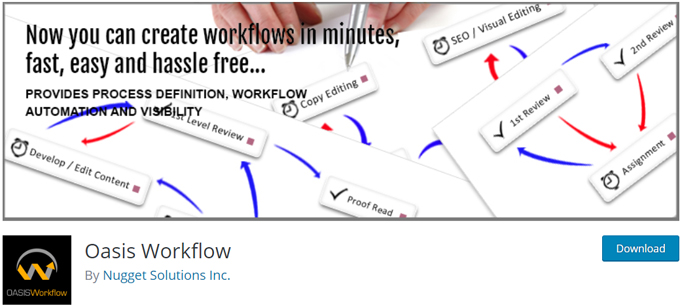
Oasis Workflow is a feature-rich plugin that lets you automate any editorial workflow process using a simple and intuitive graphical user interface (GUI).
Some of the many useful features of this plugin include the ability to configure your workflow using an easy drag and drop designer interface and simple process/task templates.
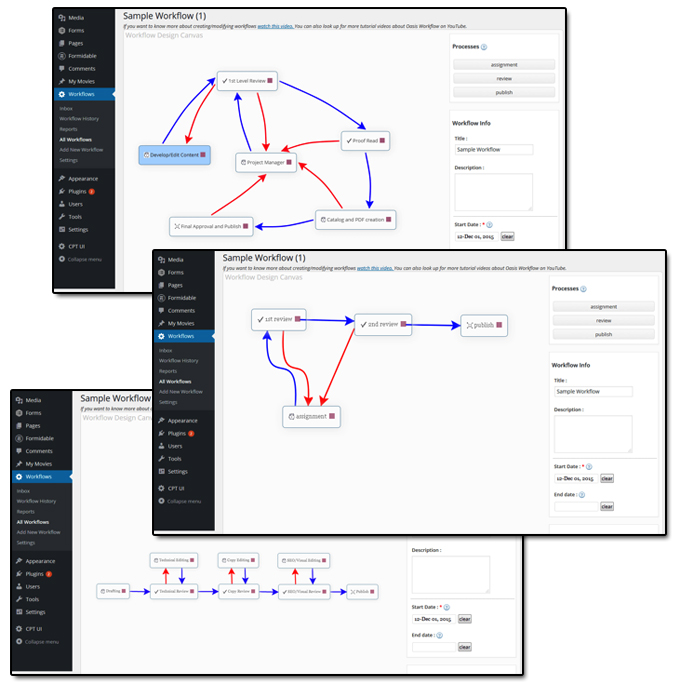
This plugin allows you to assign tasks dynamically using role-based routing and lets users view their current assignments and sign off on their tasks once their assignments are completed. Other plugin features include processing history for auditing purposes, task reassignment, due date and email reminders to help you to publish your articles on time, and an out of the box editable workflow to help you get started.
The plugin also has a “Pro” version that includes additional functionality, such as allowing you to set up multiple workflows, copy workflow and copy steps, auto-submit, revise published content and more.
For more information about this plugin, visit this website: Oasis Workflow
Step 9 – Decide What Type Of Content You Will Publish

After setting up your content creation schedule, the next step is to decide what type of content you will create to post on your site.
This can include articles, videos, audios, interviews, slideshows, case studies, product reviews, product comparisons, multimedia presentations, downloadable PDF reports, etc.
Knowing what kind of content you plan to create is useful because this helps you understand what other tools, technologies, and resources you will need to purchase or budget for. This could also include buying video screen capture software and recording equipment for videos and multimedia presentations, slideshows, etc.
Step 10 – Assign Roles And Responsibilities

The last step in your website planning process is to decide who will be responsible for managing different areas of your website (including content production and content management) and then assign these to your team or consider outsourcing these areas if you have the resources.
There are many roles and responsibilities involved in running a successful web presence.
As you go through this step, ask yourself the following questions:
- Who will decide what content gets written/published on your site?
- Who will create the content and do the content creation work (e.g. content research, fact-checking, writing, editing, reviewing, proofing, sourcing images, logos, and illustrations, record videos, audios, create newsletter content, customer training content, FAQs, etc.)?
- How will you communicate what needs doing to others? How will people communicate with each other to ensure that different projects are completed and delivered on time and on budget without miscommunications?
- Who will manage content scheduling and publishing workflows and keep all of your site’s content and information up-to-date?
- Who will actively promote and market your site and manage areas like search engine optimization, online advertising, social media marketing, video marketing, etc.?
- Who will maintain and upgrade site software, install new applications, customize web templates, provide technical support, etc.?
- Who will be responsible for setting, managing, and monitoring budgets and resources for all of the above areas (including the cost of getting your website built)?
In short, who will handle all the different areas of your web presence to make sure that things are running effectively?
Depending on how you structure your business and what resources you have available, it may be just one person looking after everything (e.g. you), or a small team of people who are also required to juggle other areas of your business or perhaps outsourced help.
If you don’t know the answer to these questions before getting your website built, you could end up investing a lot of your time and money building something that will end up costing you even more of your valuable time and money.
![]()
Tip: When assigning responsibilities, focus on roles and processes, not on individuals.
Create a document (e.g. flowchart) specifying exactly who will do what to look after the processes involved in managing your website, content creation, marketing, and promotion, etc.
Focus on documenting which roles should be responsible for the processes involved before assigning names to responsibilities or making people in your team accountable for managing these. This will help you:
- Understand how much responsibility and work is involved in maintaining a website and a web presence,
- Explain why you are asking people to take on additional responsibilities, and
- Assist you to plan the allocation of resources.
Congratulations! You have completed all of the initial steps of the website planning process. You are now ready to begin exploring options for getting your new website built.

Hopefully, this article series has given you a better understanding of the website planning process and how WordPress can help you expand your business online and get better results from your website.
Images: Pixabay
***
"Learning WordPress has been a huge stumbling block for me. I've been looking for something that covers absolutely everything but doesn't cost an arm and a leg. Thank you so much ... you have just provided me with what I have been looking for! Truly appreciated!" - Tanya
We are not affiliated, associated, sponsored, or endorsed by WordPress or its parent company Automattic. This site contains affiliate links to products. We may receive a commission for purchases made through these links.