
 As per our WordPress Installation tutorials, setting up a new (self-hosted) WordPress site involves registering a domain name, setting up a web hosting account, installing WordPress on your domain and then setting up and configuring your WordPress site.
If you follow our tutorials and recommendations, your site should be hosted with a reliable service provider, allowing you to focus your efforts on growing your business online.
If at any point in the evolution of your business you decide that your current hosting service provider isn’t delivering you the service you need, or you have to upgrade/downgrade your existing hosting service, then you will need to consider migrating your WordPress site to a different server or web hosting service provider.
In this tutorial, we’ll look at different methods you can use to migrate your WordPress website to another web host.
How To Migrate Your WordPress Website To Another Web Host
Moving a WordPress site from one server to another involves a number of procedures like performing a complete backup of your site, configuring your new server, moving all content and files to the new server, reassigning the DNS address of your domain to point website visitors to your new server’s IP address, and performing post-migration checks to make sure that everything has been moved and is working correctly. You may also need to troubleshoot the process if anything goes wrong during the transfer and reassignment of your site.
Many webhosting companies provide technical support and assistance with website migration and can transfer the website on your behalf as long as you provide them with information like the FTP or cPanel access details to your existing server.
If you want to migrate the site yourself, you can perform the transfer using the following options:
- Migrate your WordPress site manually.
- Clone your WordPress site using a plugin like Backup Creator.
- Migrate your WordPress site using a plugin like Migrate Guru.
Let’s take a look at these options.
Migrate Your WordPress Site Manually
To migrate your WordPress site manually, you need to perform the following steps:
Step 1 – Backup Your Entire WordPress Site
You can perform a manual WordPress site backup, or use a WordPress backup plugin like BlogVault or Backup Creator.
As explained in our WordPress Backup tutorials, performing a complete backup of your WordPress site involves backing up all site files and its database.
For help with this step, see the tutorials below:
Backing Up WordPress Files
- How To Back Up WordPress Files Using FTP
- How To Back Up WordPress Files Using cPanel File Manager
- How To Back Up WordPress Files Using Backup Wizard
Backing Up Your WordPress Database
- How To Back Up WordPress Database Using phpMyAdmin
- How To Back Up WordPress Database Using Backup Wizard
Step 2 – Replace Links And Site URLs
If you’re migrating your WordPress site to a new domain, you will need to replace any links on your site to make sure these point to your new domain.
- If you’re not migrating to a new domain, you can ignore this step.
- If you need to replace links on your website, see this tutorial: How To Perform A Global Search And Replace In WordPress.
Step 3 – Update Your DNS Settings
Migrating sites to different servers require updating your domain’s DNS settings to point to your new server’s IP address. This is done inside your domain registrar account.
If you need help with step, see this tutorial: How To Set Up Nameservers For Your Domain.
Performing a manual WordPress site migration has pros and cons.
Pros:
- Easy if you’re an experienced WordPress user.
- It’s Free.
- You are in control of the process.
Cons:
- It’s time-consuming.
- Involves pre and post migration setups.
- It can be intimidating for non-techies.
- Each step of the process requires careful monitoring and knowledge of troubleshooting areas.
Unless you specifically want to migrate your WordPress site manually, we recommend using either your web host’s migration services (contact your web host for this option) or WordPress migration plugins.
How To Migrate Your WordPress Site Using WordPress Migration Plugins
Migration plugins automate the manual site migration process. While there are different WordPress migration plugins available, most perform in a similar way: they backup your site, move all files and database to the new server and ensure that all links will work on the site in the new location.
WordPress site migration can be performed using plugins that will clone your site on a new WordPress installation, or transfer your files and data across.
In this example, we’ll look at migrating your WordPress site using a plugin like Migrate Guru.
Migrate Guru
(Migrate guru plugin)
Migrate Guru is a free WordPress plugin powered by BlogVault (an onboarding partner of many leading WordPress hosting companies).
The plugin not only provides fast migration of WordPress sites using intelligent processes on its own servers, it also simplifies difficult WordPress migrations (e.g. multi-site networks, 200 GB sites, etc.), by automatically rewriting URLs, bypassing import-export scripts, and handling serialised data, transferring WordPress sites easily without any manual work, add-ons, or additional tools.
Benefits Of Using Migrate Guru
- Fast Migration: Up to 80% faster migration with accurace and efficiency.
- Migrate Any Size Site: Migrate any type of site up to 200 GB with ease.
- Crash Proof Migrations: The plugin developers guarantee zero downtime, and zero troubleshooting.
- 100% Free: There is no cost to install and use the plugin.
- True One Click Migration: No other add-ons are required.
- Compatible With All Hosts
- Seamless Multisite Support
- Real-Time Progress Reports
- No Site Overload
Before Using Migrate Guru
Before migrating your site using Migrate Guru, make sure you have the following already set up:
- A new hosting account with WordPress installed on your domain.
- The location of your WordPress installation.
- The Migrate Guru WordPress plugin installed on the site you want to move (i.e. the source site).
How To Install Migrate Guru
Log into the WordPress admin area of your source site (the site you want to move) and go to Plugins > Add New on your main dashboard menu …
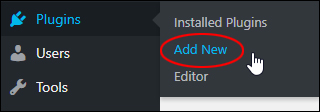
(Plugins > Add New)
Type in ‘Migrate Guru’ in the keyword search field and click on ‘Install Now’…
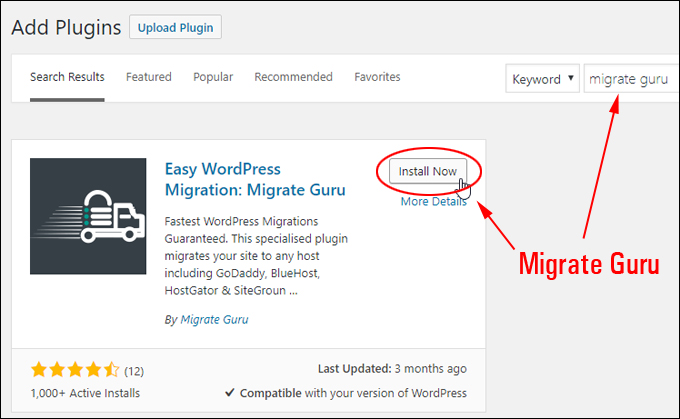
(Install the Migrate Guru plugin)
Activate the plugin after installing it …
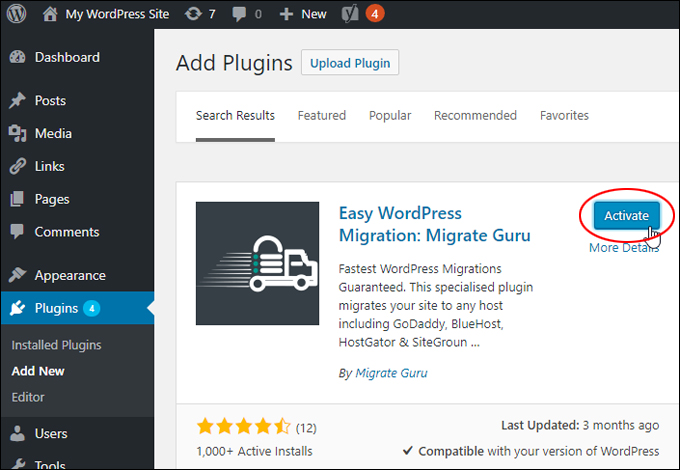
(Activate the Migrate Guru plugin)
The plugin should now be installed, activated, and ready to use.
Using Migrate Guru
Choose the host you want to migrate to in the Migrate Guru menu list …
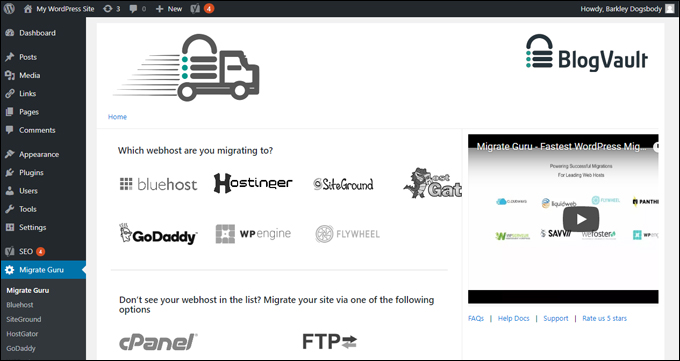
(Choose the host to migrate your site to)
If your destination host is on Migrate Guru’s list of hosts, click on the host name. If you can’t see your host in the list, you can choose to move your site via FTP or cPanel, depending on which option you have access to credentials.
Migrating Your WordPress Site To A Listed Web Host
After selecting a host from the list of host options, you will see the migration form screen for the selected host …
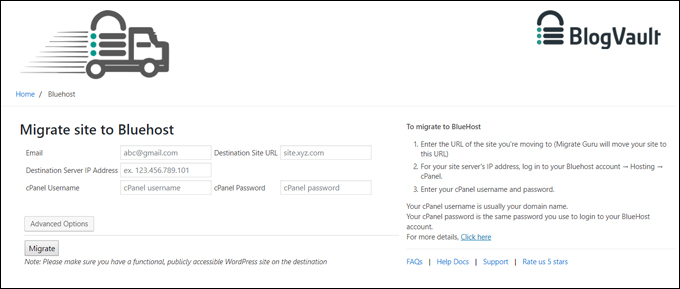
(Migration form screen)
Enter the following details:
- Email address: The email address to receiving notifications about the progress of your site migration.
- Destination Site URL: the URL of the domain you’re moving your site to.
- Destination Server IP Address: Enter the new server IP address (your host can provide this information).
- Advanced Options Button: See ‘Advanced Options’ section further below.
Make sure to follow any additional instructions specifically provided by the host on this screen …
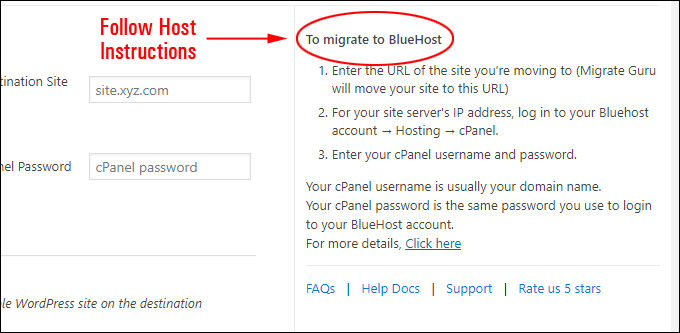
(Follow specific host instructions)
Migrating Your WordPress Site Using cPanel
If choosing to migrate your site using cPanel, select ‘cPanel’ from the Migrate Guru menu …
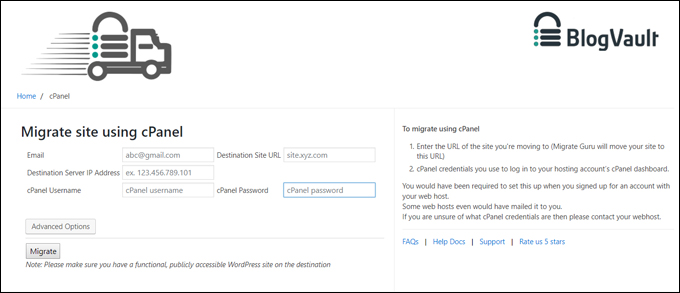
(Migrate Guru – cPanel migration)
Enter the following details into this screen:
- Email address: The email address to receiving notifications about the progress of your site migration.
- Destination Site URL: the URL of the domain you’re moving your site to.
- Destination Server IP Address: Enter the new server IP address (your host can provide this information).
- cPanel Username and Password: Enter the cPanel credentials you use to log into your hosting account’s cPanel dashboard (if unsure, request your host to supply this information).
- Advanced Options Button: See ‘Advanced Options’ section further below.
Migrating Your WordPress Site Using FTP
If choosing to migrate your site using FTP, select ‘FTP’ from the Migrate Guru menu …
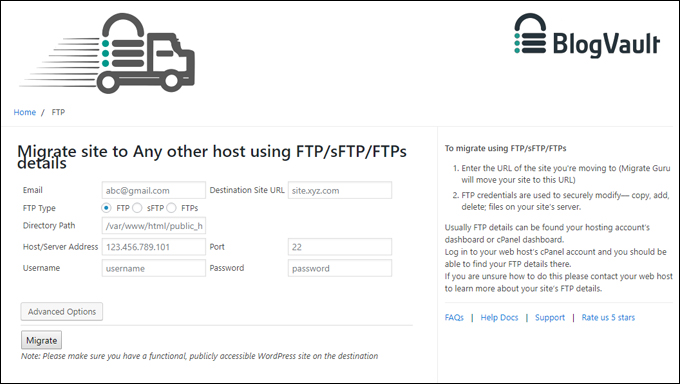
(Migrate Guru – FTP migration)
Enter the following details into this screen:
- Email address: The email address to receiving notifications about the progress of your site migration.
- Destination Site URL: the URL of the domain you’re moving your site to.
- FTP Type: Make sure you know which protocol your host uses, e.g. FTP, SFTP, or FTPS. If you enter the wrong protocol, Migrate Guru will prompt you to change it.
- Directory Path: Enter the server directory path to your installation (your host can provide this information if you’re not sure).
- Destination Server IP Address: Enter the new server IP address (your host can provide this information).
- FTP Port, Username and Password: FTP details can normally be found on your hosting account’s dashboard (if unsure, request your host to supply these).
- Advanced Options Button: See ‘Advanced Options’ section below.
Migrate Guru – Advanced Options
If your site is HTTP Authenticated, click on the ‘Advanced Options’ button …
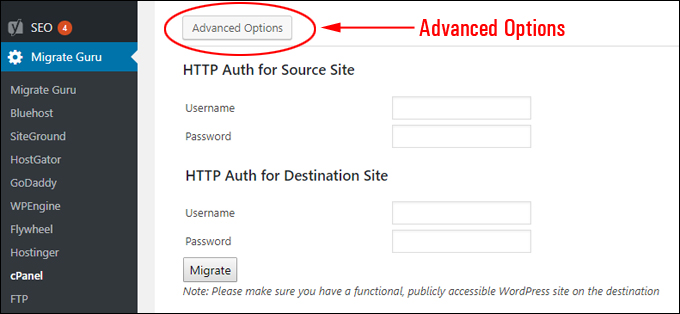
(Migrate Guru – Advanced Options)
Enter the username and password for the source and destination site.
![]()
These are only required if either the site being moved or the destination site is https:// instead of http://.
If the URL of either the source or destination site begins with https://, then they should be HTTP authenticated. These credentials can be retrieved from the site’s server logs. Some web hosts provide apps in cPanel that make it easier to browse those logs.
After completing the form, click the ‘Migrate’ button …
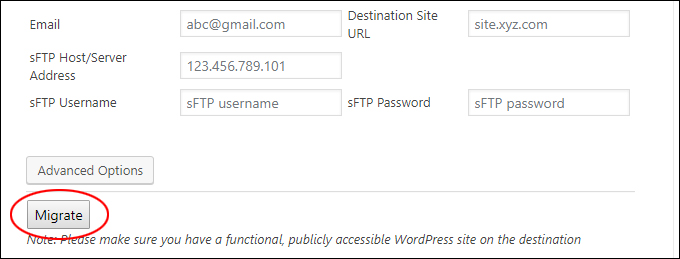
(Migrate button)
Migrate Guru will send you an email notification confirming that the process of migration has begun. You will also be taken to a real-time progress screen, allowing you to monitor the migration process …
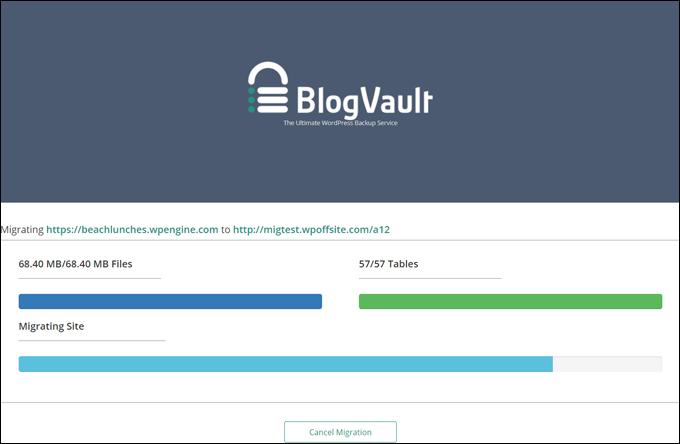
(Migration progress screen)
After the migration process is completed, you will receive another email from Migrate Guru notifying you about the successful migration and the link to your newly-migrated site.
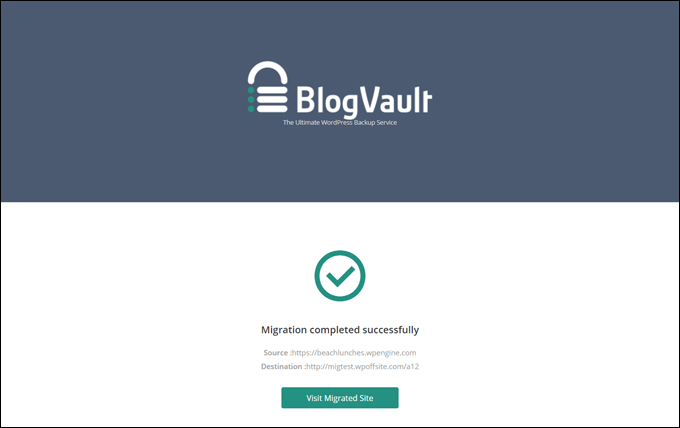
(WordPress site migration completed successfully!)
![]()
After your site migration has been completed, it’s important to reassign the DNS of your site to the new destination’s IP address. Your new DNS settings can take anywhere from 2- 48 hours to propagate.
You can monitor the DNS propagation of your site using online tools like DNS Checker or What’s My DNS …
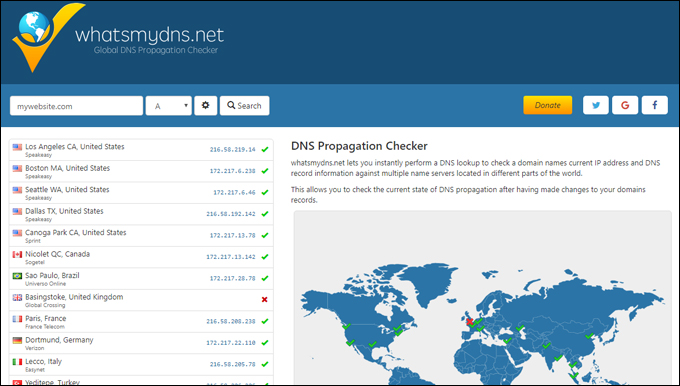
(What’s My DNS – Global DNS propagation checker tool)
With most hosting accounts, you can edit your DNS settings in cPanel’s ‘DNS settings’ sections.
Migrate Guru – Additional Information
As you can see, using a WordPress migration plugin like Migrate Guru can make the process of moving your WordPress site to a new server easier and minimize the time and effort required to move your site to a different server without any downtime at all.
For more information about the Migrate Guru plugin, go here, or check out the video below …
(Migrate Guru – Fast WordPress migration plugin)
We hope that you have found the above tutorial on how to migrate your WordPress site to another server useful.
For more WordPress management tutorials, go here:

***
"I am beyond impressed with what you have put together. I can tell that you put a ton of hard work into building what you have. You have the absolute best content on WordPress I have ever seen!" - Robert T. Jillie
***