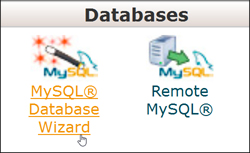
 This tutorial is part of our WordPress Management tutorial series. In this tutorial, we show you how to create a MySQL database for WordPress using cPanel’s MySQL Database Wizard.
***
How To Create A WordPress MySQL Database
If you are performing a manual WordPress installation or adding a new application to your website that requires data to be stored in its own MySQL database, then follow the tutorial below to learn how to create a new MySQL database using cPanel.
To learn more about using cPanel, go here:
How To Create A MySQL Database
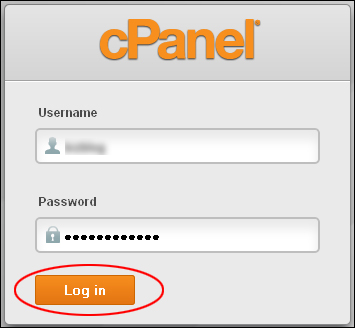
Log into your cPanel administration area …
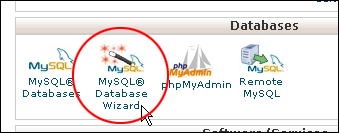
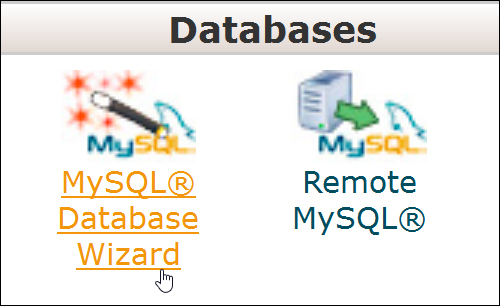
Scroll down to the ‘Databases’ section of your cPanel administration area and click on MySQL Database Wizard …
Create a database name and click ‘Next Step’ …
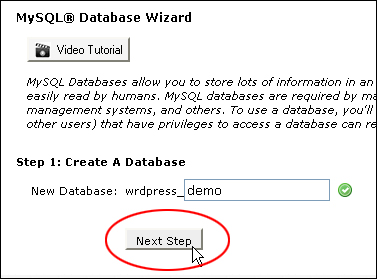
Note: In the above screenshot example, the prefix “wrdpress” is the domain username and “demo” is the database name. Your configuration will show a different domain username prefix.
Copy the entire ‘prefix_databasename’ string into a plain text file. You will need it later on during the installation process.
Next, create a username, and enter and verify a password (aim for a score of very strong – use the password generator if you need to), then click ‘Create User’ …

In the above screenshot example, the username is “demo1”.
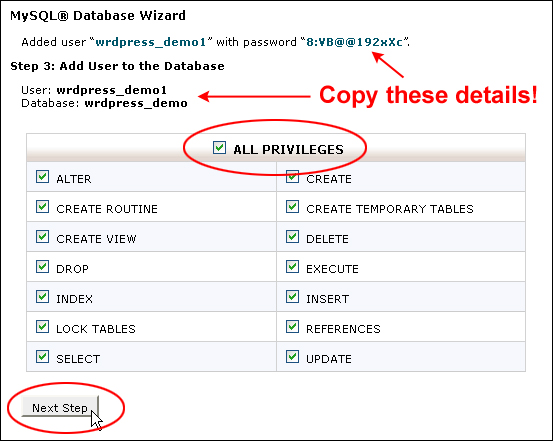
In the next screen, do the following:
- Copy the ‘User’, ‘Database’, and ‘Password’ details to a plain text file and save it to your hard drive. You will need these later.
- Select the ‘ALL PRIVILEGES’ checkbox
- After completing the above tasks, click on Next Step to proceed …
Congratulations! You have successfully created a MySQL database …

See Also …
To learn how to delete a MySQL Database, see the tutorial below:
***
"If you're new to WordPress, this can stand on its own as a training course and will stay with you as you progress from beginner to advanced and even guru status." - Bruce (Columbus, Ohio)
***