 If you are new to WordPress, make sure you read our introduction to WordPress themes. It explains what WordPress themes are and how using a theme can be cost-effective and time-saving for business website owners.
In this tutorial, you will learn how to easily upgrade your theme inside the dashboard.
Upgrading A WordPress Theme – Best Practices Checklist
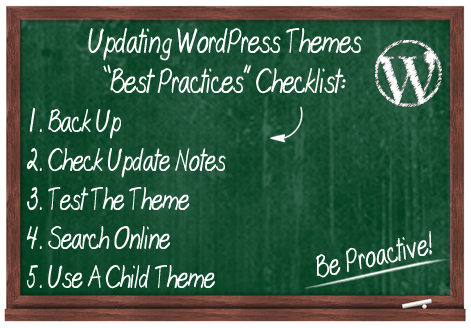
We recommend going through the “best practices” checklist below before attempting the upgrade process, to reduce the risk of any problems happening during your upgrade.
1. Back Up Your Site Files And Data
Backing up your files and data before making any changes to your site is vital. This way, if things don’t go as planned, you can always restore everything to its previous settings.
If you don’t want to perform manual backups, there are many free and paid plugins you can use. Learn about a WordPress backup plugin that can fully automate your backup process here:
2. Check The Theme Update Notes
Changes made to the WordPress software can affect the functionality of certain themes. Depending on the theme you are using, there may be some release notes included with an update which provides an overview of any new features, improvements, bug fixes or important changes in the new version.
If the theme changes seem irrelevant or unimportant, you can skip the update. Otherwise, you should update.
3. Test The Theme
If you can, it’s a good idea to check the theme before installing it on your site.
![]()
Typically, web service providers will set up a test site where they can test the latest version of an installed theme, track any bugs and check if all plugins are working fine with the new theme before installing it on a live site.
If you manage your own website, you can set up a test WordPress site on a subdomain or a separate domain name using the same plugins and configuration settings and play with the new theme versions on your test site before applying it to your main site.
4. Search Online
Before updating your theme, it’s a good idea to search online to see if anyone has reported any issues with the new theme version.
You can enter the theme name and version into Google, and search the theme developer’s support forum (many developers offer this for premium WordPress themes, and even for some free plugins).
5. Use Child Themes For Heavily Customized WordPress Themes
If you have made extensive customizations to your existing WordPress theme files, updating your theme may result in your custom modifications being overwritten. To prevent losing your theme modifications, therefore, we recommend you learn how to create “child themes”.
A WordPress child theme is a theme that inherits the functionality of another theme, called the parent theme, and allows you to modify, or add to, the functionality of the parent theme. When you update the “parent theme”, your modifications are preserved through the “child theme.”
If you plan to customize your theme files, then we recommend becoming familiar with child themes, especially if you plan on using a theme that gets regularly updated. You can learn more about child themes by searching online, or visit the WordPress Codex child theme page here:
![]()
As you will see below, the actual process of updating a WordPress theme is not complicated at all … a few simple clicks and you’re done! What can feel slightly bothersome is the preparation involved prior to upgrading.
Many people don’t upgrade their themes regularly, while many upgrade without going through all of the steps listed in the section above. As mentioned earlier, the above are “best practice” methods to help you avoid problems. Ultimately, it is solely your responsibility as a website owner to protect your digital assets.
How To Upgrade Your WP Theme – Tutorial
Updating your WP theme in your admin dashboard is simple.
Log into your WordPress administration area …
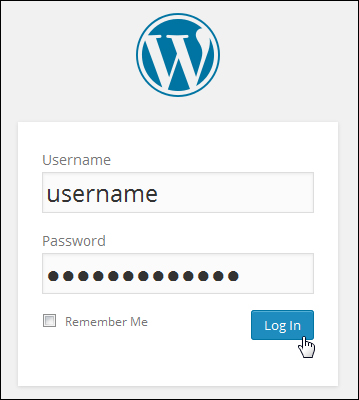
Depending on what theme(s) you have installed on your website, you may receive an occasional alert in your dashboard that your theme(s) need updating …

Updating a WordPress theme from the WP dashboard is quite simple and easy. You can update your WordPress theme using the “Themes” section, or the “Updates” screen.
Updating Your Theme Using The “Themes” Area
To see which themes need updating, go to your Themes area.
Select Appearance > Themes from your WordPress dashboard menu …
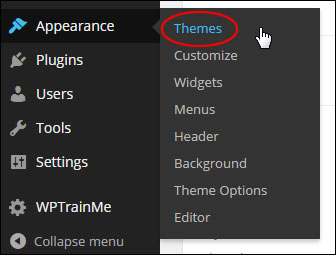
This brings you to the “Themes” page …

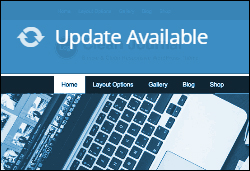
Themes that need updating display an “Update Available” message over the theme’s thumbnail image …
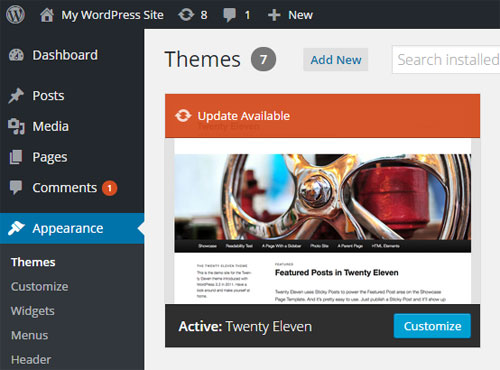
Locate the theme you want to update and click on the “Update Available” message.
When the theme details window opens up, click on update now …

WordPress automatically updates your theme in seconds …

Your WordPress theme is now up-to-date …

Repeat the above process to update all of your outdated themes, or use the method below to upgrade multiple themes at once.
Updating WordPress Themes From The “Updates” Page
Update your themes from the “Updates” area as shown below:
To view all themes on your website that require updating, click on Dashboard > Updates …

This brings up the Updates screen. Scroll down to the Themes section …

Check the box next to all the themes you want to update and click on Update Themes to complete the upgrade process …

WordPress automatically updates all of your selected themes …

Congratulations! Now you know how to upgrade your themes from the WP dashboard.
***
"I love the way your email series "Infinite Web Content Creation Training Series" is documented and presented. It is very absorbing and captivating. The links and tutorials are interesting and educational. This has motivated me to rewrite my content following the concepts I am learning from the email series." - Mani Raju, www.fortuneinewaste.com