How To Create A Site Map With Post Images And Descriptions In WordPress
 Site maps are useful for helping visitors find what they are looking for quickly and easily on your site.
In this WordPress ‘quick tips’ tutorial, we’ll show you a simple and easy way to make your site map more attractive to visitors by including post thumbnail images and descriptions without modifying any code on your site.
In other tutorials, we show you how to create an HTML site map for your visitors and an XML sitemap for search engines.
To learn more about the differences between an HTML site map and an XML sitemap, what they are used for, and how to add them to your WordPress site, see these tutorials:
Most Visitor Site Maps Are Plain And Boring …
Normally, visitor site maps tend to look a little plain or boring, as most consist of a simple list of all the pages and posts on your site …
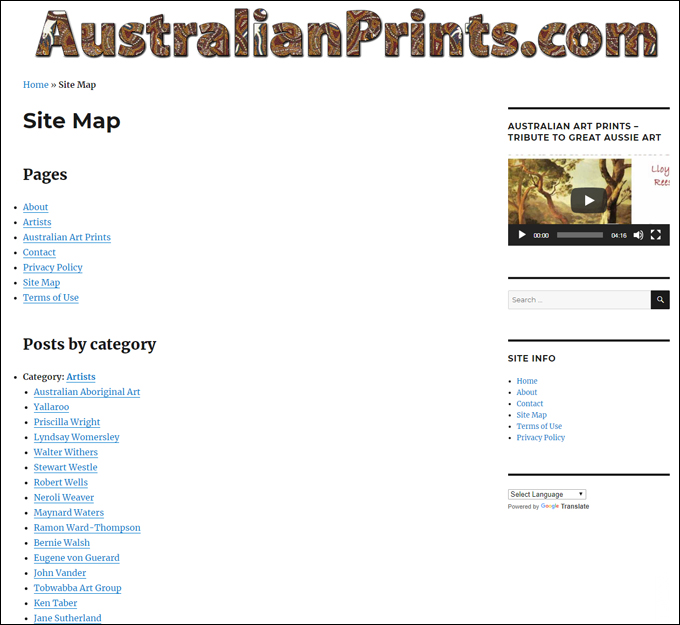
(An HTML site map)
As explained in our tutorial on how to add an HTML site map to WordPress, you can easily add a site map for your visitors by installing a plugin (there are many site map plugins to choose from), and then copying and pasting the plugin’s shortcode in the page where you would like your site map to display …
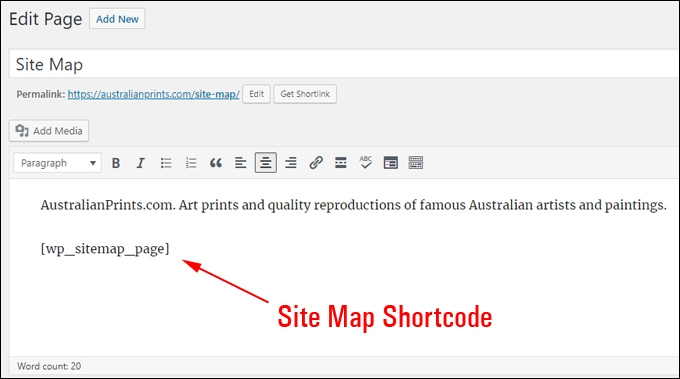
(Add a site map shortcode to your Site Map page)
Take Your Visitor Site Map To The Next Level …
Add Post Descriptions To Your Visitor Site Map
Instead of creating a site map for your visitors using a site map plugin, you can add a site map with post descriptions like this …
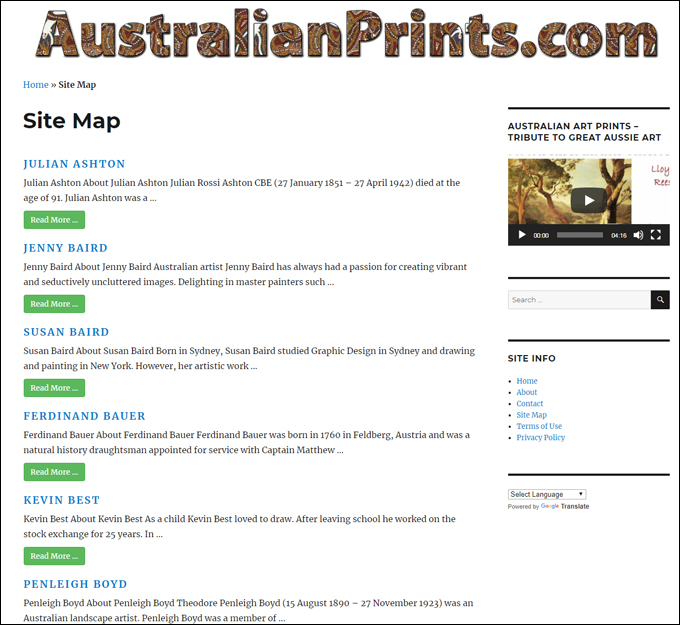
(Add a site map with post descriptions for your visitors)
The above was created using a free plugin called Content Views.
Content Views
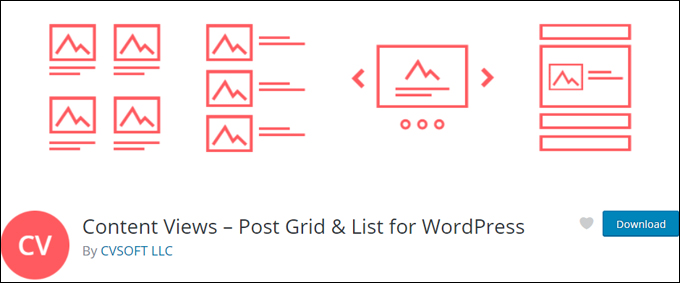
(Content Views – Post Grid & List for WordPress)
Content Views is a free WordPress plugin that lets you organize, filter, sort, and display content from selected posts, pages, or custom post types using different views and layouts (e.g. grid, table, list) and insert these views anywhere on your site using a shortcode …
(Content Views WordPress plugin)
The plugin is very easy to use and lets you create unlimited custom views and layouts without touching code.
![]()
‘Content Views’ is a powerful and versatile plugin that can do a whole lot more than just add an attractive site map to your site. For a tutorial that shows you how versatile and useful this plugin is, go here:
Add Images And Post Descriptions To Your Visitor Site Map
The free version of the plugin let’s you add post descriptions but offers limited functionality compared to the premium version (called ContentViews PRO), such as little control over your post descriptions and no thumbnail images taken from your content.
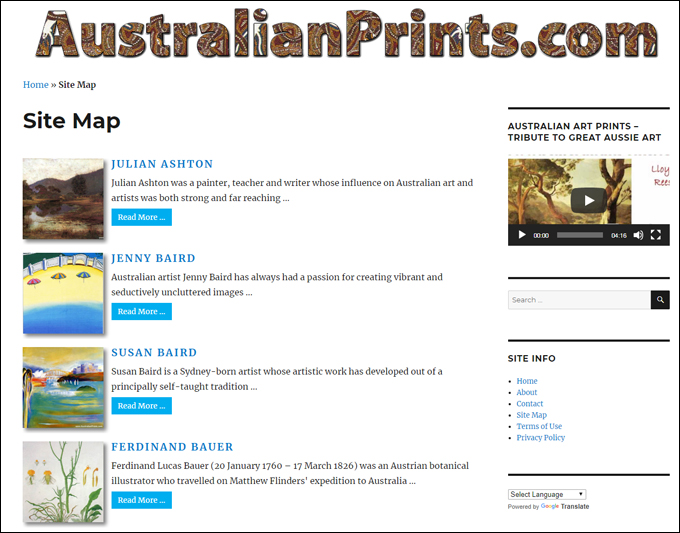
To have full control of your post descriptions and the ability to display post thumbnail images on your site map, you will need to upgrade to ContentViews PRO …
(Site map with post images and descriptions)
To add this enhanced site map to your site, create a “view” (i.e. a layout) that includes all of your posts and copy the shortcode to your clipboard …
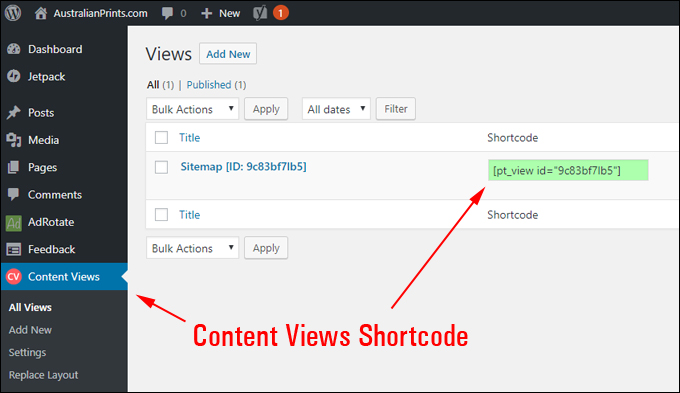
(Content Views Shortcode)
Then paste the views shortcode into your content where you would like the site map to display …
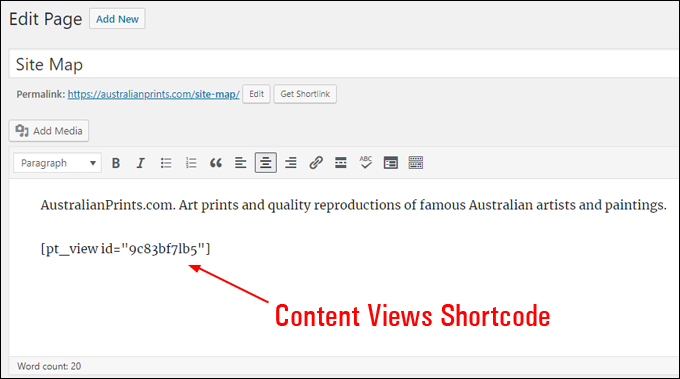
(Add the ‘content views’ shortcode to your Site Map page)
Creating a ‘view’ is simple. Here is the process in a nutshell:
After installing the plugin, do the following:
1 – Create a new view and give it a title (e.g. Sitemap).
2 – In the ‘Filter Settings’ tab, select Content Type > Post (note: the premium version of the plugin lets you combine posts, pages, media, and other custom post types).
3 – Make sure that the ‘Include Only’ field is left blank to select all posts published on your site. To exclude posts from displaying on your site map, add the post ids of the posts you would like to exclude into the ‘Exclude’ field.
4 – Leave the ‘Limit’ field blank to display all posts on your site map.
5 – You can sort your list of posts if you like (e.g. alphabetically, by published or modified date, by comment count, etc.)
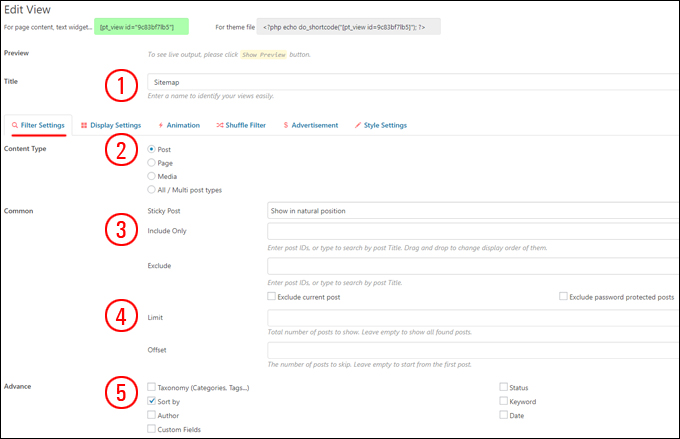
(Content View – Filter Settings)
To configure how the site map will display to visitors, switch to the ‘Display Settings’ tab and change the settings to suit your preferences.
For example, to display a list of posts with one item per row, a thumbnail image on the left, the post title and the post excerpt, do the following:
6 – In the Layout section, select ‘Grid’ view.
7 – Select 1 item per row.
8 – In the Format section, select ‘Show thumbnail on the left/right of text’ and adjust any other settings to suit (e.g. wrapping text around image), including Thumbnail Position (Left or Right)
9 – Configure your settings for Post Title, Post Thumbnail, and Content.
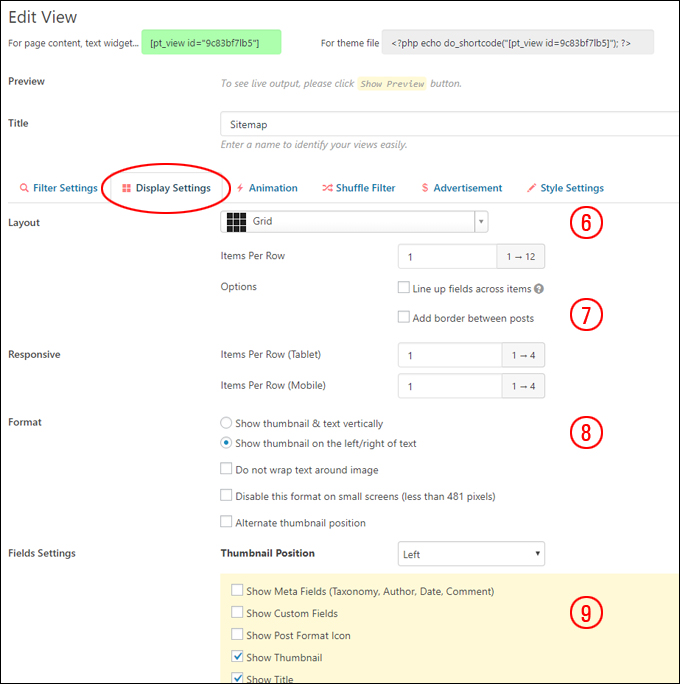
(Content View – Display Settings)
Below are screenshots of how the Fields Settings options have been configured for the Thumbnail image, Post Title and Post Description used in our example site map (using ContentViews PRO).
![]()
You can change the order of how your post images, post titles and post descriptions display in your views using drag and drop to reposition element layouts.
Post Title
For site map post titles, we just left the default settings (H4 heading) …
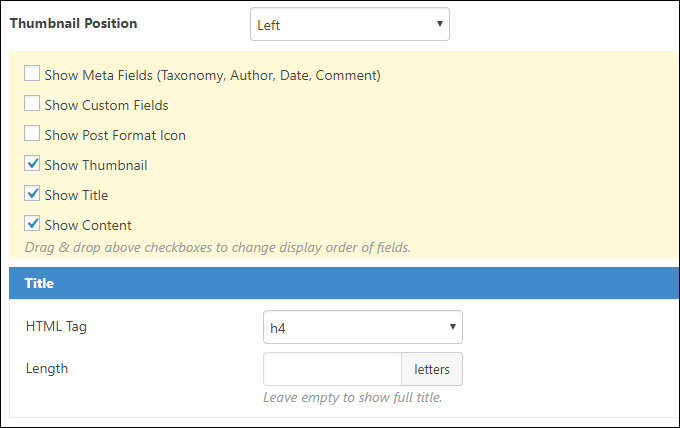
(Content Views: Fields Settings – Title)
Post Thumbnail Image
For our example site map, we have configured the following settings:
- Selected 150×150 thumbnail image size,
- Enabled ‘Show all images in same size’ checkbox,
- Added a style to the image (Shadow)
- Selected to show an ‘Image’ if no featured image found (this automatically grabs an image from your content) …
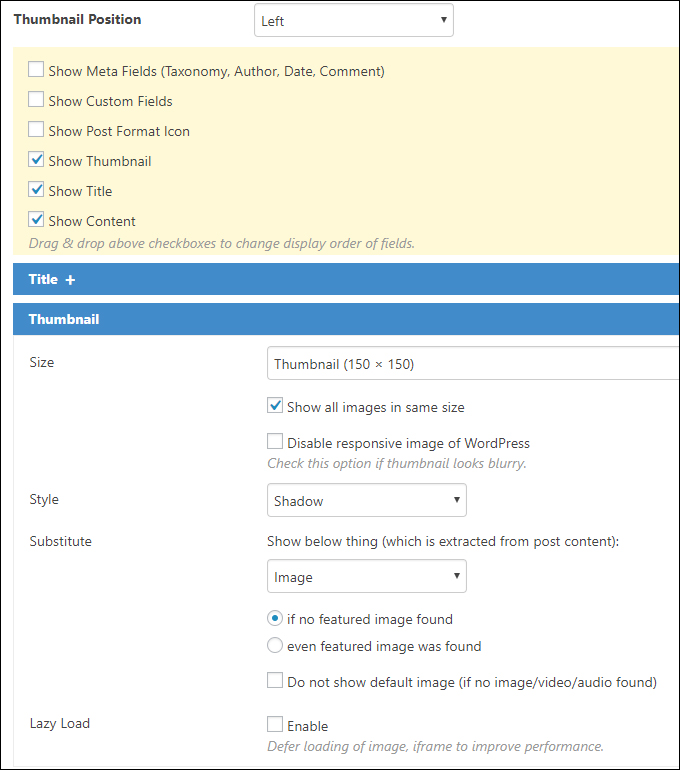
(Content Views: Fields Settings – Thumbnail)
Post Description
For the site map used in our example, we have configured the following settings:
- Selected ‘Show Excerpt’,
- Limited excerpt to 25 words,
- Selected ‘Use manual excerpt (without modifying)’. This displays the post excerpt for each entry in the site map (instead of grabbing the first 25 words of each post, which the free version of the plugin does).
- Enabled the ‘Read More…’ text to display for each entry (the premium version of the plugin lets you customize this section, including text, typefaces, button colors, etc.) …
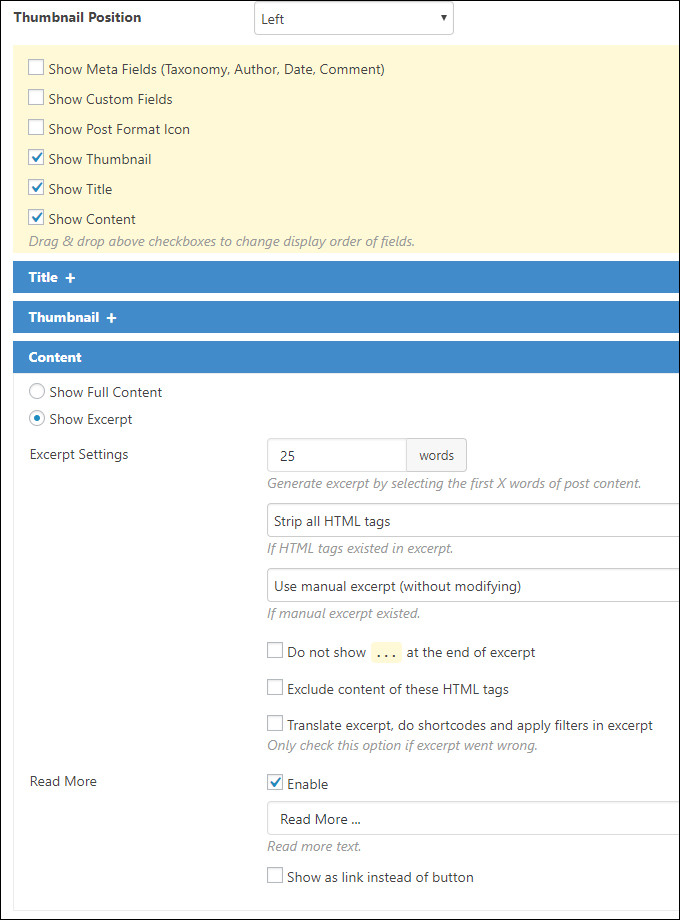
(Content Views: Fields Settings – Content)
As you can see, we have gone from adding a plain looking site map for your visitors like this …
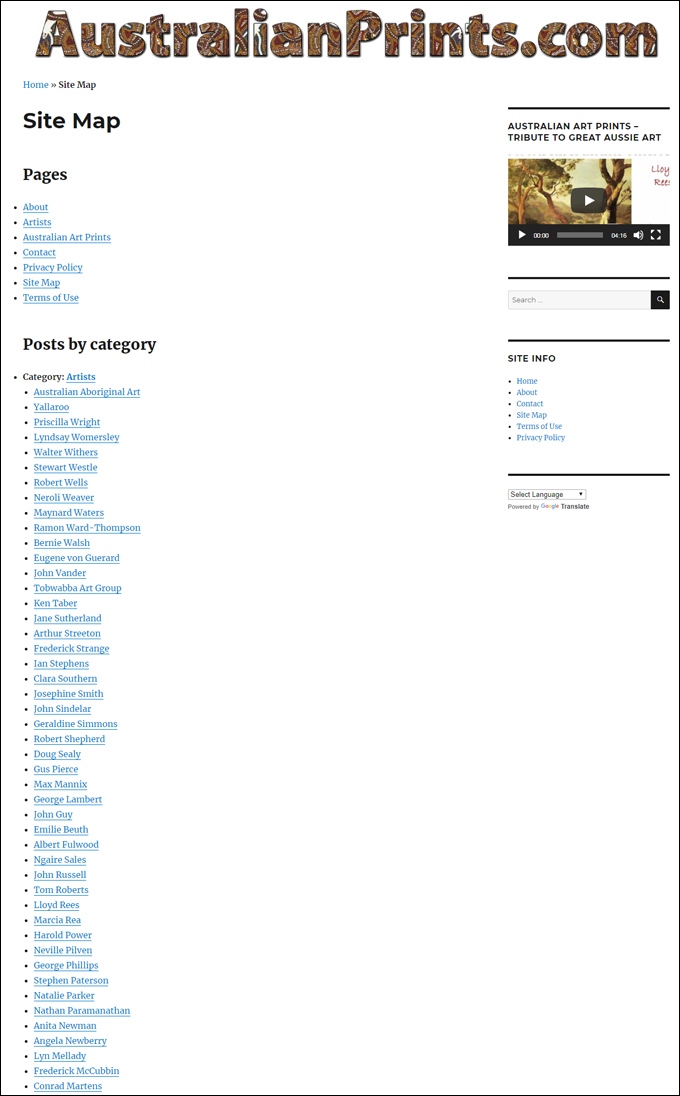
(Visitor site map created using a site map plugin)
To adding a site map with post descriptions like this …
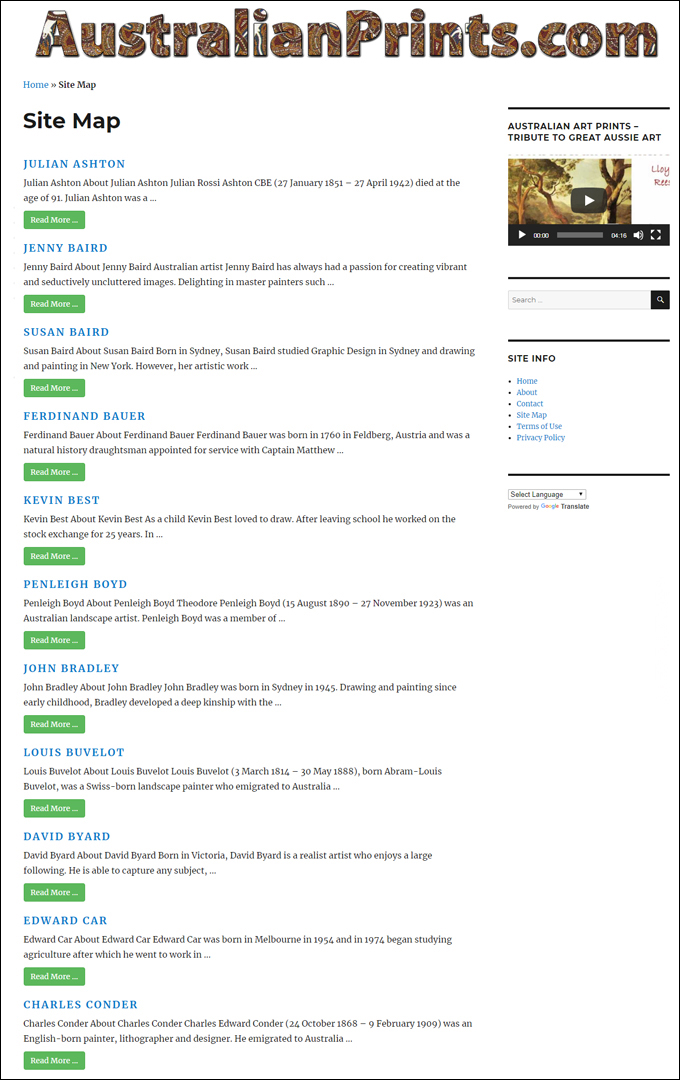
(Visitor site map created using Content Views plugin)
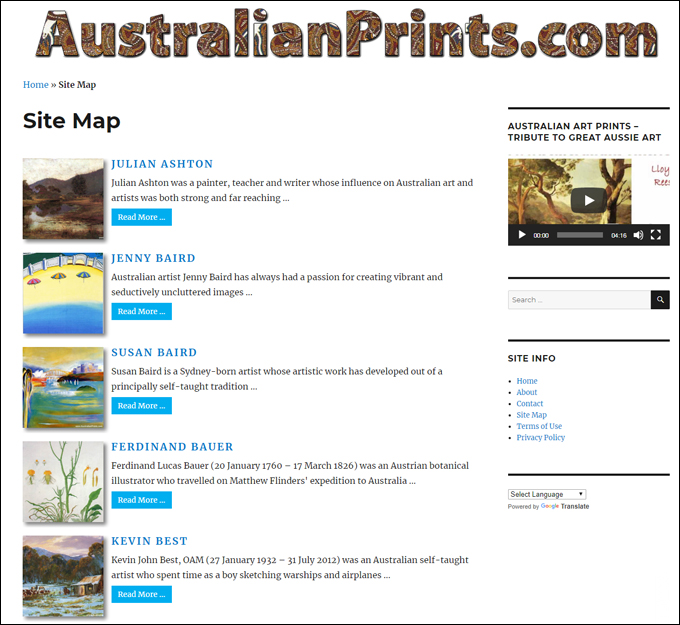
To adding a site map with an attractive layout for visitors that includes post thumbnail images and customized post excerpts like this …
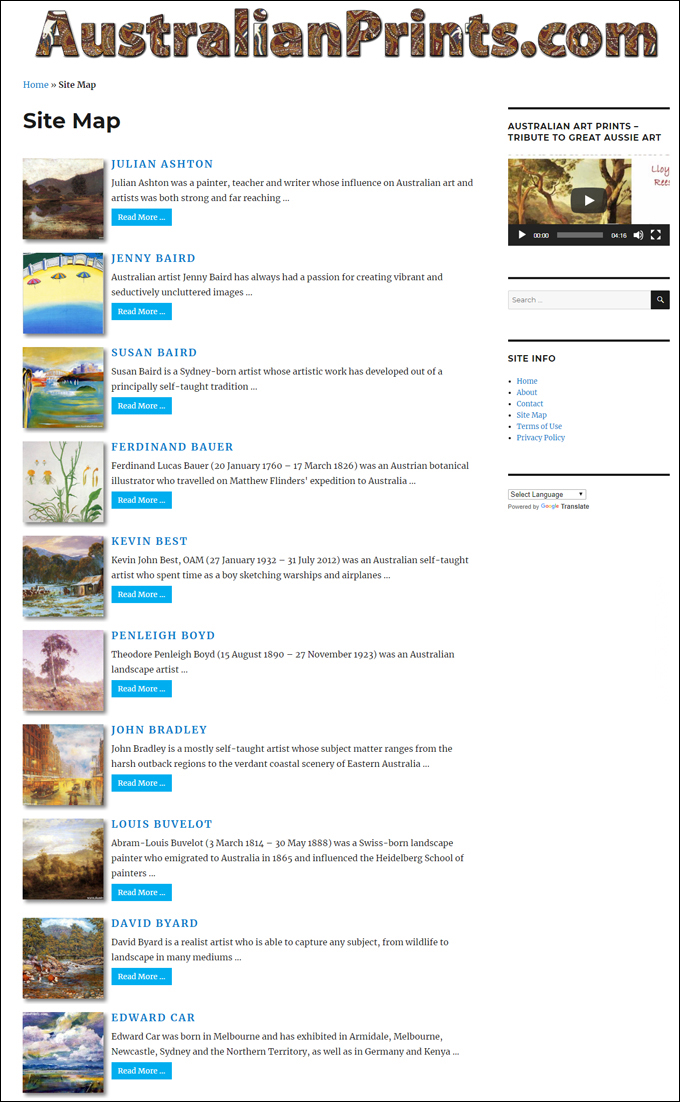
(Visitor site map created using ContentViews PRO plugin)
We hope that you have found this ‘quick tips’ tutorial on how to create a visitor site map with post images and descriptions in WordPress useful.
![]()
For loads of useful WordPress tips, sign up to our FREE 101+ WordPress Tips, Tricks & Hacks For Non-Techies e-course!
(Source: AustralianPrints.com)
***
"I am beyond impressed with what you have put together. I can tell that you put a ton of hard work into building what you have. You have the absolute best content on WordPress I have ever seen!" - Robert T. Jillie
***