WordPress Block Editor – Audio Block

This tutorial is part of our series WordPress Gutenberg: The Ultimate Guide For Non-Technical WordPress blocksUsers.
- To learn more about using the WordPress block editor interface, go here: The WordPress Block Editor – Content Area
- To learn more about using blocks, see this tutorial: How To Use WordPress Content Editor Blocks
- For additional information, see this tutorial on How To Add Audio Files In WordPress.
***
Audio Block – Description
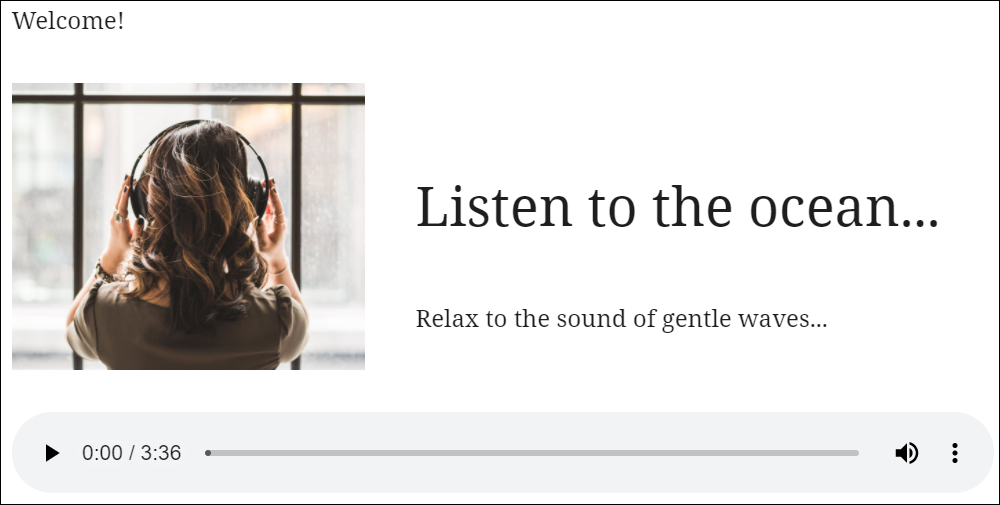
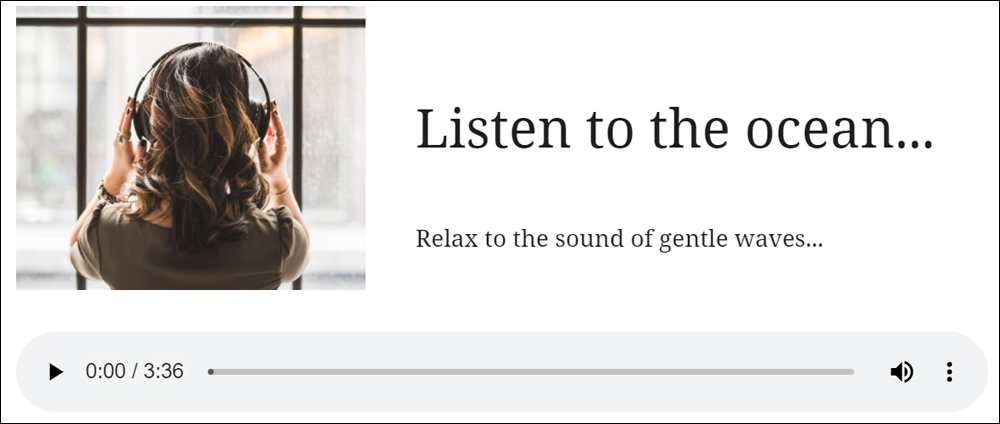
The Audio block lets you embed .mp3 and other audio files (e.g. music, podcasts, sound files) into a post or page on your WordPress site and play files using a simple native HTML 5 audio player.
Add audio files to WordPress using the Audio Block.
By default, the Audio block gives you the following audio player controls:
- Play
- Pause
- Length
- Volume slider
- Download the audio file
Note: The design of the audio player will depend on the user’s browser.
How To Use The Audio Block
In this section, we’ll cover:
- How to add an Audio block to your content.
- How to edit and configure your Audio block and block settings.
- How to remove the Audio block from your content.
For more details on using blocks (e.g. how to move blocks around your content), see this tutorial: How To Use Blocks.
Adding An Audio Block
To add an Audio block to your content:
- Either:
- Click on the ‘Add Block’ tool in the Editing Toolbar section and select an Audio block (in Most Used or Media section), or
- Add the Audio block in the Content Area.
- Drag and drop, upload, or select an audio file from your Media Library.
- Use the tools in the Audio Block Editor or Block Settings section to edit and format your audio.
Let’s go through the above steps:
First, create a new post or page or open an existing post or page and either:
Click on the ‘Add Block’ tool and select an ‘Audio’ block…

(‘Add Block’ Tool – Add Audio Block)
Or, select an Audio block using the Inserter tool in the Content Area.
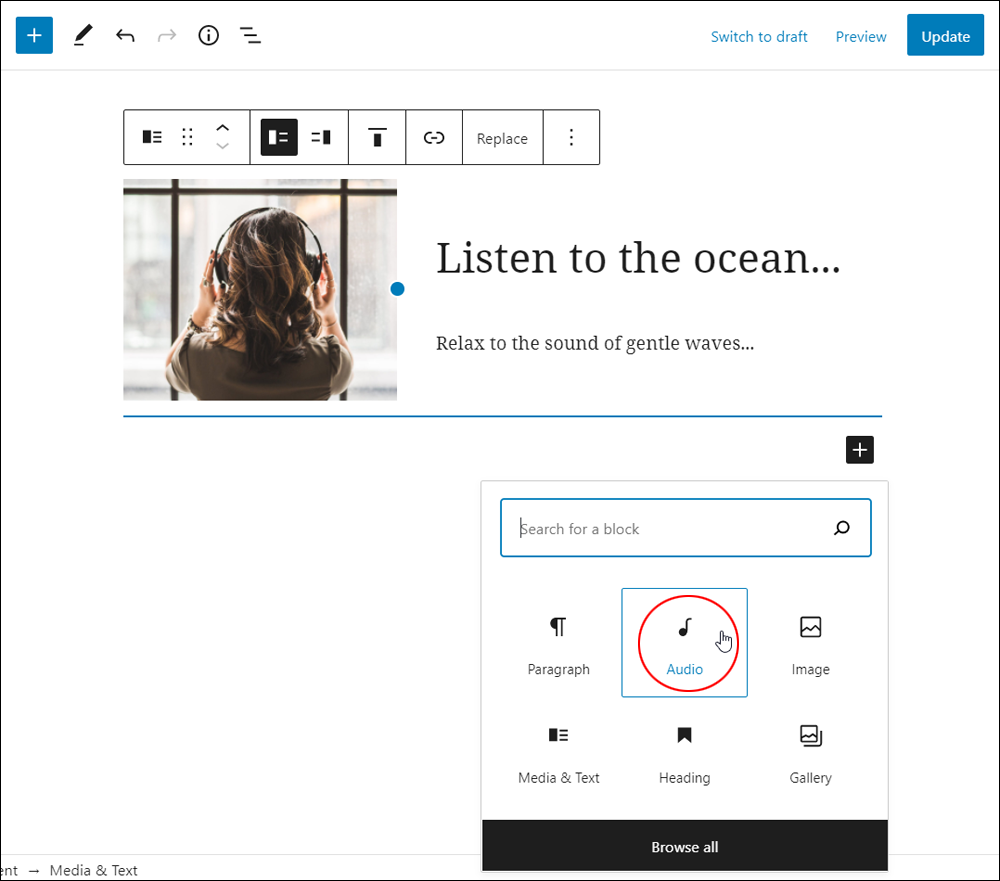
Either of these methods will insert an audio block into your content.
You can add an audio file to your content after inserting an Audio block in several ways:
- Using drag and drop.
- Using the web browser uploader.
- From your media library.
- From an external URL.
Add An Audio Using Drag & Drop
Note: You don’t need to add an audio block to your post or page first in order to add an audio file when using the drag and drop method.
To add an audio file using drag and drop:
- Make sure your media files folder is open (you may need to resize your browser to view both your post and your media folder).
- Select an audio file from your media folder and drag it into your content area where you would like to insert the file.
- This will automatically embed the audio file into your content.
Add An Audio Using Your Web Browser Uploader
To add an audio file using your web browser uploader:
- Make sure you know where your media files folder is located.
- Hover your cursor over the Audio block and click the Upload button to open your web browser’s media uploader window.
- Select an audio file from your media folder and click the ‘Open’ button to import the audio file into your site.
- This will automatically upload your audio to the media library and add it to your post/page.
Let’s go through the above steps:
First, click the ‘Upload’ button in the Audio block.
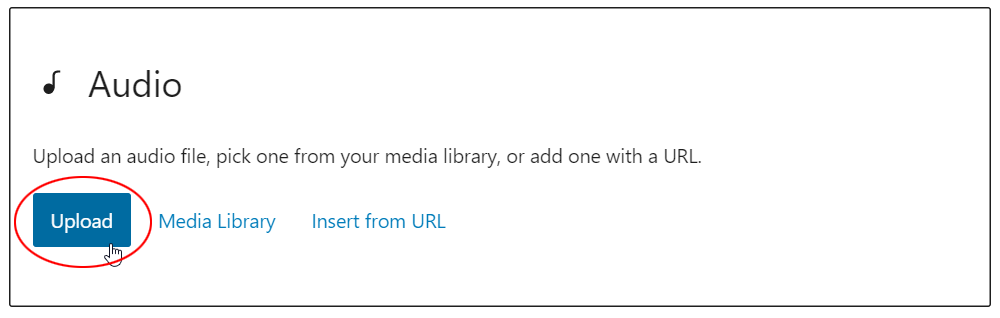
This will bring up an upload browser. Locate your media files folder, select the audio file you want to insert into your content, and click ‘Open’ to import the audio file into your post or page.
Add An Audio From Your Media Library
To add an audio file from your media library:
- Make sure that your audio file has been uploaded to your media library (if you need help with this step, see this tutorial: How To Use The WordPress Media Library).
- Hover over the Audio block and click the ‘Media Library’ button.
- In your Media Library, click on an audio file to select it.
- Click the ‘Select’ button.
- This will insert the audio file into your post or page.
- Update or publish your post or page to save your changes and update your content.
Let’s go through the above steps:
Hover over the Audio block and click on the ‘Media Library’ button.
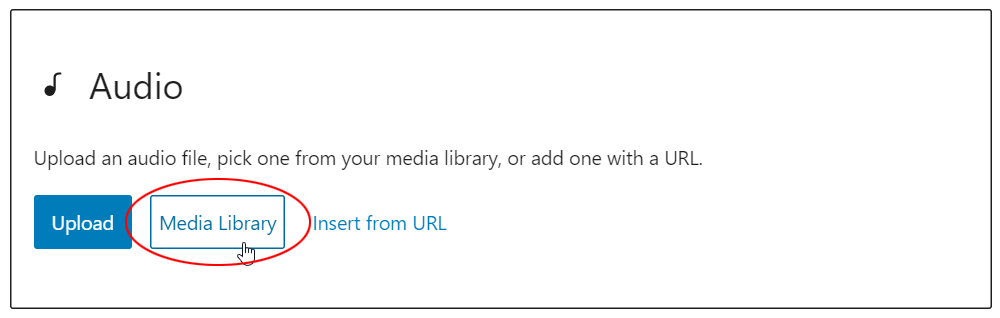
Select an audio file from your media library (or upload one from your media files folder) and click on the ‘Select’ button.
This will add the audio file to your post or page.
Add An Audio From An External URL
You can add audio to your posts or pages from an external URL.
To add an audio file from an external URL:
- Make sure you have uploaded your audio file to your server or an external cloud storage location (e.g. Amazon S3, Dropbox, etc.)
- Copy the audio file URL.
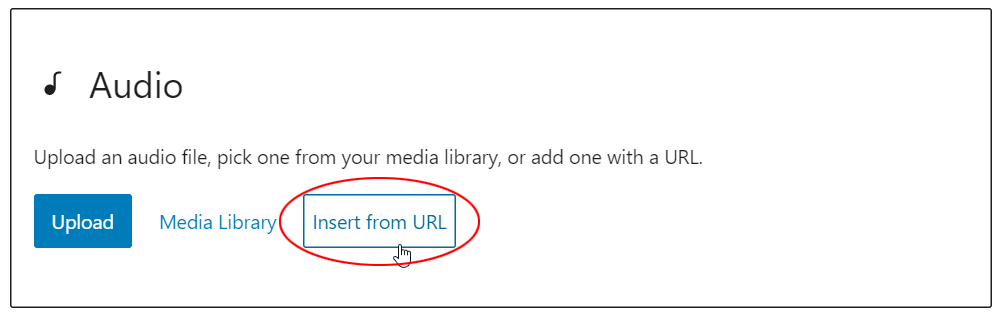
- Hover over your Audio block and click the ‘Insert from URL’ button.
- Paste the audio URL from your clipboard into the URL field.
- Click ‘Apply’ to insert the audio into your content.
Let’s go through the above process.
After you have uploaded your audio to an external storage location and copied its URL to your clipboard, hover over the Audio block and click on the ‘Insert from URL’ button.
Paste the audio URL into the URL field and click ‘Apply’ to add the audio file to your post or page.
After adding audio files, you can:
- Edit and configure block settings,
- Save, publish, or update your post or page.
How To Edit An Audio Block
To edit an Audio block:
- Click inside the Audio block to select it.
- Use the Block Editor tools to:
- Change the position of the audio player (left, center, right).
- Change the player width settings (wide, full).
- Add and format a caption for your audio file.
- Edit the settings (replace the audio file).
- Use the Block Settings to:
- Change audio settings (autoplay, loop)
- Change preload settings (none, auto, metadata).
Changing the alignment of your audio player lets you embed audio files with text and images.
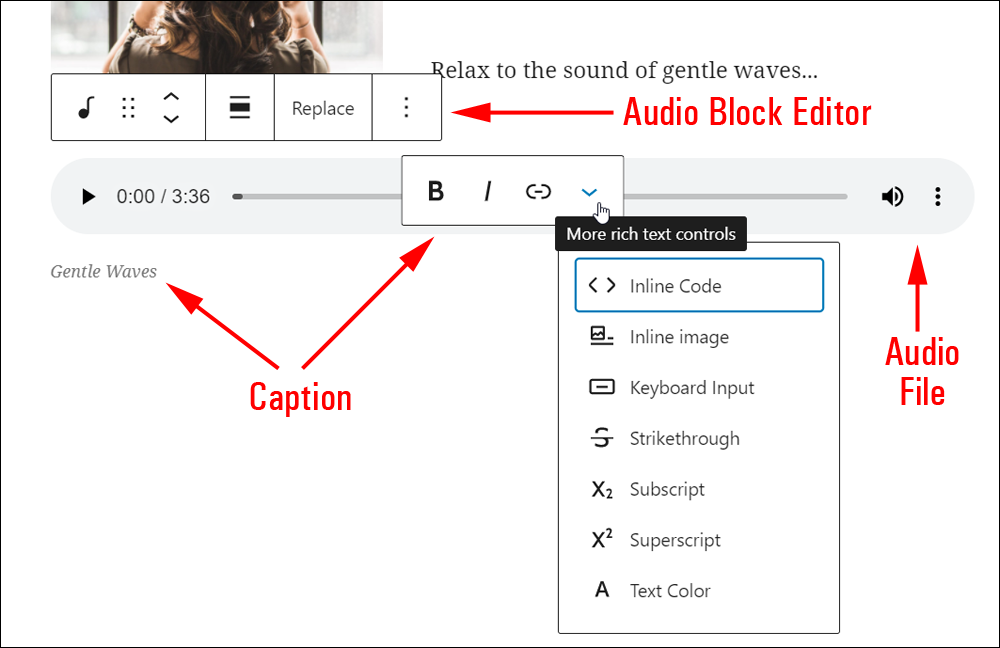
Add a caption to help users identify the content of your audio file.

Caption text formatting options for your audio file include:
- Bold – Add bold formatting.
- Italics – Add italics to caption text.
- Link/Unlink – Add a hyperlink.
- More rich text controls – See How To Use Blocks to learn more about using rich text control settings.
Remember to update and publish your post or page to save your settings.
How To Remove An Audio Block
To delete or remove an audio block from your content:
- Click inside the Audio block to select it.
- Select the ‘More Options’ tool in the Block Editor.
- Click on ‘Remove Block’.
- The block will be removed from your post or page.
Additionally…
- You can reposition your block using the ‘Move Up’ and ‘Move Down’ arrows or the Drag and Drop handle tool (see our How To Use Blocks tutorial if you need help with this step).
- You can also convert Audio Blocks into Reusable Blocks.
Audio Block Tools, Options & Settings
The Audio Block includes tools, options, and settings for:
- Audio Block Editor
- Audio Block Settings
Audio Block Editor
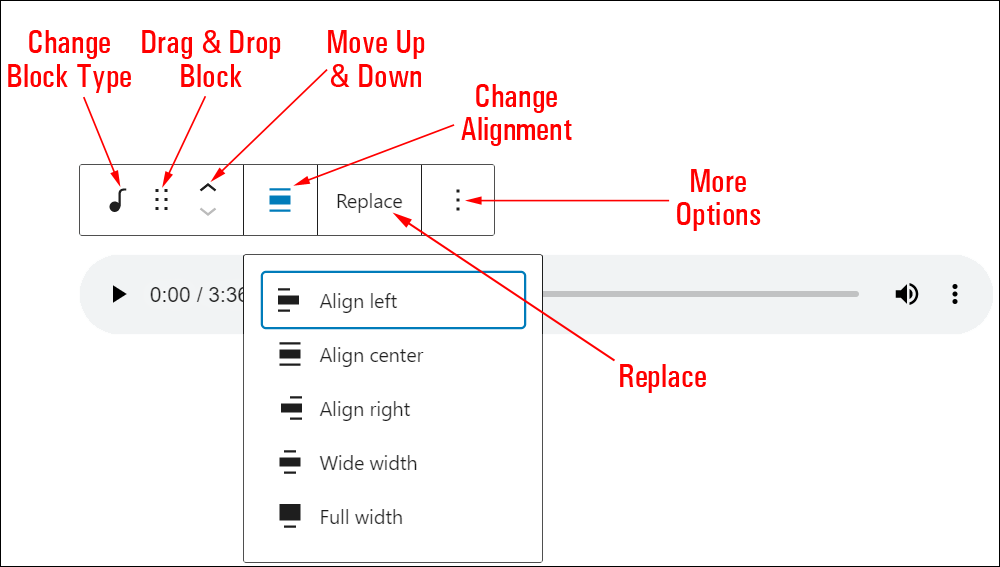
The Audio Block Editor includes tools that let you perform the following operations:
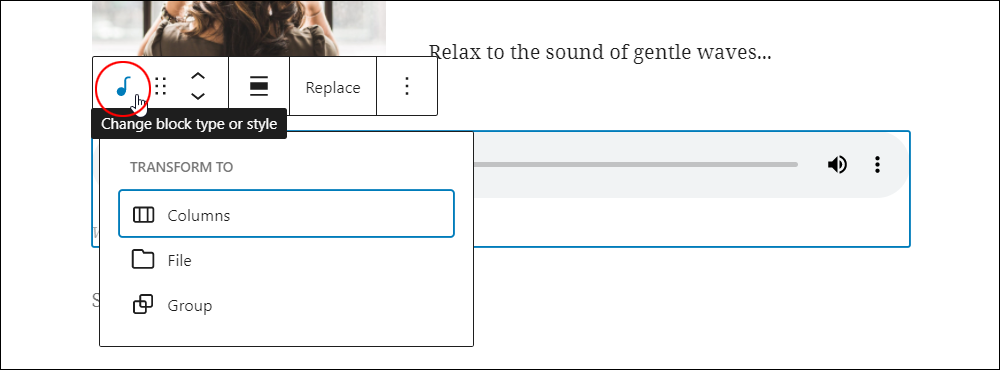
- Change Block Type (See ‘Audio Block – Additional Info’ section below.)
- Drag & Drop Tool
- Move Up and Down Tool
- Align Player
- Align player left
- Align player center
- Align player right
- More Options
- See ‘More Options’ menu section in the Content Area tutorial for more details.
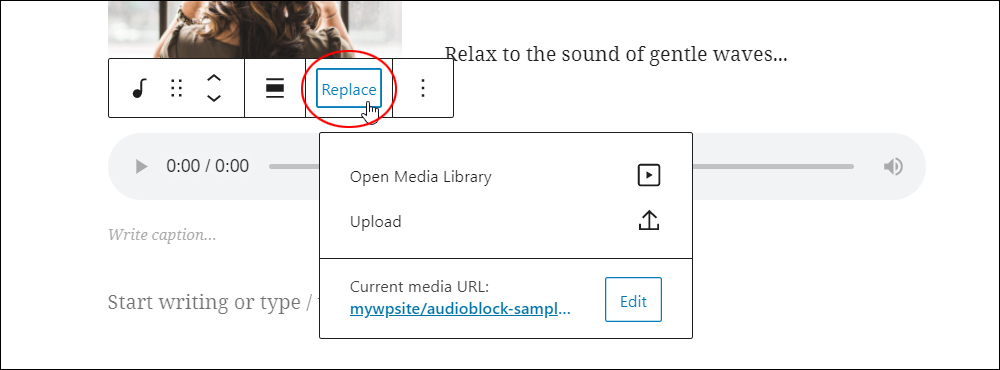
Note: When an audio block containing an audio file is selected, the editor menu displays an option to Replace the audio file.
Click this to replace the audio file in your audio block using the Media Library, by uploading a new file, or by editing the current audio file’s URL.
Audio Block Settings
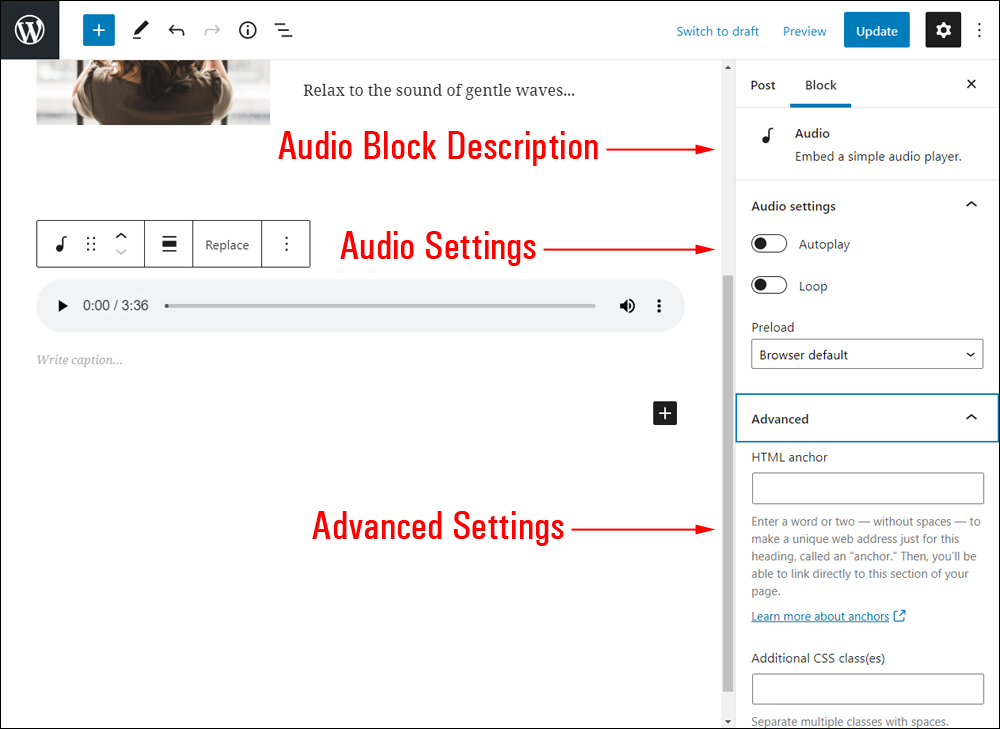
Audio block settings include:
- Block description area
- Audio Settings
- Autoplay (On/Off) – Set the audio to begin playing as soon as the page is loaded on a visitor’s browser.
- Loop (On/Off) – Set the audio file to loop after playing.
- Preload: This option allows you to select how much of the audio file is downloaded when the page or post is loaded. While it may be tempting to go ahead and have the whole file download automatically, this can slow your page’s load speed down. Settings include:
- Browser default – The user’s browser settings control the audio file’s download.
- Auto – The audio starts loading as soon as the page loads. The entire audio file is downloaded, regardless of whether the visitor clicks the Play button or not. Note: This will create the biggest impact on your page or post’s load speed, especially with larger audio files.
- Metadata – Only basic info about the file (i.e. metadata) will be downloaded automatically: dimensions, first frame, track list, duration, etc. Like the None option below, the audio file only begins downloading when someone clicks Play. This setting is also very fast, as the only thing downloaded is text. There’s not much difference between selecting None and Metadata.
- None – No preload is done. Nothing about the audio file is downloaded automatically. The download of the audio file only begins when your visitor clicks the Play button. This is the fastest setting.
- Advanced Settings
- HTML Anchor – Create a unique web address to send users directly to a section of your page using a unique jump link URL. To learn more about using HTML Anchors, see our tutorial on How To Use Blocks.
- Additional CSS Class(es) – This field lets you add multiple CSS classes to your block separated with spaces. This allows you to write custom CSS and style the block as you see fit. Note: This requires having knowledge of CSS (Cascading Style Sheets).
Audio Block – Additional Info
The Audio Block can be converted into the following block types:
![]()
Notes:
- Changing an Audio Block into a File Block allows users to download your audio file.

Additionally:
Installing plugins or themes on your site may add new functionality, options, or settings to Audio blocks.
Congratulations! Now you know how to use the WordPress content editor’s Audio Block.
For tutorials on how to use other blocks, go here: WordPress Block Editor – How To Use Block
***
"This is AMAZING! I had learnt about how to use WordPress previously, but this covers absolutely everything and more!! Incredible value! Thank you!" - Monique, Warrior Forum
***
We are not affiliated, associated, sponsored, or endorsed by WordPress or its parent company Automattic. This site contains affiliate links to products. We may receive a commission for purchases made through these links.