 For online security purposes, avoid setting up WordPress sites using the username “admin”.
This is the default installation user name for WordPress and one of the first areas of potential vulnerabilities that hackers look for when attempting to break into WordPress.
In this step-by-step tutorial, you will learn how to change the admin username in WordPress to a more secure username.
How To Change Your Admin User Name In WordPress
Typically, on all new WordPress sites, the first registered user is usually the site administrator.
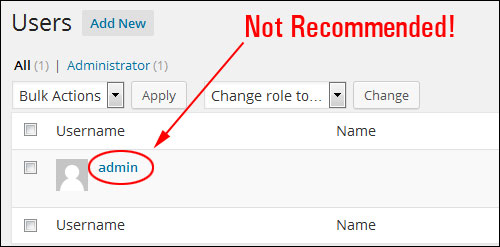
Having the default WordPress user name admin is not recommended, as it creates a security risk to your WordPress site …
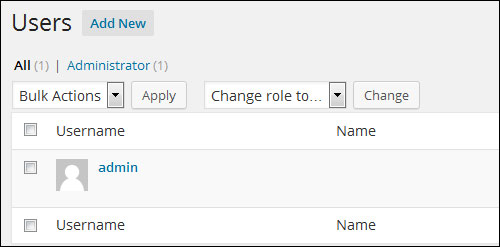
Let’s change the admin user name in WordPress from ‘admin’ to a more secure user name.
There are a number of ways to view your username details inside WordPress:
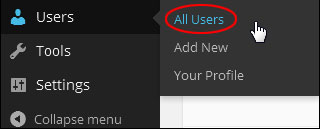
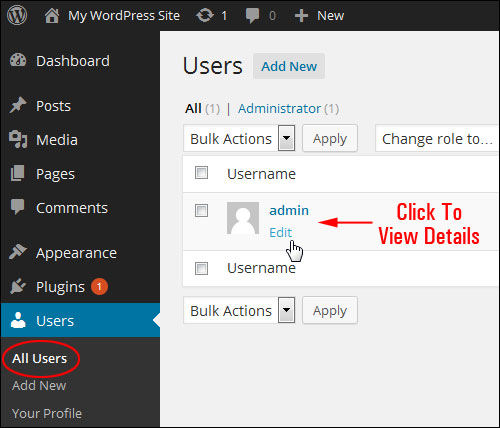
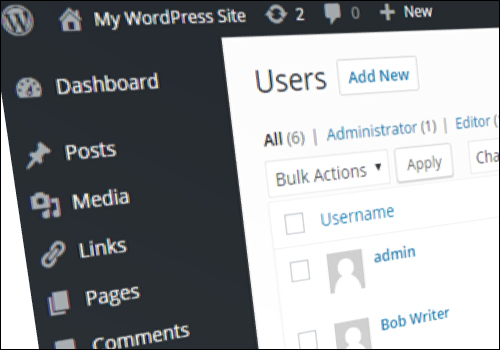
Select the Users > All Users section in your main menu …
Click either on the user name, or click on the Edit link when hovering over the user name with your mouse …
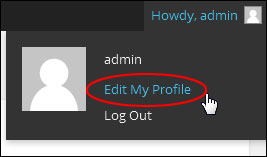
Or, select Edit My Profile from the “Howdy, User” menu at the top-right hand corner of your admin area …
You can also visit your “Profile” area by selecting Users > Your Profile from your admin menu.
You will discover when you get into your Profile page that you cannot change your user name inside the site admin section …
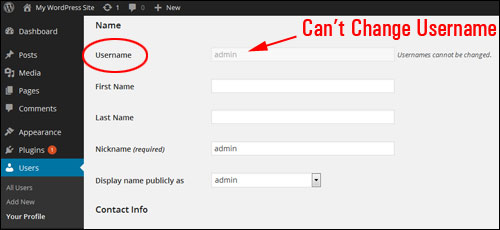
So, how do you modify a admin username?
Change Admin Username By Creating A New Admin User
If your user name is “admin,” here’s the easiest way to change your user name without accessing your server and doing technical changes to your WordPress database:
First, create a new user …
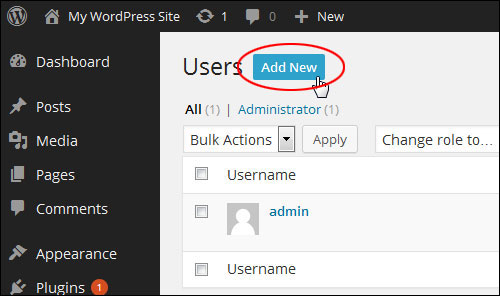
Next, create a more secure username, and assign this new user the role of “Administrator”. Remember to save your changes to update your settings …
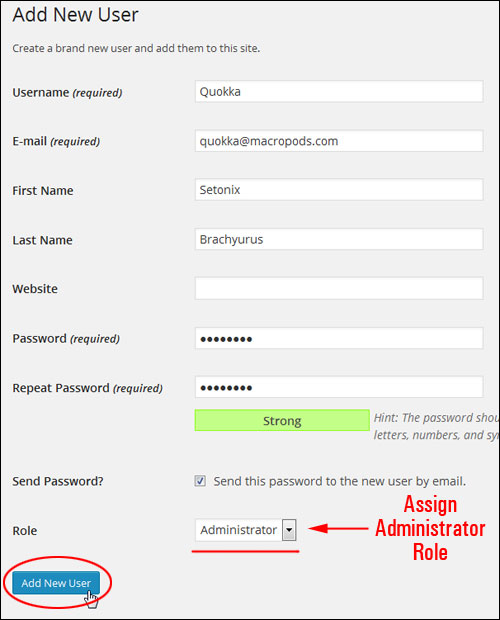
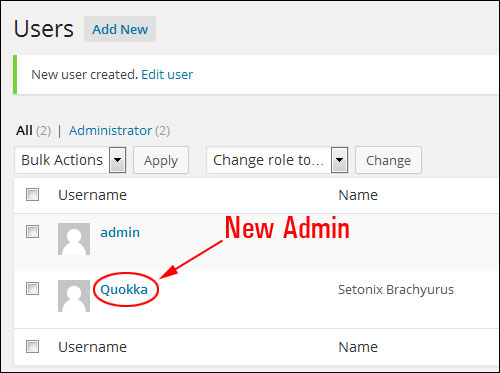
You will now have a new admin user with a new user name, as well as your original user name (i.e. “admin”) …
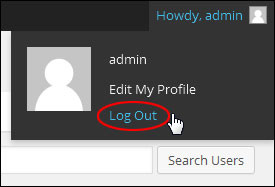
Log out of your WordPress admin area …
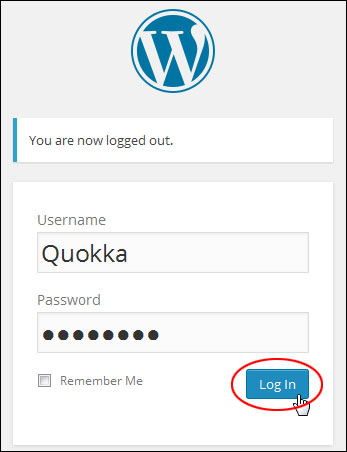
Log in with the new admin details for the user you have just created …
You should see your new user name details in the “Howdy, User” panel …
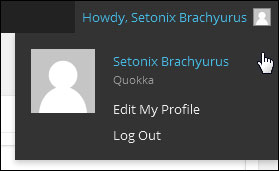
Select Users > All Users in your main menu …
Delete the old user account …
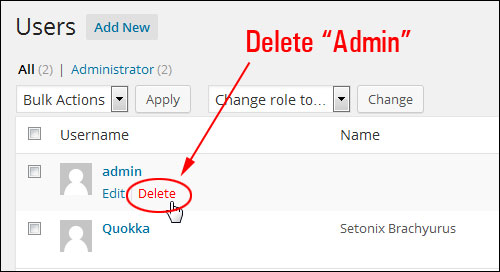
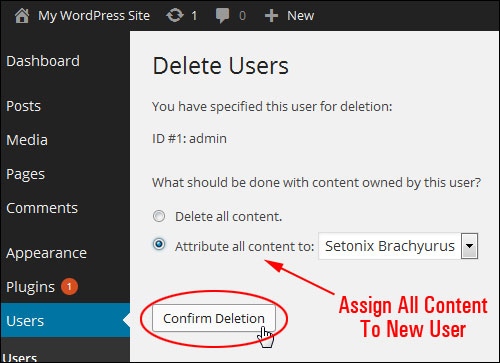
Select the option to assign all content owned by the old user account and reassigned it to your new admin, then confirm the deletion of the old admin account …
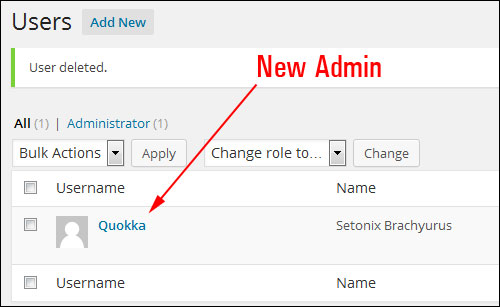
You are now left with only the new Admin account, effectively changing your WordPress admin user name …
Change Admin Username Using A WordPress Plugin
Another easy way to change the username is to use a plugin like the one shown below.
Username Changer
(Username changer)
Username Changer is a free WordPress plugin that lets you easily change your admin username (and allow other users to change their usernames too!)
Installing The Plugin
To install the plugin from your WordPress dashboard, go to Plugins > Add Plugins and type in “username” into the Keyword search field (if you need help see our tutorial on installing WordPress plugins).
There are several plugins you can use to perform a similar function. Locate the Username Changer plugin and click on ‘Install Now’ …
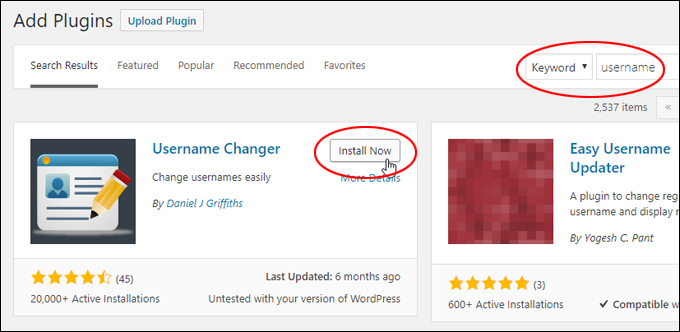
(Install the plugin)
After installing the plugin, click the ‘Activate’ button …
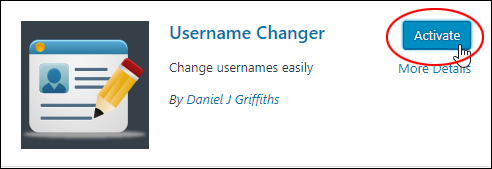
(Activate the plugin)
Configuring The Plugin
After installing and activating the plugin, go to Settings > Username Changer …
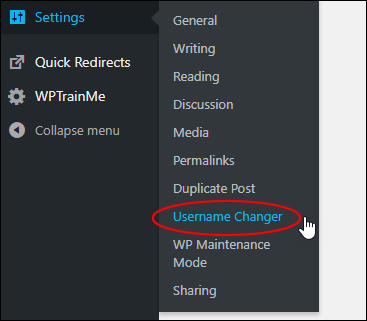
(Settings – Username Changer menu)
This brings you to the ‘Settings’ screen.
Here, you can allow other user roles to change their usernames too (be careful about doing this!) …
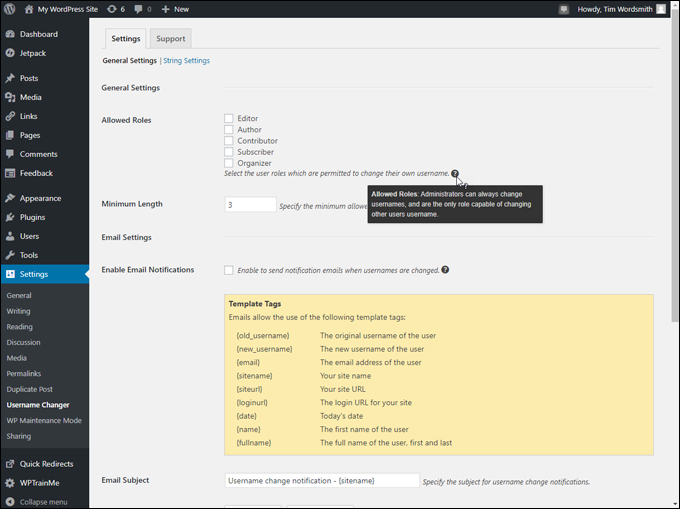
(Username Changer Settings – Allowed Roles)
You can also configure email notifications (if you choose to allow users to change their usernames) …
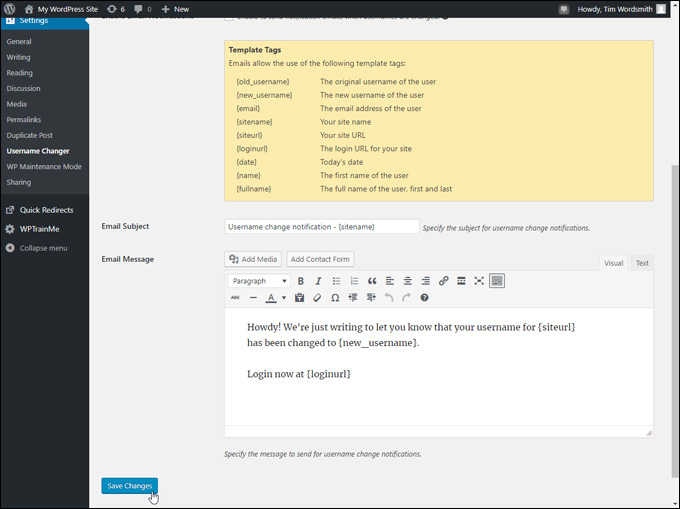
(Username Changer Settings – Email notifications)
Using The Plugin
To change your username, go to Users > Your Profile …
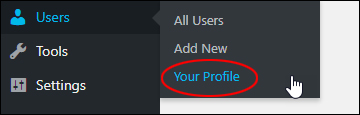
(Users – Your Profile menu)
Scroll down to the ‘Name’ section and you will see a ‘Change Username’ link next to the grayed out username field. Click on this link to change your username …
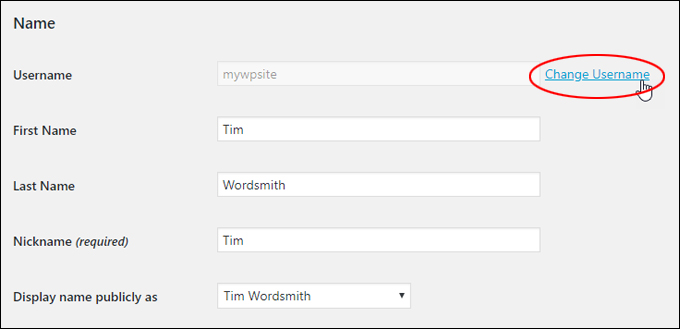
(Click on ‘Change Username’ link)
The ‘Username’ field will become editable. Change your username and click the ‘Save Username’ button …
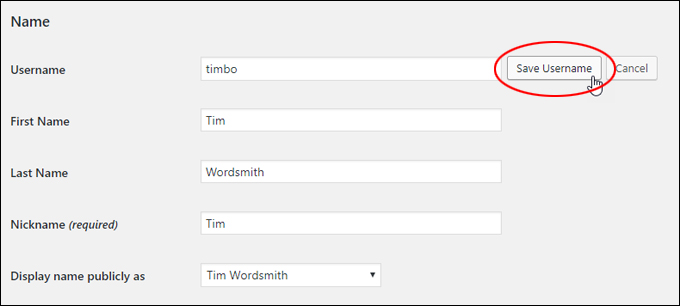
(Save your new username)
Changing your username will log you out of your WordPress admin area. You will need to log back into your WordPress site.
Click on the link to log back in …
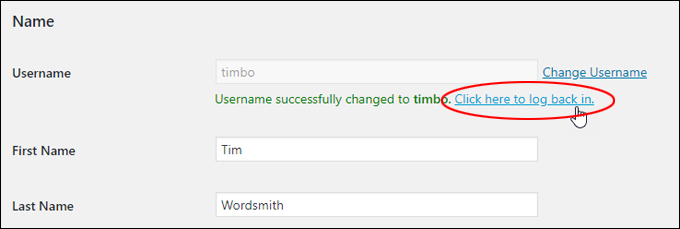
(Click on the link to log back in)
Log back into your site with your new username (note: your password should remain the same) …
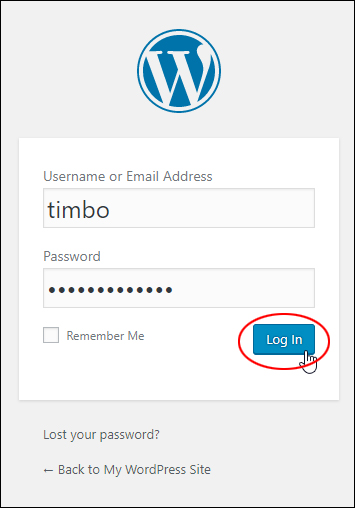
(Log back in with your new username)
Note: If you don’t click on the link to log back in you will find yourself logged out of your site …
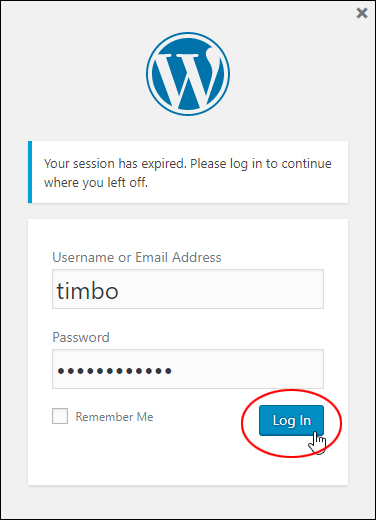
(Changing your username will expire your session)
After logging back into your site, go to your User Profile section and you will see that your username has been changed.
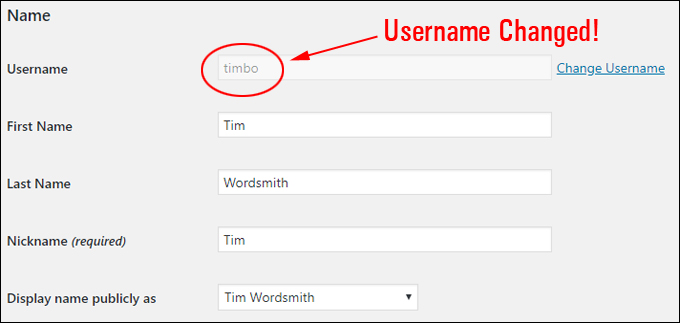
(Username changed)
To learn more about this plugin, go here: Username Changer

Although this tutorial is really designed for non-technical WordPress users, let’s go one step further and show you how to change a WordPress username inside the WordPress database.
All you need is admin access to your server’s control panel.

To learn how to search and replace content in your WordPress database without touching code or editing WordPress database tables, see the tutorial below:
Changing A User Name Inside The WordPress Database
In our example, we’ll be working with the cPanel management application …
cPanel
Log into your server control panel …
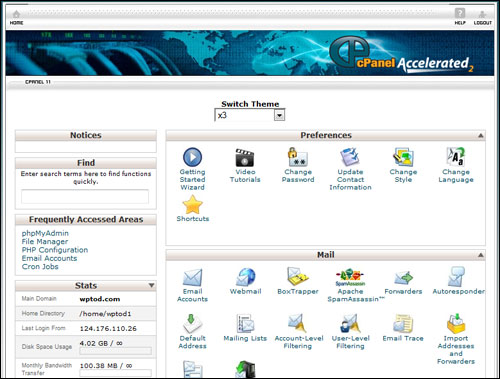
cPanel admin area
Scroll down to the “Databases” section and open phpMyAdmin …
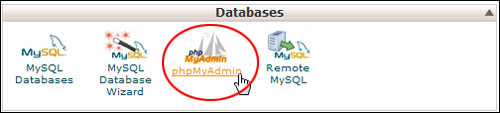
phpMyAdmin
Click on your WP database.
Note: If you have multiple databases set up on your domain, make sure that you select the right one …
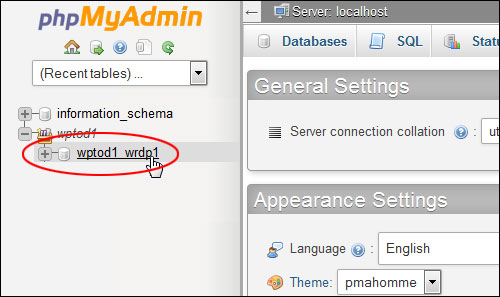
phpMyAdmin databases
Don’t panic when you see the complicated-looking information on your screen screen.
Click on wp_users in the left-hand column …
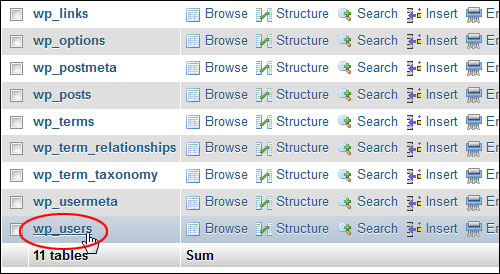
The username is located in the “user login” column. To edit the field simply double-click on the text you want to change …
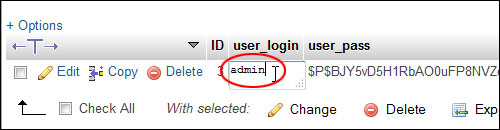
Type in the new username and click outside the edit box to update the field with a new user name …
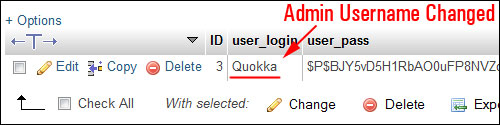
Log out of your server when you’re finished and return to your WordPress site. You will probably find that your session has expired. If so, log in again with your new Admin details …
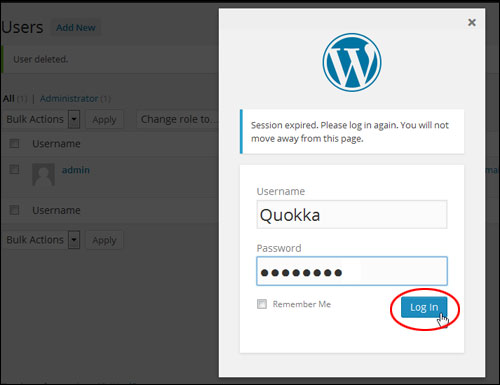
You will see that your user name is now updated. However, it will probably still be displaying the previous “nickname” …
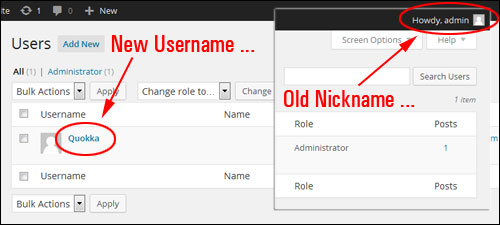
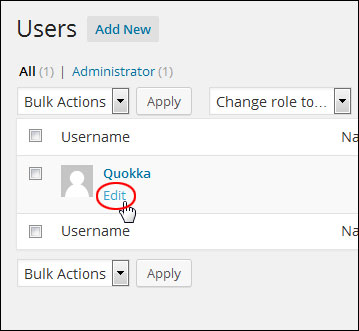
To choose a new “nickname”, open your Users section and click on the Edit link below the username …
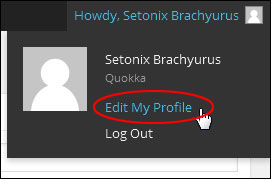
You can also reach your Profile section if you click on the Edit My Profile link in the “Howdy, User” panel …
Select a new name to display publicly from the drop down menu …
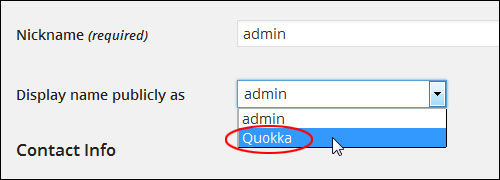
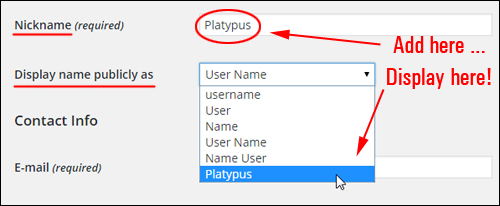
Note: You can also create a new Nickname in the Nickname field and it will then be available for selection in the Display name publicly as drop-down menu …
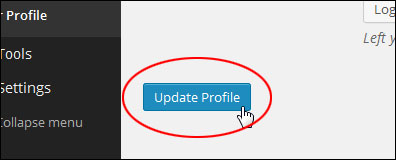
Click Update Profile to save your new settings …
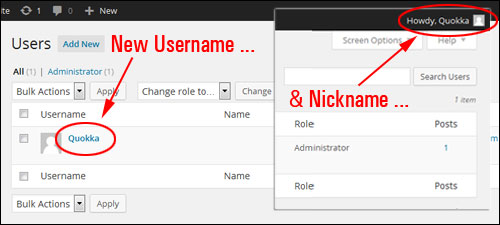
You admin area is now updated with a new username and nickname …
Congratulations! Now you know how to change the WordPress admin user name on your website or blog.
***
"I have used the tutorials to teach all of my clients and it has probably never been so easy for everyone to learn WordPress ... Now I don't need to buy all these very expensive video courses that often don't deliver what they promise." - Stefan Wendt, Internet Marketing Success Group